In this tutorial I’ll show you how you can enable the new Microsoft Teams client (preview) for users in your organisation.
New client boasts lots of performance upgrades including;
- Upto 2x Faster
- Upto 50% Less Memory
- Consumes upto 70% less Disk Space
- Multiple Accounts / Orgs in the same app
- Easier Deployment for IT Admins
The new client (preview) is not yet available for Edu Customers, presumably due to the additional features that will take time to implement and iron out any bugs, however I did find that once i had the new teams client for my developer tenant, I could sign in with my Edu account and use the new client.
To enable it head to the Teams Admin Centre
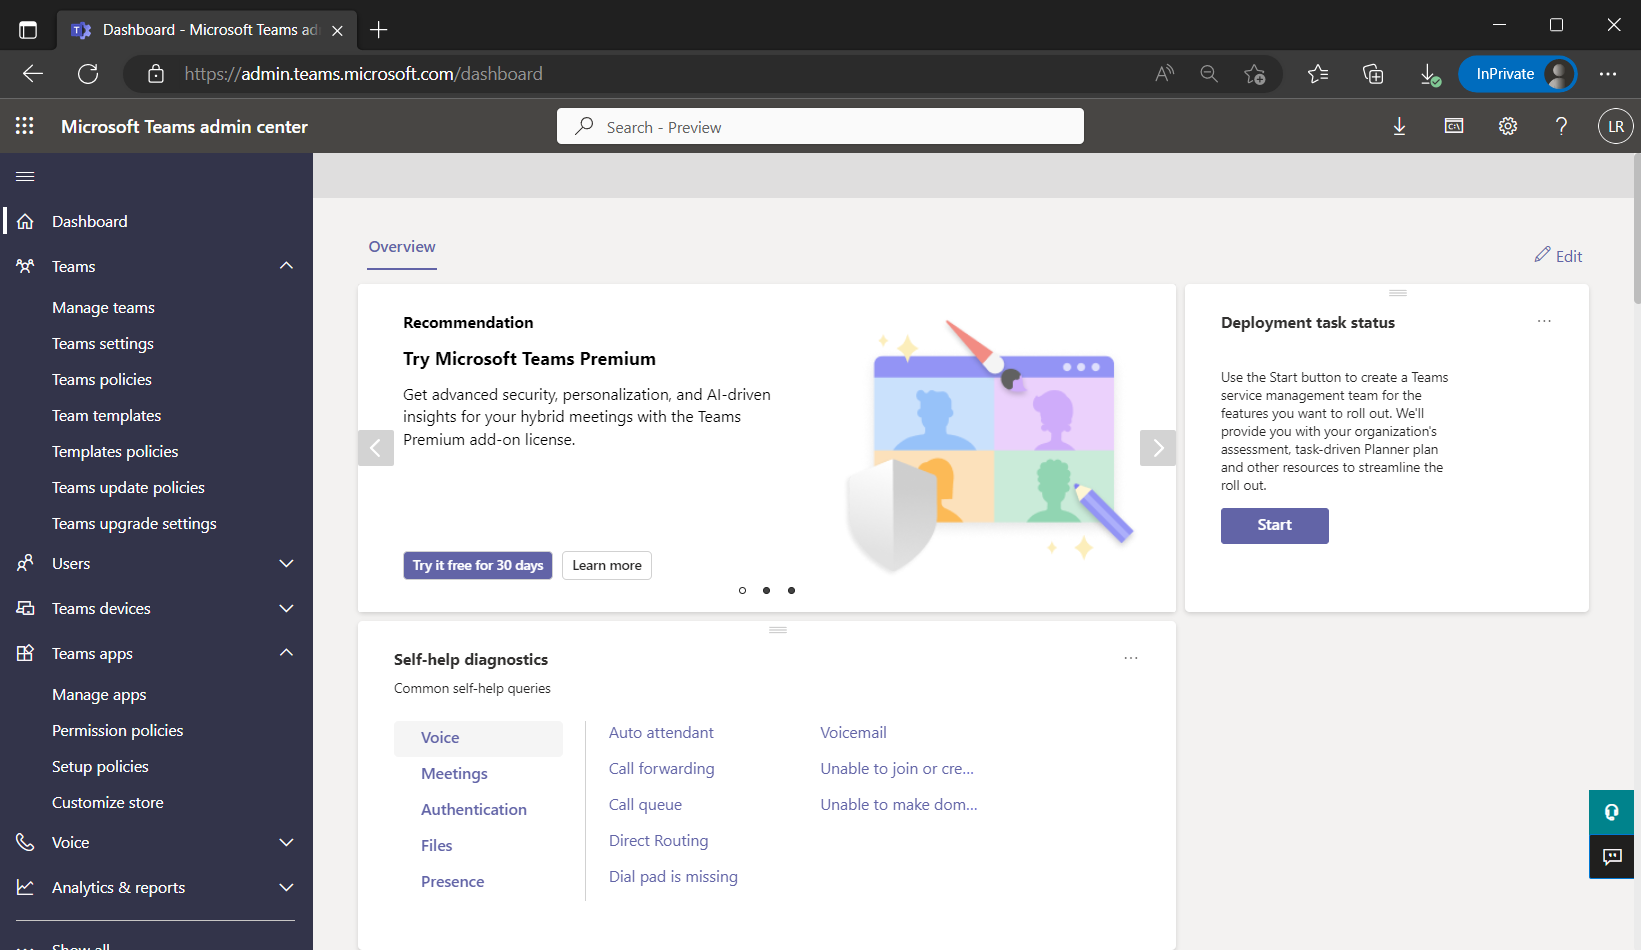
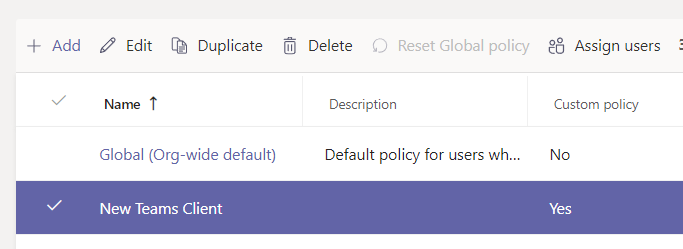
On the left hand side navigate to Teams > Teams Update Policies
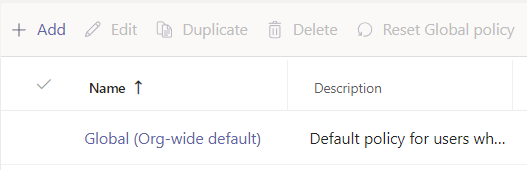
Click Add
Give your policy a name like ‘New Teams Client‘ and under Use new teams client select Users Can Choose
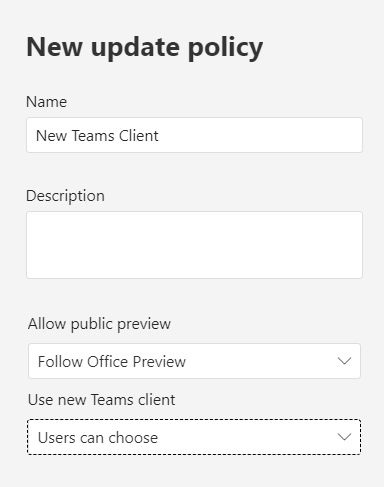
Click Apply.
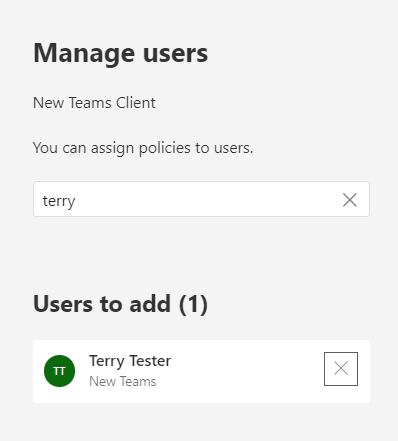
Now select your policy and choose ‘Assign Users‘
Choose the users you wish to give access to the new teams client (preview) and click apply.
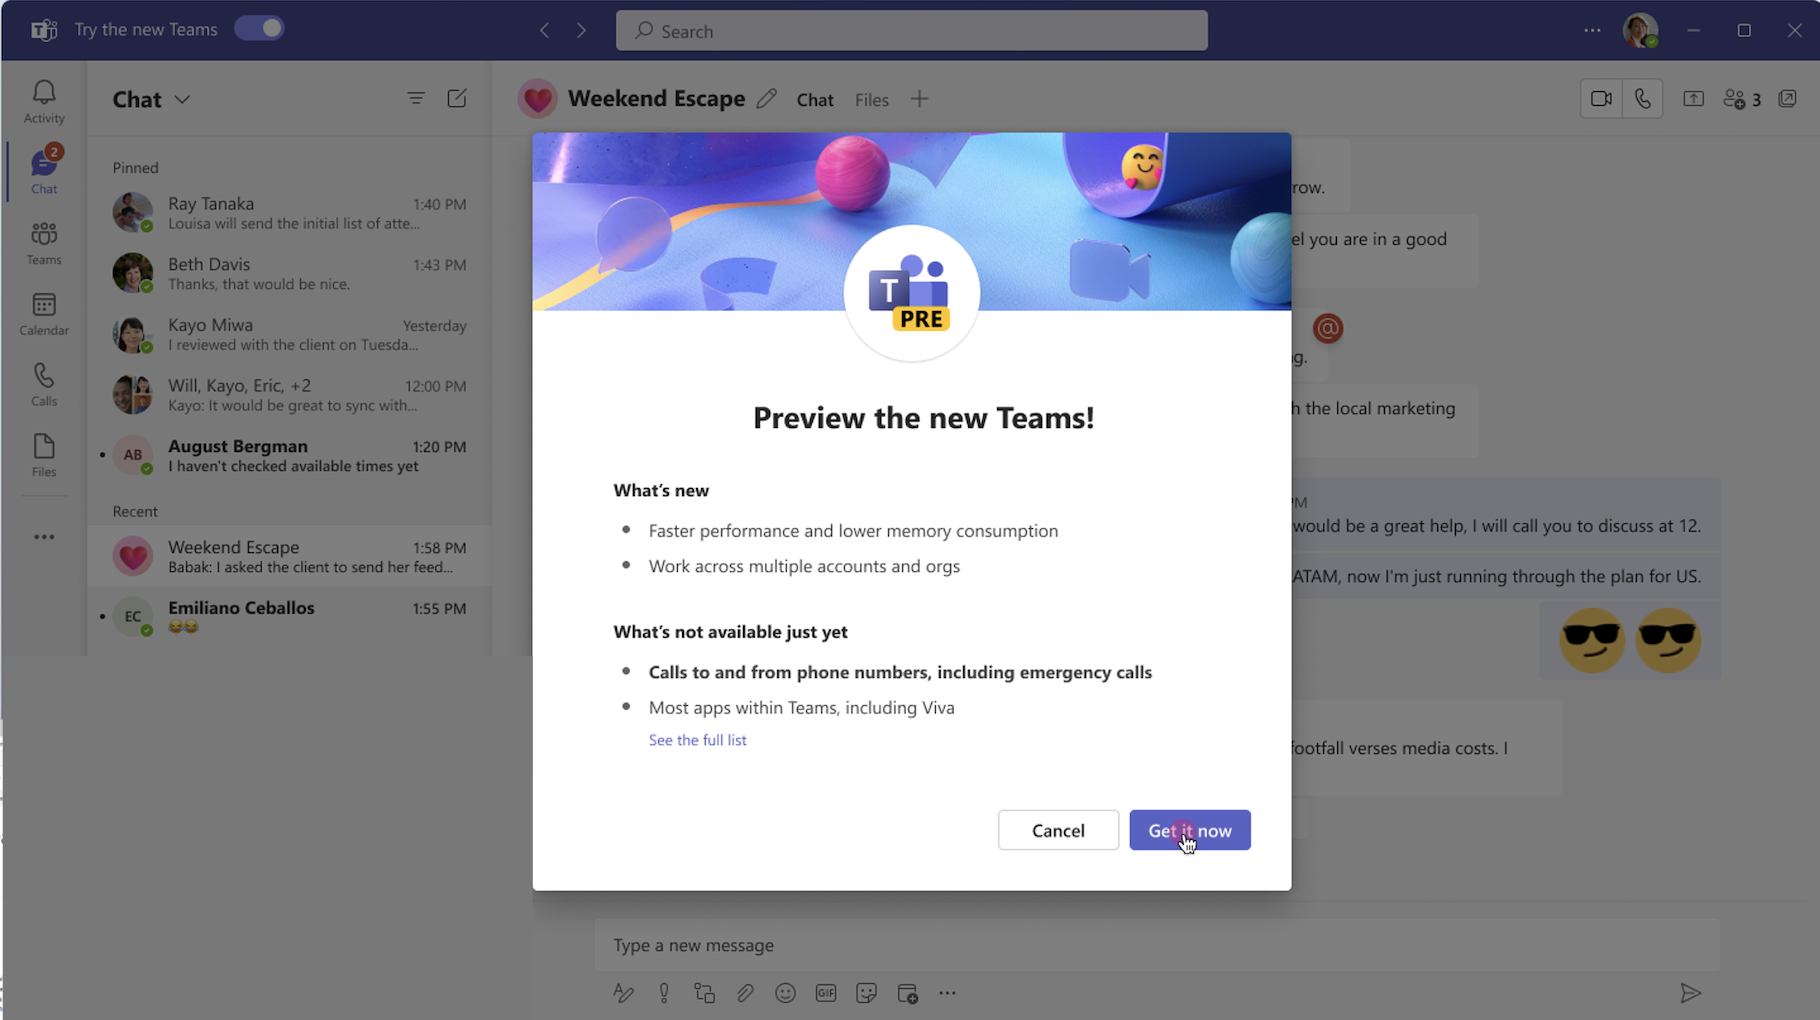
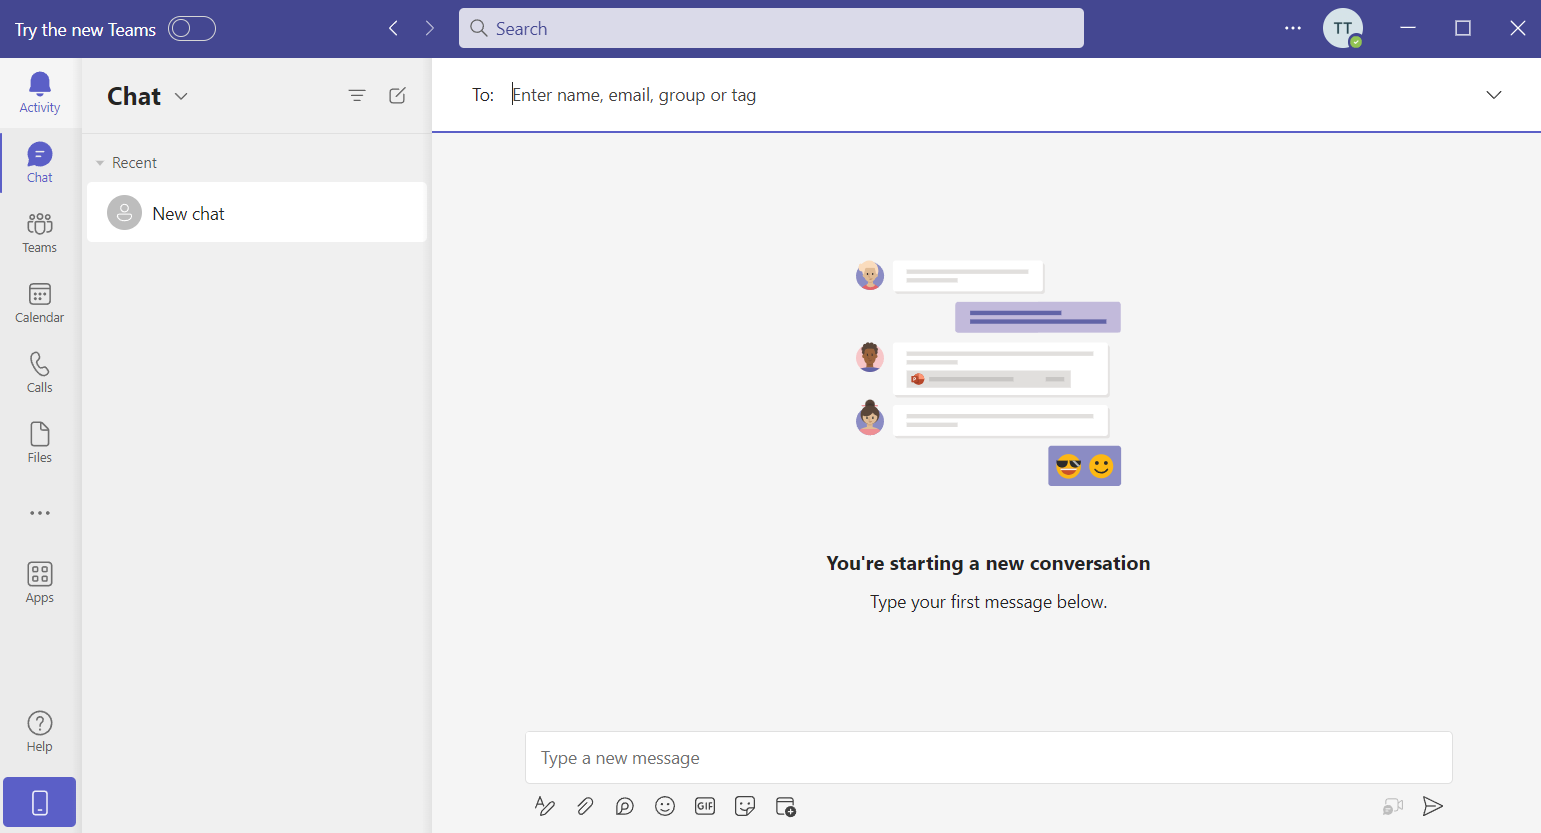
When your user(s) sign into teams, they will now be presented with the option to enable the new teams client.
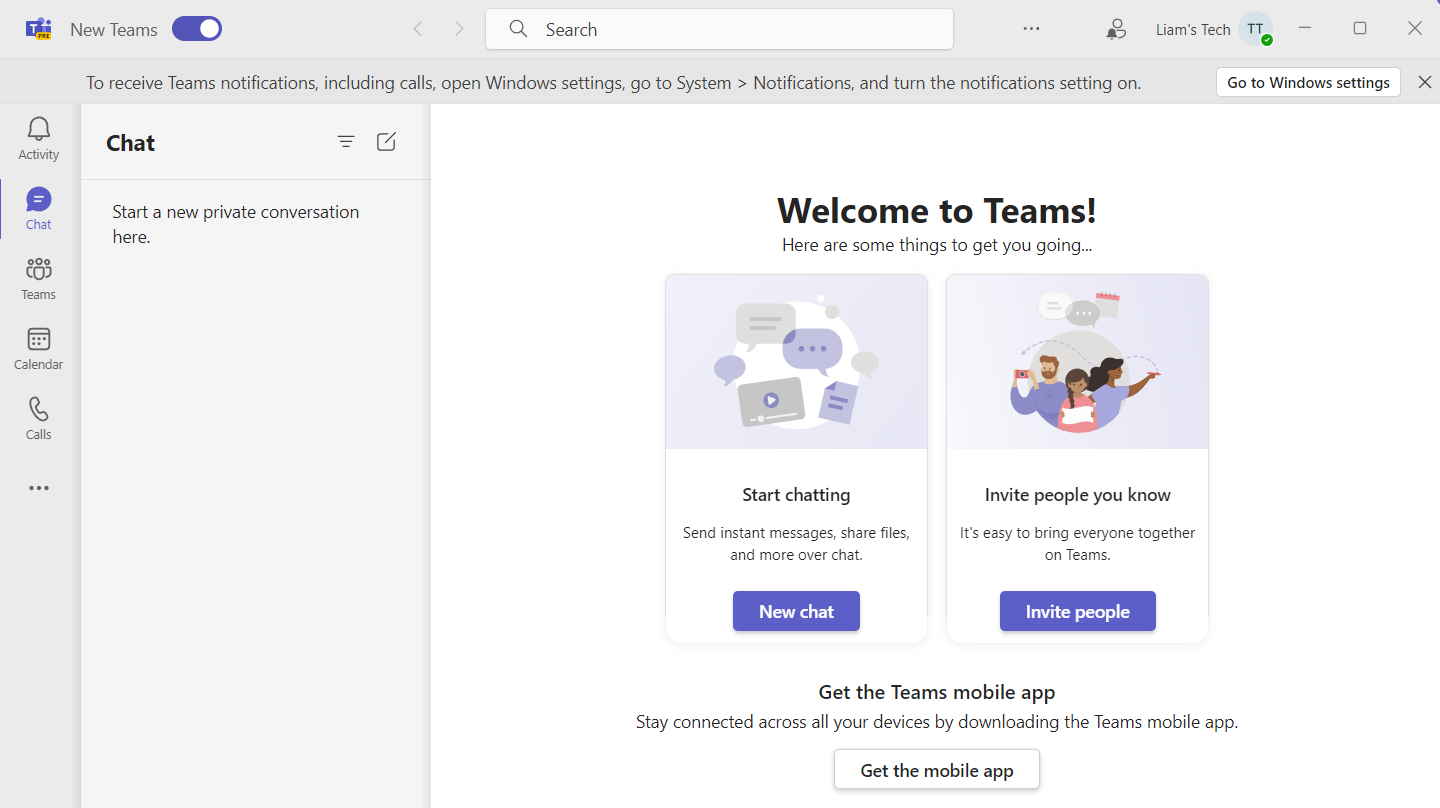
Toggle the setting on, teams will start to download the new client, it will restart the app once installed and launch the new, faster client.
Watch on Youtube

#EdTech Network Manager, experienced in Microsoft 365, Server 2019, Intune, SCCM and anything inbetween.