I’ve had a lot of interest recently on how I have deployed class-sets of Android tablets (specifically Galaxy Tab A7’s) and how I continue to manage them via Intune. In this guide I’ll show you the step-by-step approach to enrolling and managing Android Tablets into Microsoft Intune.
There are numerous ways out there in which you can manage Android Devices in Intune, including “Zero-Touch” enrolment however this method is the easiest I have found that suits the requirements of managing class sets of tablets.
This guide will be split into 5 parts;
- Setting up Managed Google Play
- Configuring Intune for Android Enrolment
- Enrolling Android devices into Intune
- Managing Android Devices in Intune
- Deploying Android Apps Via Intune
1. Prerequisites – Managed Google Play
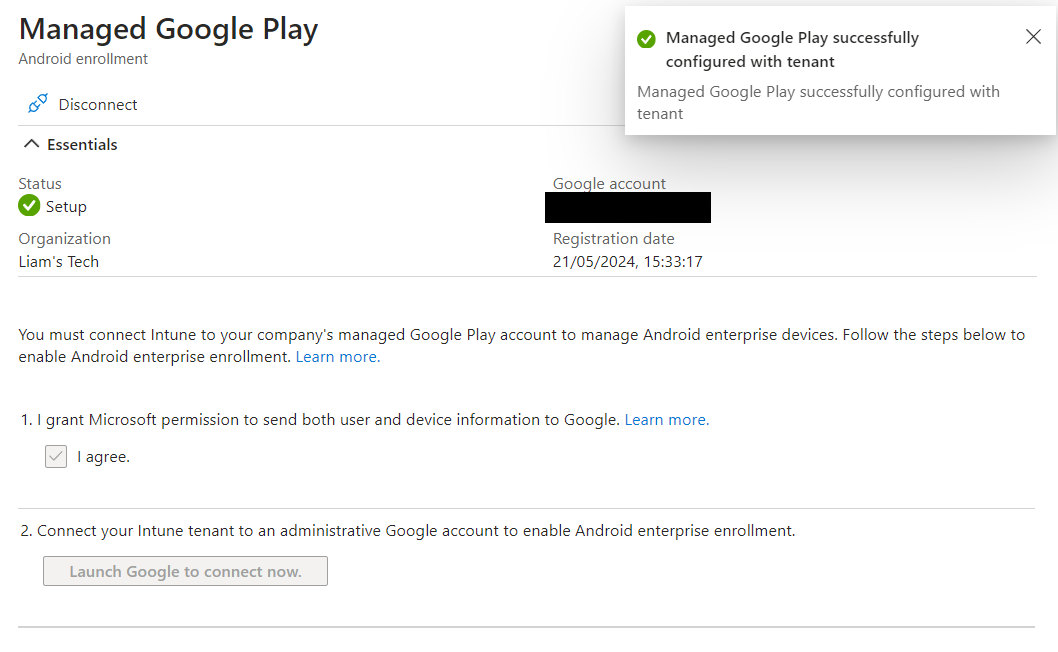
If this is your first time managing Android devices in Intune, you will need configure a Managed Google Play account in order to manage and distribute apps to the devices. Head to Devices > Android > Android Enrolment > Managed Google Play

Click Launch Google to connect now and sign in with a google account.

Fill in the required details and click connect now. Once complete you should see your managed google play is now setup.
2. Configure Intune for Android Enrolment
In this section I will show you how to prepare Intune for Android Enrolment.
To begin head to the Intune Admin Centre and click Devices and select Android.

Under Android Enterprise select Corporate owned dedicated devices.

Create a new profile.

Give the profile a descriptive name and select the token you require.
- Corporate-owned dedicated device (default): This token enrolls devices as a standard Android Enterprise dedicated device. These devices require no user credentials at any point. This is the default token type that dedicated devices will enroll with unless updated by Admin at time of token creation.
- Corporate-owned dedicated device with Microsoft Entra ID shared mode: This token enrolls devices as a standard Android Enterprise dedicated device and, during enrollment, deploys Microsoft’s Authenticator app configured into Microsoft Entra shared device mode. With this option, users can achieve single sign-in and single sign-out across apps on the device that are integrated with the Microsoft Entra Microsoft Authentication Library and global sign-in/sign-out calls.
Choose an expiry date sometime in the distant future.

Please note: if you haven’t set up Managed Google Play, this step will fail.
Click into your newly created profile, you will see ‘Token‘ down the left hand side. Click this to generate a QR Code/Token.

You may print this token for ease of use, or view it any time in Intune.

3. Enrol Android Device
Power on the device you wish to enrol and start the setup process, choose your language, region, WIFI and any other settings. Proceed until you reach the Google Sign-in page.
On the Google sign in page enter afw#setup in the email field and press enter.

The device will ow continue to provision into Android for Work Setup. You will be presented with a QR scanner, use this to scan the QR code created in Step 2. (if this doesn’t work you can enter the token manually).
Once scanned, follow the prompts and the device will continue to provision and enrol itself into Intune ready to be managed.
4. Managing Android Devices using Intune
Now you have successfully enrolled your device(s) into Intune, you can start to manage them including pushing out apps, locking down the operating system, personalising the device and much more.
Adding Devices to Management Group
Head to Devices > Android Devices to see the enrolled devices, you will notice the names are not very user friendly, I’d recommend taking a bit of time to rename them based on your preferred naming structure (this will help with the next step).
Click on a device to open up the device properties.

You will want to change both the Device name and Management Names. Click Properties to edit these fields.

Now these have suitable names, you want to create management groups for your devices in order to tailor settings for specific users, for example this could be Student Devices, Staff Devices etc.
In the Intune admin centre click Groups > New Group
Give the group a descriptive name and click ‘No Members Selected‘ to add the devices to the group.
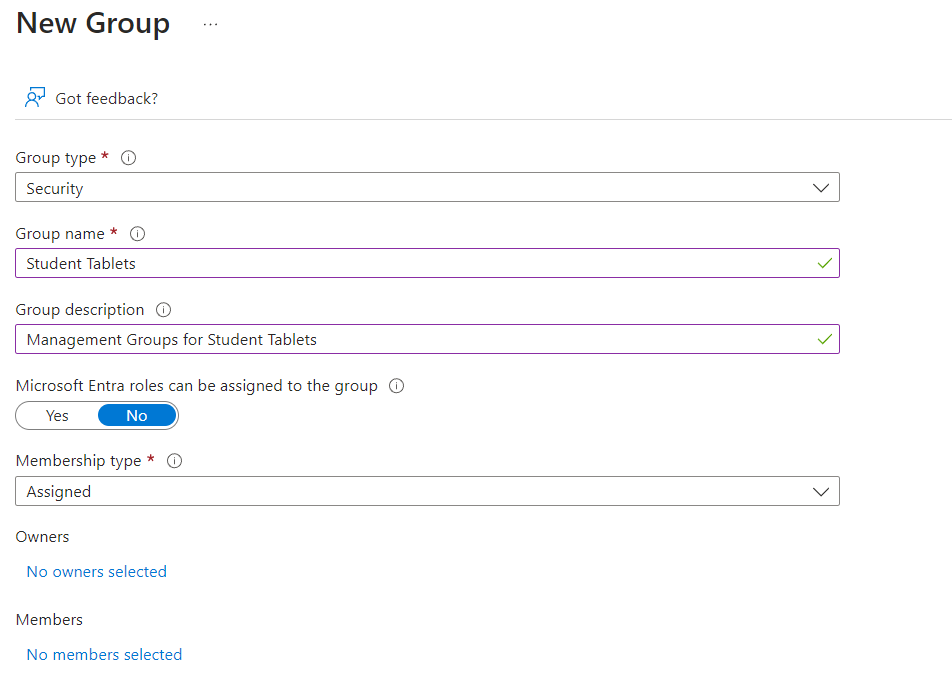
Search for the device(s) and add them to the group.

Configuring Managed Devices
Now we have a management group that contains our device(s), we can begin to configure a whole host of options on the devices. In this example I’ll show you how I prefer devices to be configured, but you can tweak this configuration to suit your needs.
Head to Devices > Android > Configuration Profiles and click + Create and New Policy.
Select Android Enterprise and Device Restrictions as the profile type.
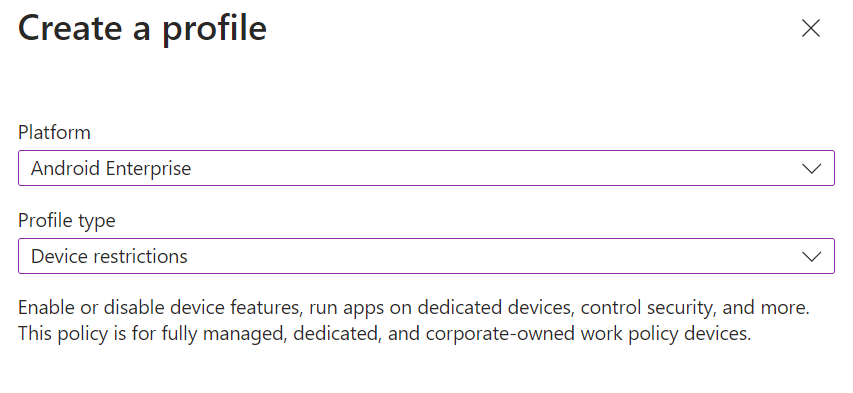
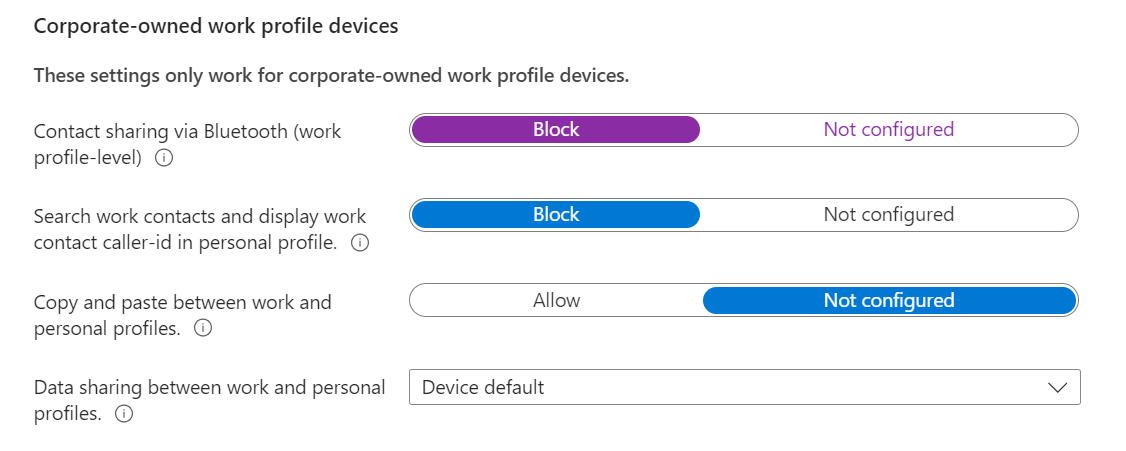
Give your profile a suitable name and proceed to the configuration settings. Here you should configure each setting to suit your requirements.
General


Device Experience
These settings are essential to ‘locking down’ the device, choose Dedicated Device and Multi-App Kiosk Mode.
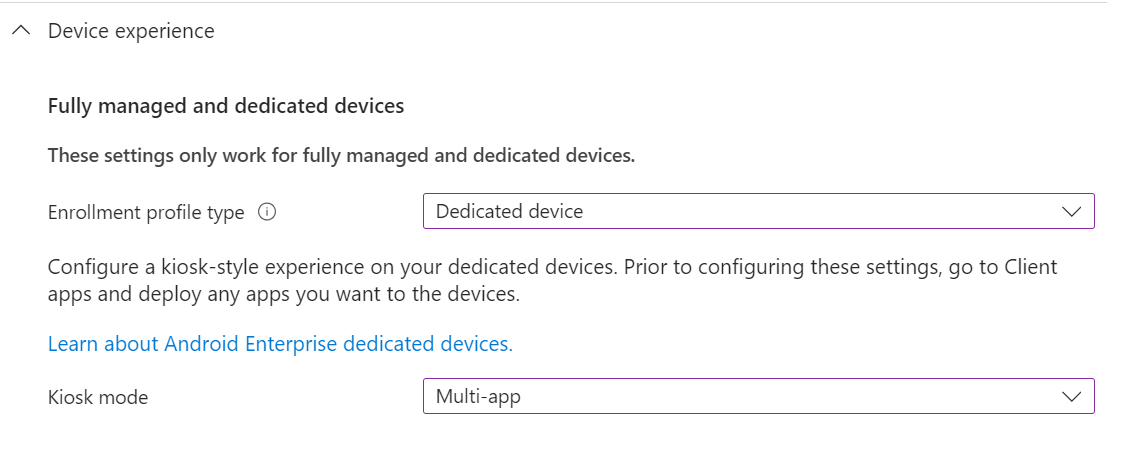
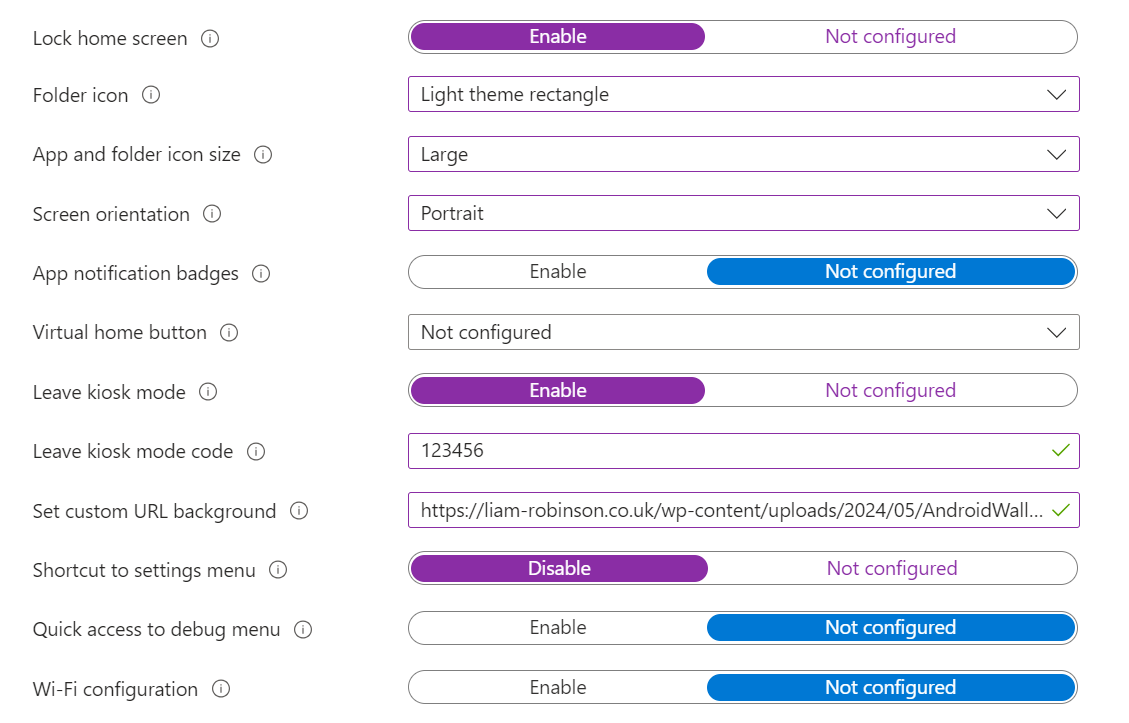
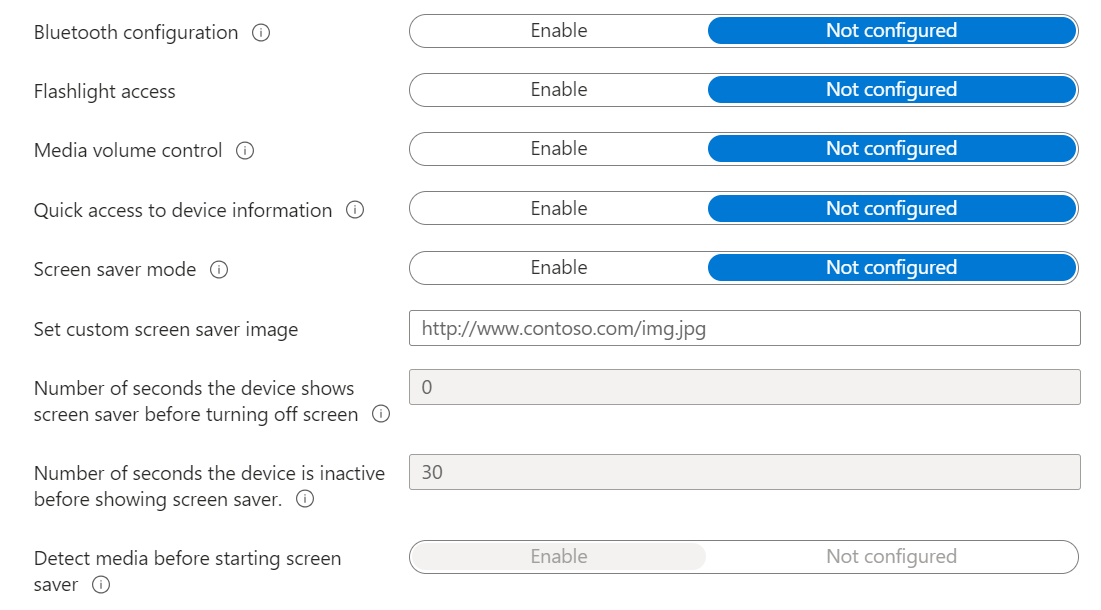
Here you can now configure the ‘Managed Home Screen’ settings. Ignore adding any apps for now, we will cover this later when installing apps.


Device Password

Users & Accounts

Once you have configured these settings, click Next and assign the profile to the Management Group you created earlier.


Review the summary and click Create. Your configuration profile has now been created, however in order to use the managed home screen, first we need to deploy the Managed Home Screen App (along with any other apps you wish to deploy).
5. Deploying Android Apps Via Intune
To deploy apps to android devices via Intune, simply click the Apps blade and choose Android.

By default you will see the standard Microsoft Apps, including the Managed Home Screen app which is required for step 4 above.
Click into the Managed Home Screen App and select Properties. Head to Assignments and press edit.
Under Required section add the Management group you created earlier.

Click Review and Save.
Now you have deployed the manage home screen apps, lets deploy some apps from the play store.
In Apps > Android click Add.
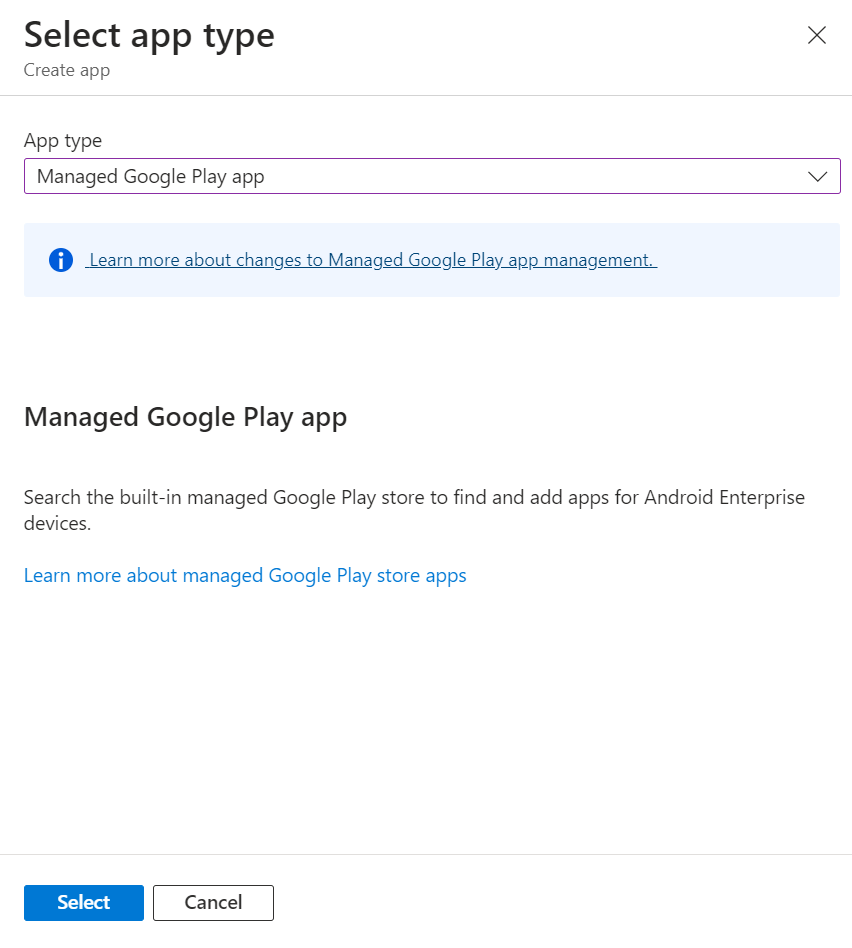
Choose Managed Google Play App and press Select.
Use the Managed play store to search for an app of your choice, and press select.

then Press Sync

Your app(s) will now appear in the list of apps, you should now deploy this to your device(s) using the same method as the Managed Home Screen App.

Repeat the process for any other apps you wish to deploy.

Now we have deployed the apps to the devices, the final step is to show them on the managed home screen.
To do this head back to the Configuration Profile you created in step 4 and head to Device Experience.
Under the kiosk mode settings, click Add

Here you can select the apps you have just deployed to the device(s)

They will now show in your Configuration Profile. Save your changes.

Shortly your device should sync with Intune, install the apps and display them on the managed home screen.

After Sync


#EdTech Network Manager, experienced in Microsoft 365, Server 2019, Intune, SCCM and anything inbetween.
Hey Liam,
Does this consume any licences? I’m currently testing with an Android device and it doesn’t seem to cost anything? Is this right?
Cheers
Hi Pete, I’m not entirely sure what you mean however it should not consume any licences if you have Intune licences already for your organisation. The way its licenced is per M365 user not per device. If you have A3/A5/E3/E5 licences you already have Intune licences already.
Can I get a shared device to ask for Entra ID email and password when logging into the tablets? The reason for this is we dont have enough tablets for 1 to 1.
Hi Aran, you certainly can. I have a guide on this here > https://liam-robinson.co.uk/configuring-managed-home-screen-sign-in-for-android-tablets-a-step-by-step-guide/
Hi Liam,
Thank you I will give it a go!
Hi Liam
Have you found a way to set the lock screen image on android devices with intune?
Something so simple that I can’t find any way to deploy.
Cheers
Hi Martin, if you are using Managed Home Screen Sign in you can change the wallpaper for that using “Set custom URL background for sign-in screen” theres also “Set custom screen saver image” . We just disable the lock screen under ‘Device Password’. Hope this helps.
The afw#setup method is no longer supported, so devices running Android 9 and above can’t be enrolled using this policy.
When I attempted to enroll, it redirected me to a Chrome page asking me to sign in, but it didn’t prompt for device enrollment.
It is still supported, all devices we use are Android 14 and above. You enter afw#setup into the google login where it asks for an email. The device should then open the QR code reader/camera. You can also get t the enrolment page by tapping the screen 5 times in quick succession when the device firsts turns on into the setup page.