In the era of digital collaboration and “Cloud” storage, Microsoft’s OneDrive and SharePoint have become indispensable tools for businesses and individuals alike. These platforms offer seamless file sharing, storage, and collaboration opportunities. However, it’s easy for users to get carried away and store thousands of documents without really realising how much storage they are consuming.
This has never really been a problem for most schools as each school gets 100TB of free pooled storage with Microsoft 365 which is more than enough for your average High School (even for those teachers that have a video for everything!), however this has gradually become a problem for Microsoft who recently announced they would be making changes to their A1 Plans (Free Subscription) from February 1st 2024, meaning users can no longer exceed 100GB in their OneDrive accounts.
As a Microsoft 365 Admin, it is essential to understand storage usage within your tenant and set appropriate limits. In this article, we’ll delve into the key aspects of OneDrive and SharePoint storage, how to view your top users and also set usage limits.
How to view Microsoft 365 Storage Usage
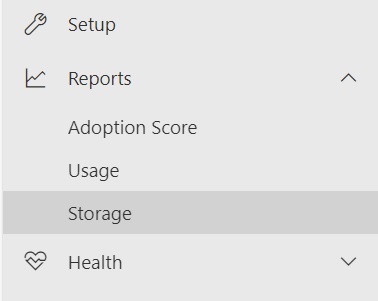
To view your current usage for your organisation, log into your Microsoft 365 admin centre and head to Reports > Storage
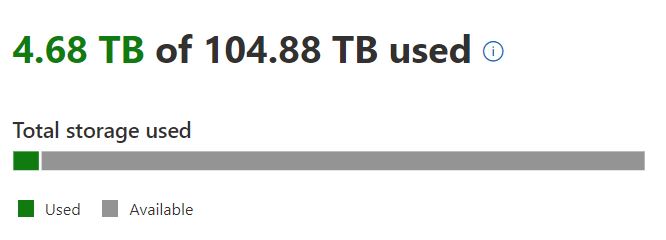
Within here you’ll see the following;
- Total Used
- Total Available
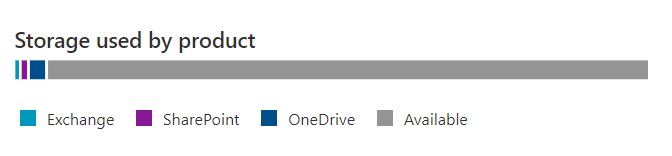
Below this you can drill this down and see how much is used by the following 3 products
- Exchange Data
- OneDrive Data
- SharePoint Data
View storage usage by User/Site/Mailbox
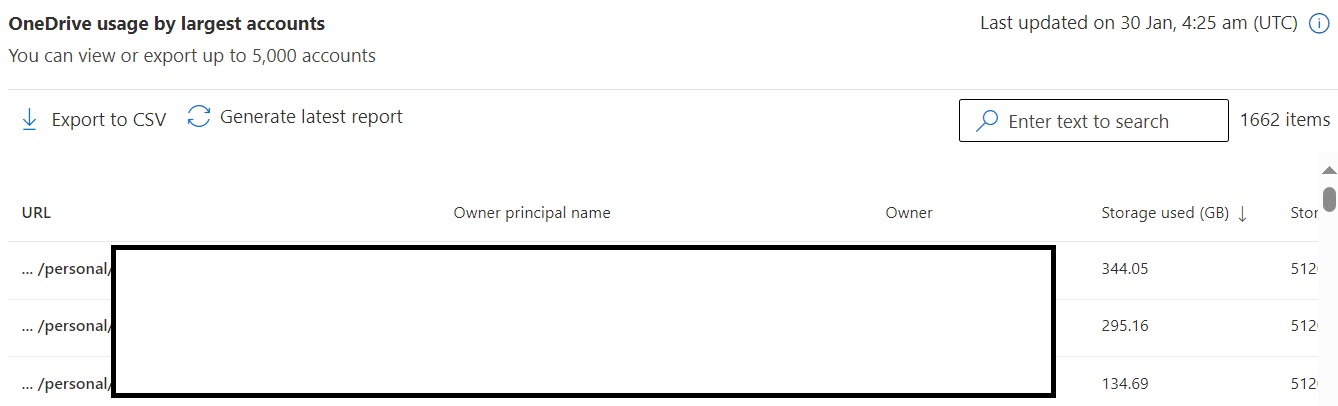
Within this screen you can easily identify your organisation’s biggest “Space Hoggers” and work with them to reduce their overall storage if possible. Click “Onedrive” and you’ll be given a list of users Onedrive Paths, from largest to smallest.
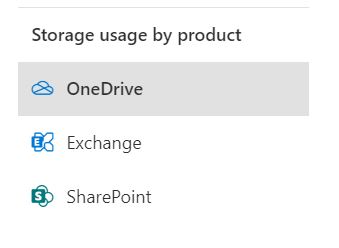
Repeat the step above with SharePoint to view a list of your largest SharePoint sites.
You can also see information on your largest mailboxes by clicking “Exchange”, for privacy you may not be able to see the user’s name or any identifiable information, if you need to see this ,you can do the following;
- In the admin center, go to the Settings > Org Settings > Services page.
- Select Reports.
- Uncheck the statement Display concealed user, group, and site names in all reports, and then save your changes.
Setting Onedrive default Storage Limits
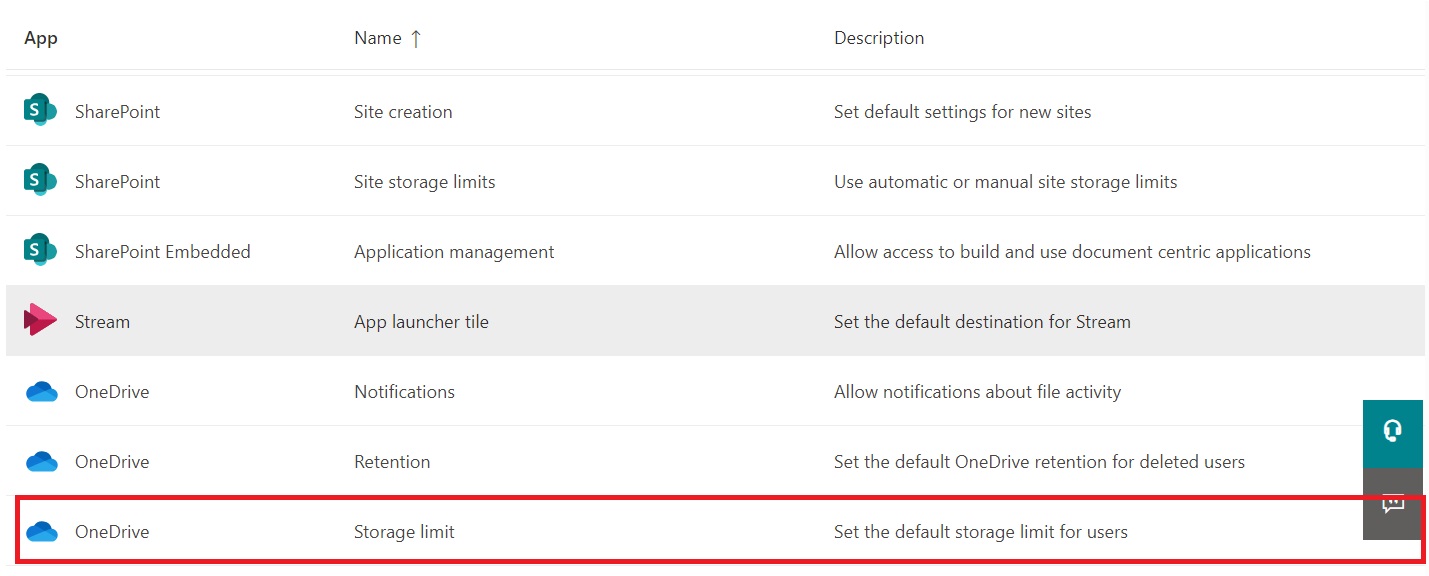
To set a default storage limit for all users in OneDrive, head to the SharePoint Admin Centre and click ‘Settings‘
Here you should look for Storage Limit for OneDrive
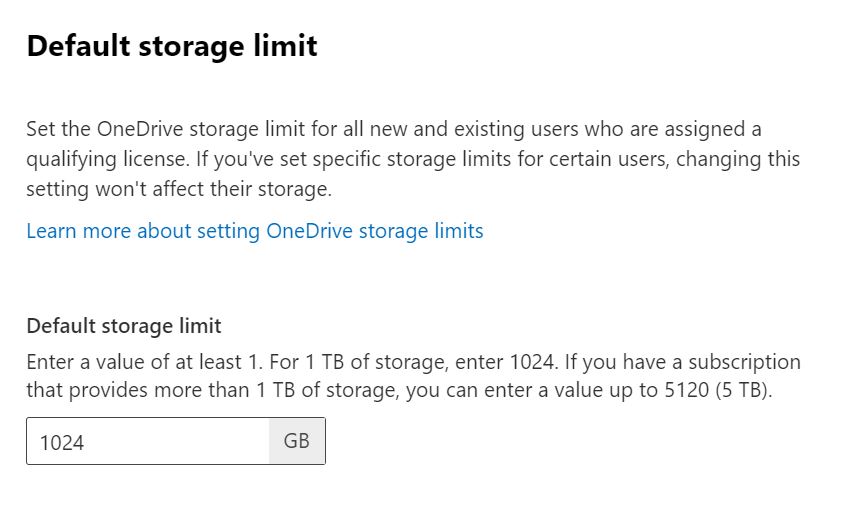
You can now set a limit which will be applied to new and existing users.
Setting Custom OneDrive Storage Limits for individual users
You may wish to set custom limits for certain users, to do this head to Active Users in the Microsoft Admin Centre and search for your desired user.
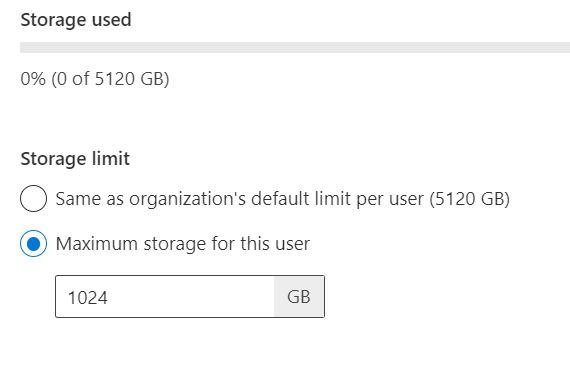
Head to the OneDrive tab and under Storage Used click Edit.

Here you can set a custom limit for this user, note: this must be less than the global default.
Setting OneDrive Storage Limits by Security Group
Should you wish to set different limits for different users based on their security group membership you can do so by heading back to your Microsoft 365 admin centre and click Reports > Storage > OneDrive.
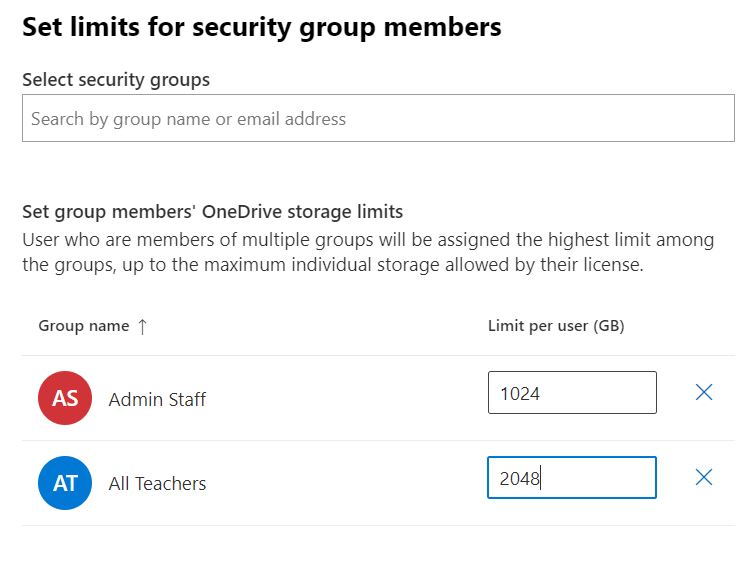
Under ‘Total Storage Used’ click the ‘Manage Storage‘ button and press ‘Storage Limits for Security Groups‘
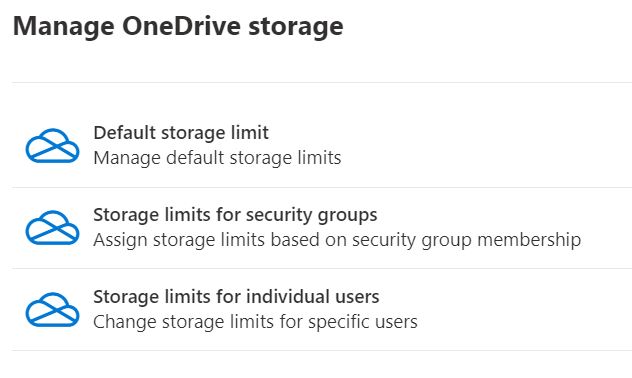
You can now add your security groups and assign variable limits.

#EdTech Network Manager, experienced in Microsoft 365, Server 2019, Intune, SCCM and anything inbetween.
Hi Liam,
Thanks for this. Worth noting that users exceeding storage should take a look at Previous Versions, as this will bloats users storage limits too, we had some users making tiny tweaks to 1Gb files, the next thing we know is the “true” total storage used for this 1Gb file was 7Gbs. I don’t think there is a way to site wide set a minimum retention for all users OneDrive’s in particular. Unless I’ve not used the data retention areas particular well.
Thanks