In this article I’ll be showing you step-by-step how you can replace your old, antiquated paper based data collection forms with a faster, cheaper digital solution using Microsoft Forms and Power Automate.
It’s 2023, the majority of organisations will have already opted for a digital approach when it comes to data collection however there are still some sectors (Education i’m looking at you) that actively rely on paper based data forms and manual archiving either because they don’t know how to digitalise them, or Local Authorities require data in a certain format (we’ve always done it this way etc) . If this sounds like your organisation, read on as i show you how you can revolutionise your data collection saving countless admin hours and money. By the end of the tutorial you’ll be able to automatically take responses, populate a form and dynamically archive it based on custom fields (by Name etc). The process will be;
User Submits Microsoft Form
Data Automatically Populated into Form Template
Archived into SharePoint folders by name (or other field) – With very little (if any) input from admin staff you can save hours and hours time.
Step 1 – Prep your template / form
For this example I’ll show you how you can use your existing form template and fill them in digitally, this is ideal for schools and organisations that are required to use specific forms (for example, 3a Medical Forms for Lancashire County Council).
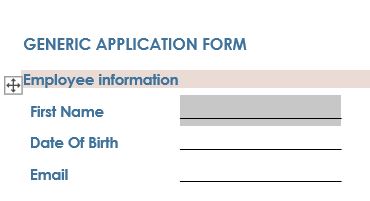
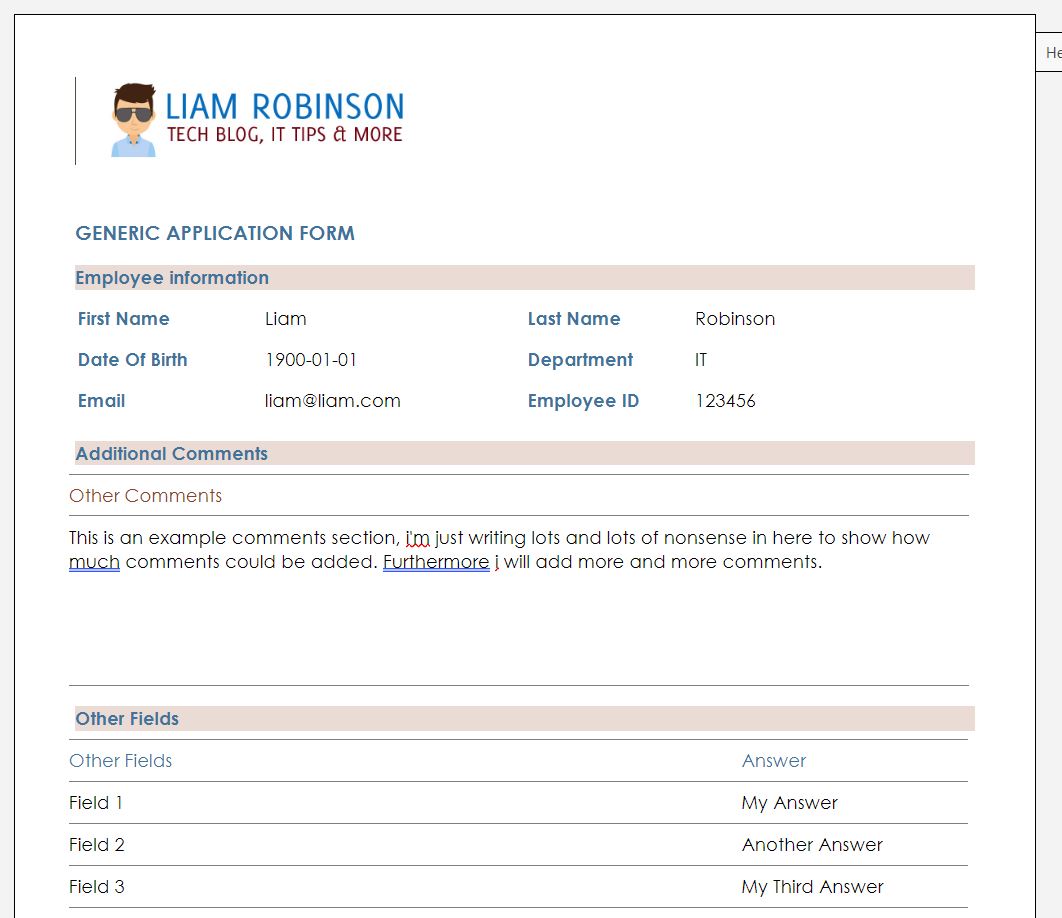
Open up your form master copy/form template in Word. This could be a medical form, consent form or any type of form you use to collect data.
![]()
Tip: If you do not have a digital copy you can use the Onedrive mobile app to scan the document to PDF and open with Word.
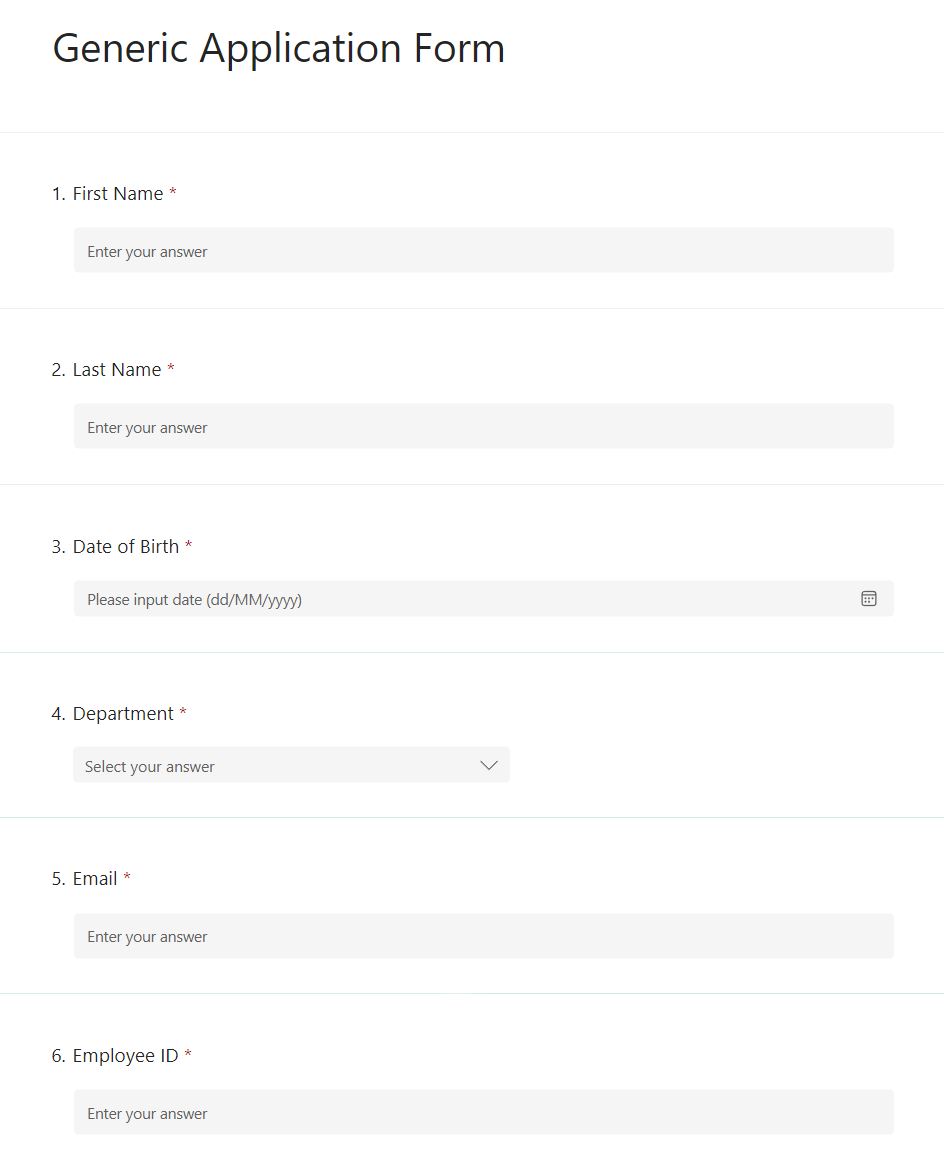
As you can see from my generic form above, I have a few fields that would normally be filled in by hand, First Name, Last Name, DOB etc, along with other custom fields. We are now going to tag these fields using the Developer Tab.
To enable the developer tab go to File > Options > Customise Ribbon and enable the developer tab.

Click OK.
On your document, highlight the part where you wish the data to be shown
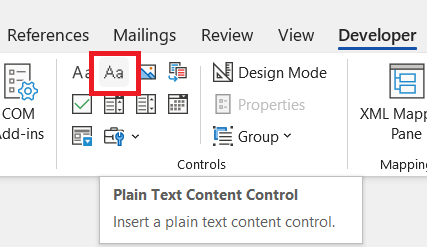
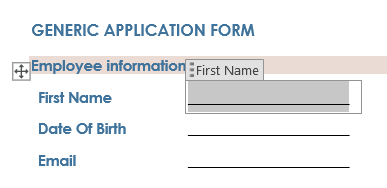
Open the Developer Tab and Click the Plain Text Content Control icon
The Field will now be editable and a box will be displayed around it.
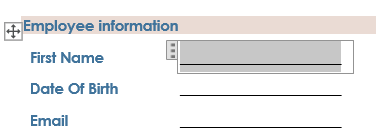
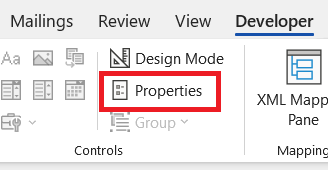
With the box selected, the Properties button will now be enabled on the Developer tab, click this.
In the content control properties window, enter the name of the field into the Title and Tag sections.
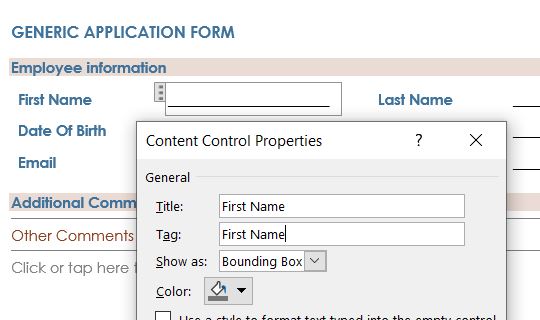
Click OK
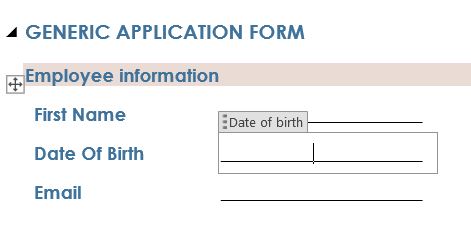
The field is now tagged and named.
Repeat the above for each Field you require data for, for example DOB, Email, Employee ID etc.
Once you have completed the above and all fields are tagged, save your document into Onedrive or Sharepoint.
Step 2 – Create your Microsoft form
We will be using Microsoft forms to allow the user to submit the form digitally, removing the need for printing and posting the forms. Start by heading to Micrsoft Forms and creating a new form.
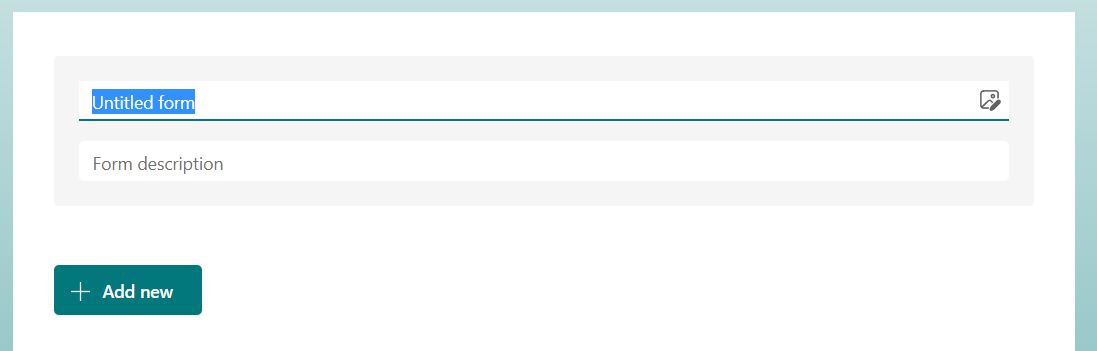
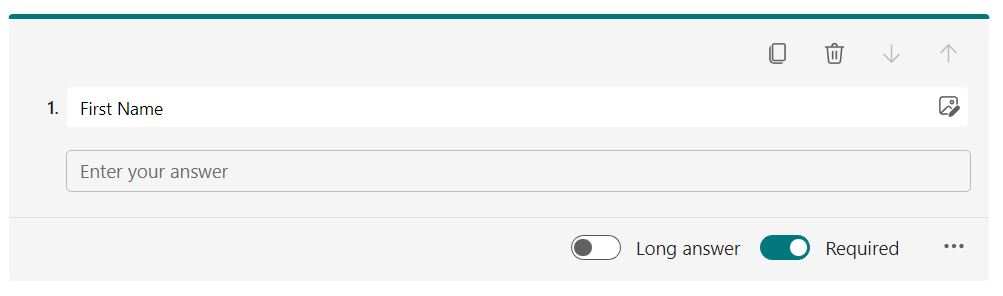
Give your form a suitable name and click ‘Add New‘, choose Text and give it a tile of ‘First Name‘. Make the field required.
Repeat the step above for all fields that you tagged on your paper based form in step 1. you can use Text Fields, Choice Fields, Number and Date Fields.
Step 3 – Build the Automation
This step is what brings the whole process together and does all the heavy lifting. To begin head to Power Automate.
Click Create to create a new flow.

Click Automated Cloud Flow

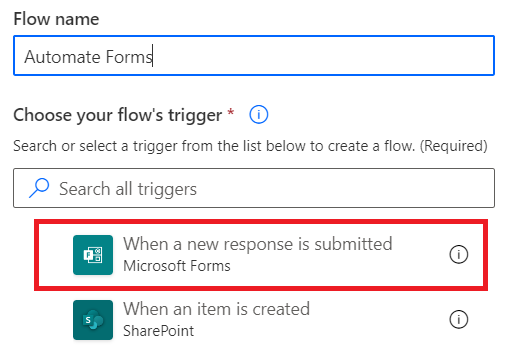
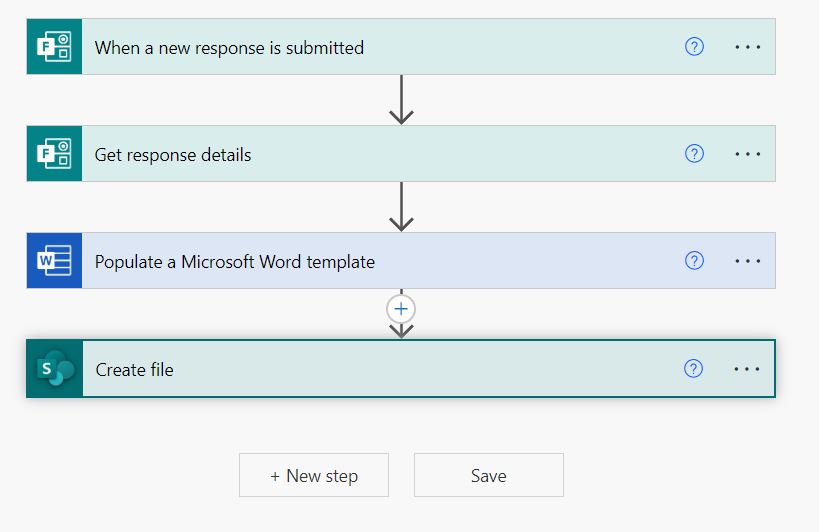
Give your flow a name and choose ‘When a new response is submitted‘ as the trigger.
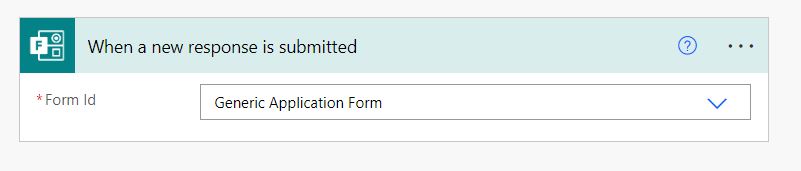
Select the form you created in Step 2 and click New Step
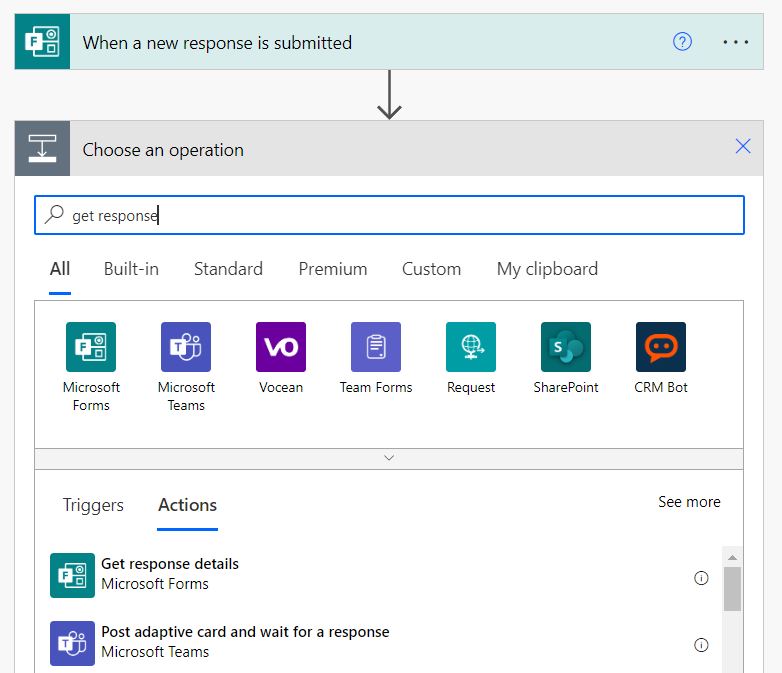
Search for and select ‘Get Response Details‘
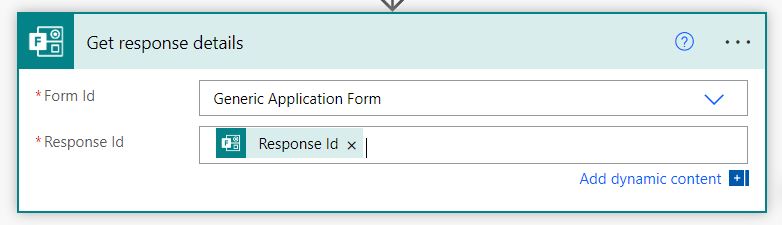
Choose the Form from Step 2 again. Under Response ID, click Add Dynamic Content and choose ‘Response ID‘.
Click New Step and search for ‘Populate a Microsoft word document‘
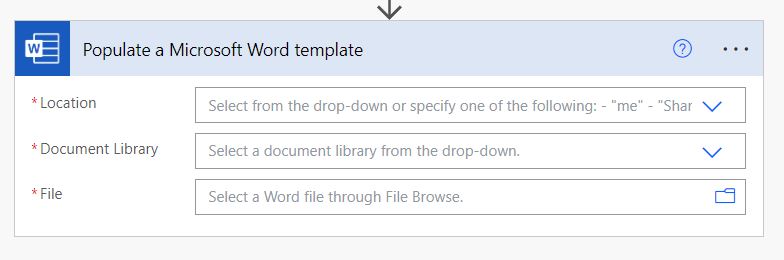
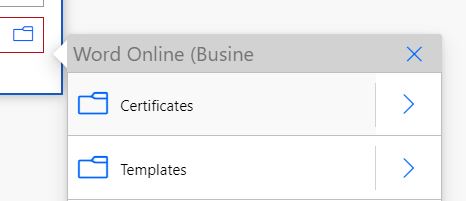
Under Location choose wherever you saved the template in step 1 Onedrive/Sharepoint.
Under Document Library, Select your document library, if using Onedrive it will just say ‘Onedrive‘
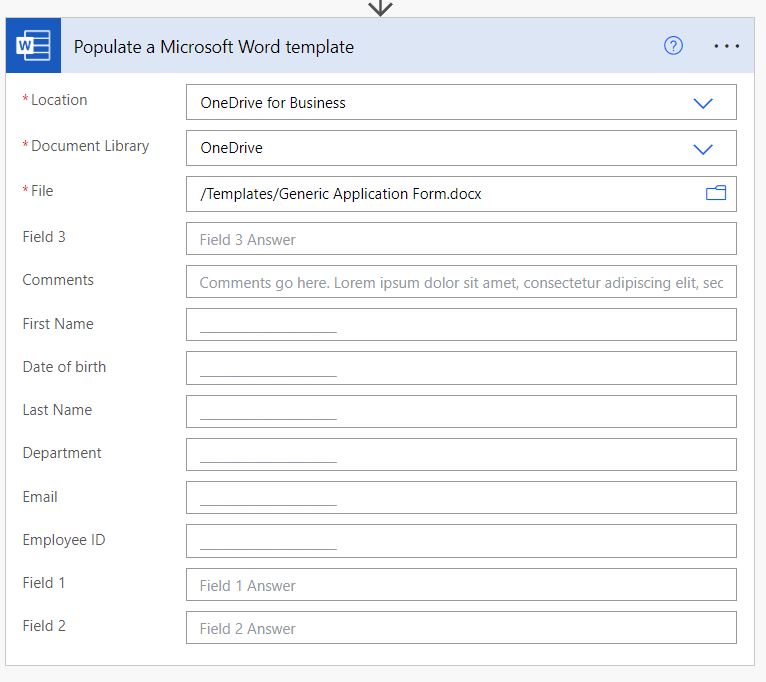
Under File you should now be able to use the file browser to navigate to the Template you saved in step 1.
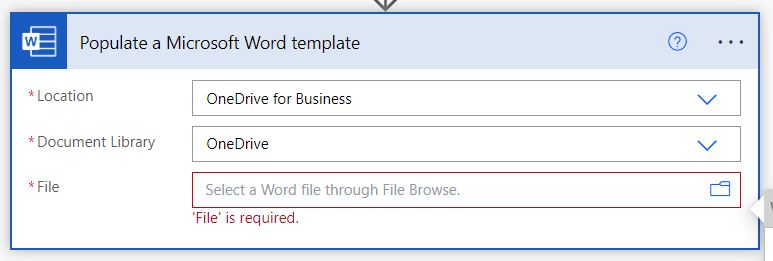
When the file is selected, the tagged fields you added in step 1 will now show up as fields.
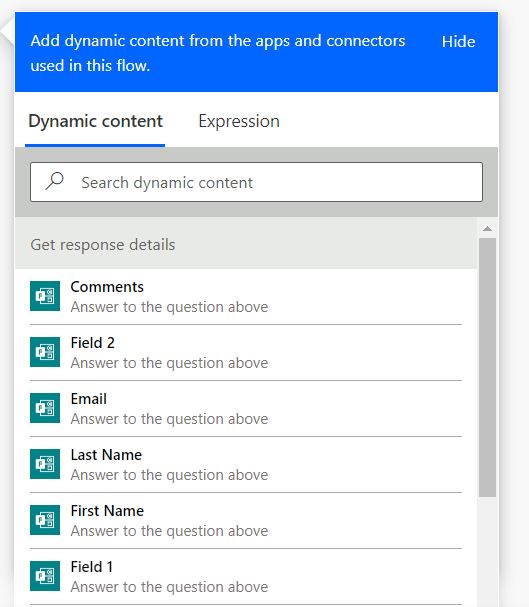
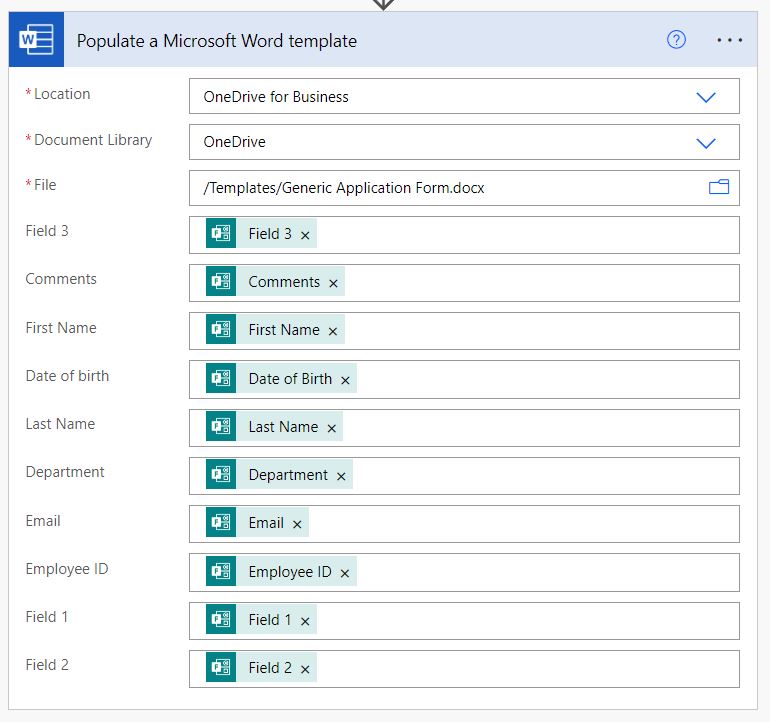
Click into each field and click ‘Add Dynamic Content‘. Under the ‘Get Response Details Section‘ choose the field that corresponds to the field on the form, for example First Name in the First Name Field. Repeat for all fields.
Once the fields are all matched up, click ‘New Step‘ and search for ‘Create File‘ depending on where you want to archive the outputted file, choose Sharepoint Or Onedrive
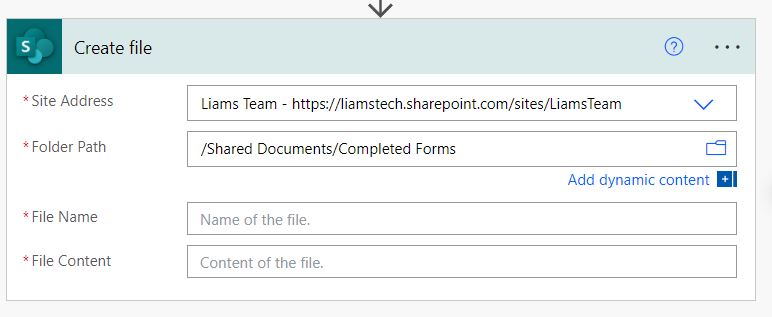
Select your Sharepoint site and choose the folder you wish to save the completed documents into.
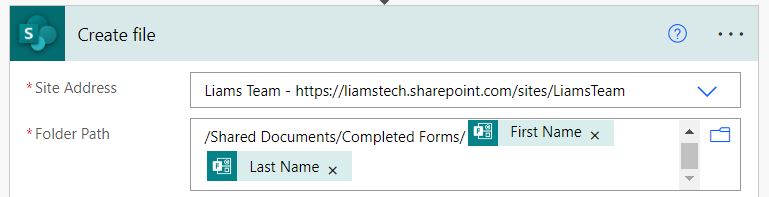
Its worth noting you can add dynamic tags to the ‘Folder Path‘, for example you may wish to save the form into a folder with the users name or employee for good house keeping. In this example i’ll use the persons surname, followed by the first name.
In the folder path add a forward slash after your folder and click ‘Add Dynamic Content’, choose the Last name and First name fields.
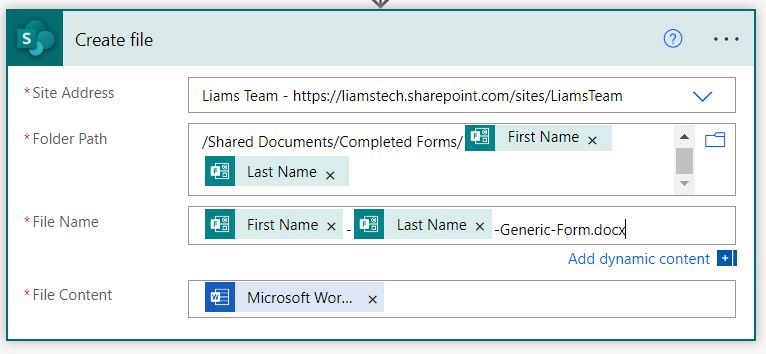
The same applies for the file name field, in this example I’ll use Firstname-Lastname-Generic-Form.docx with the Firstname and Lastname being dynamic fields.
Under File Content choose ‘Microsoft Word Document‘.
Save your flow.
That’s it, its now complete. Time to test it!
Step 4: Test Your Process
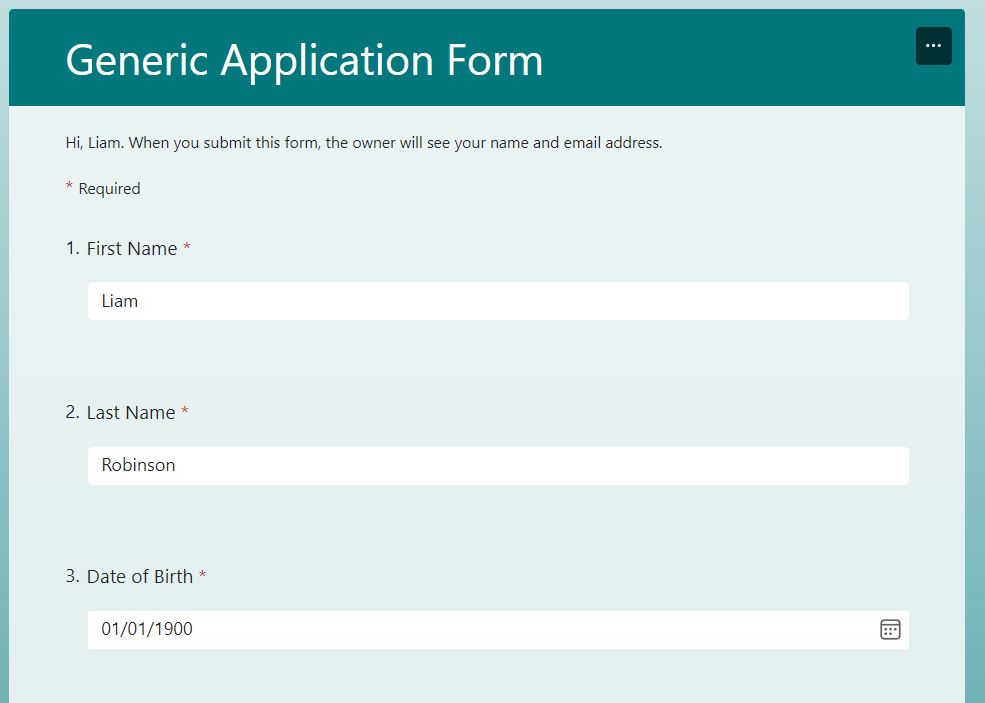
Open up your Microsoft Form that you created in step 2 and click Preview.
Fill in the form with example data and submit.
Navigate to the archive location you specified in Step 3.
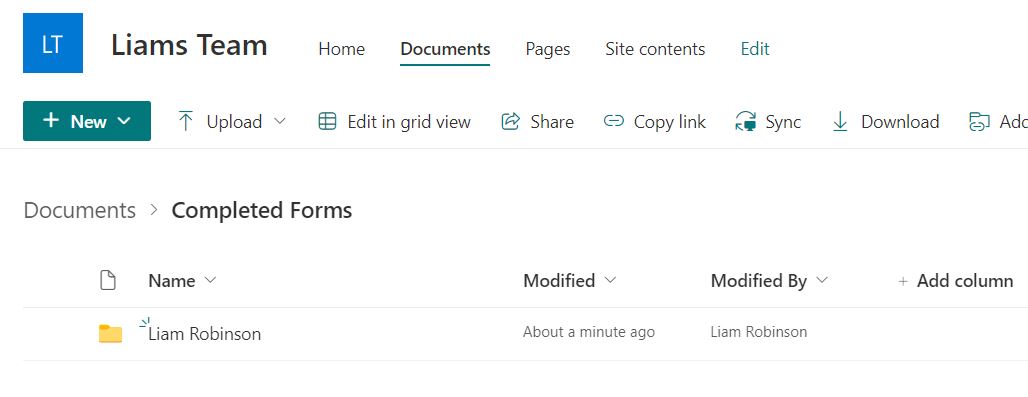
As you can see a directory has been created with the data I entered into the form. Click into this. A file has been created with the naming convention i gave it in Step 3.

Open the file, you will see the fields have been populated by the data entered into the Microsoft Form. You now have a digital archive of these files ready to print or use as required, with no Admin intervention needed!
Note: The connector ‘Populate a Microsoft Word Template’ is a premium connector which will require a premium licence. I have used a 90 day free trial however the cost is around £11 per month which gives you access to all the other premium connectors too. (Worth it!)

#EdTech Network Manager, experienced in Microsoft 365, Server 2019, Intune, SCCM and anything inbetween.