I’ve recently been developing an app for work which requires item-level permissions to be set on each item in a Sharepoint list for added security.
I want to use the ‘Person’ field in SharePoint lists to select a member of staff and assign the selected person edit permissions to that specific item, along with read permissions to whoever is selected in the other column. For example a staff member and their line manager, the member would have read permissions, and the manager edit permissions.
After a quick google I found a few different methods but non that actually worked how i wanted it to. After spending hours trying to get the REST API send HTTP request method to work correctly, i found out there’s a much easier, simpler method to achieve this, hopefully this will save you the time and effort.
To begin you should open up Power Automate and choose a suitable trigger, in this example i want my flow to set the permissions everytime an item is modified to ensure the permissions are explicitly set.
Your flow will eventually look like this..
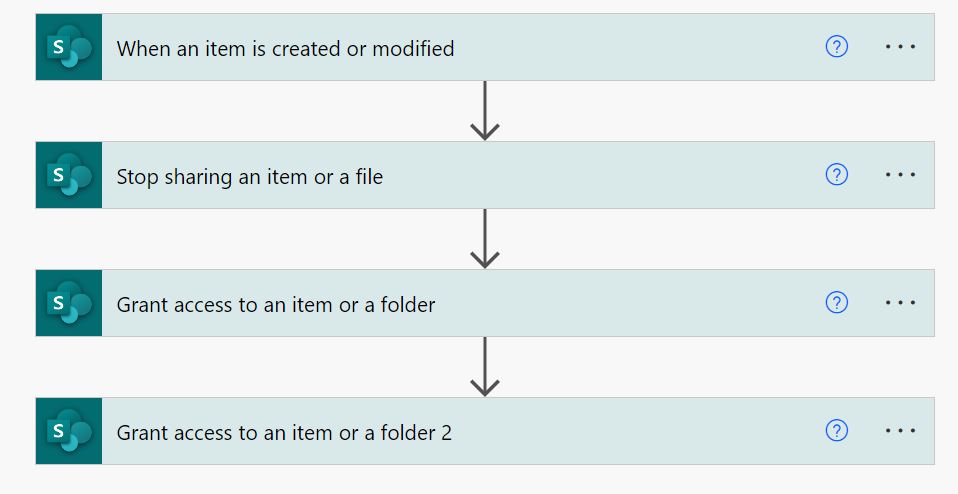
Step 1 – Set the trigger
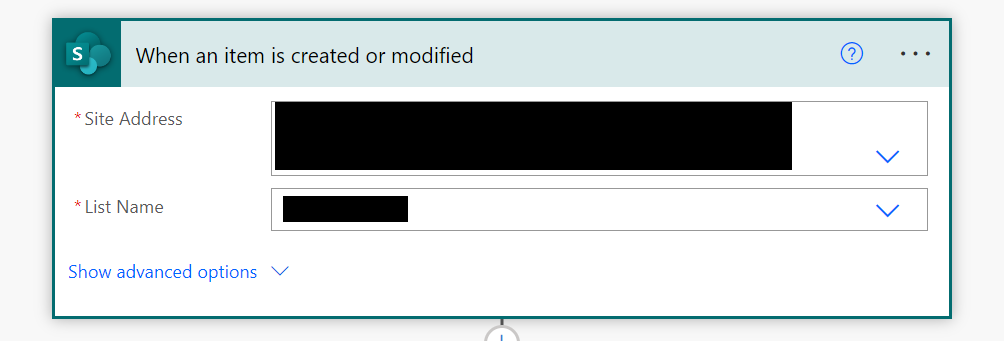
Chose the When an item is created or modified trigger and select your team/site and list.
Step 2 – Clear existing permissions
The next step is to clear existing permissions, this will delete all users currently assigned (with the exception of those with FULL CONTROL access). This is to ensure when i change the person in the “line manager” field, they no longer have access to the item.
Add New Step and choose Stop Sharing an Item or File
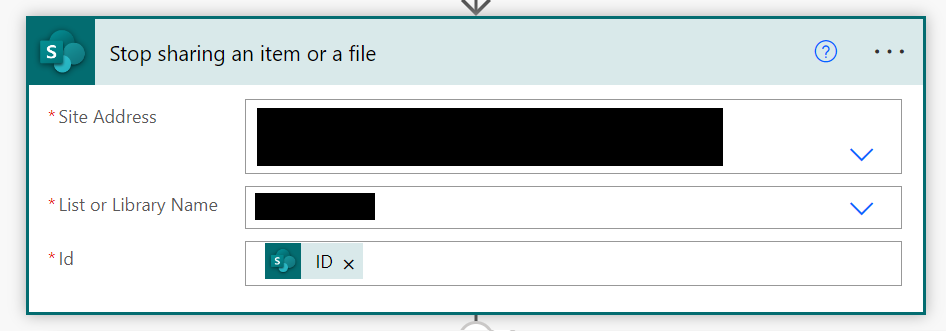
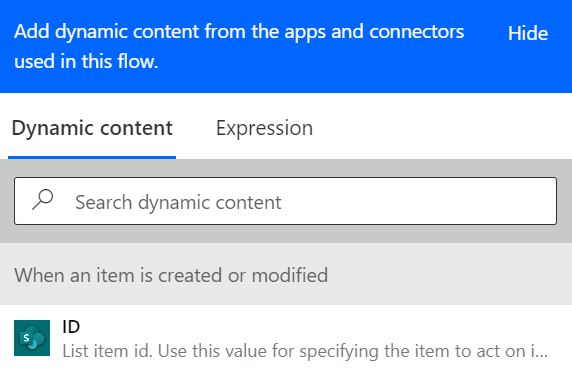
Choose the Site and List Name and use the ID field from the trigger by clicking ‘Add Dynamic Content‘
Step 3 – Grant Edit Permissions
The next step is to grant edit permissions to the user you define in the SharePoint list column, in my case the ‘line manager’.
Add New Step and choose ‘Grant Access To Item or Folder‘
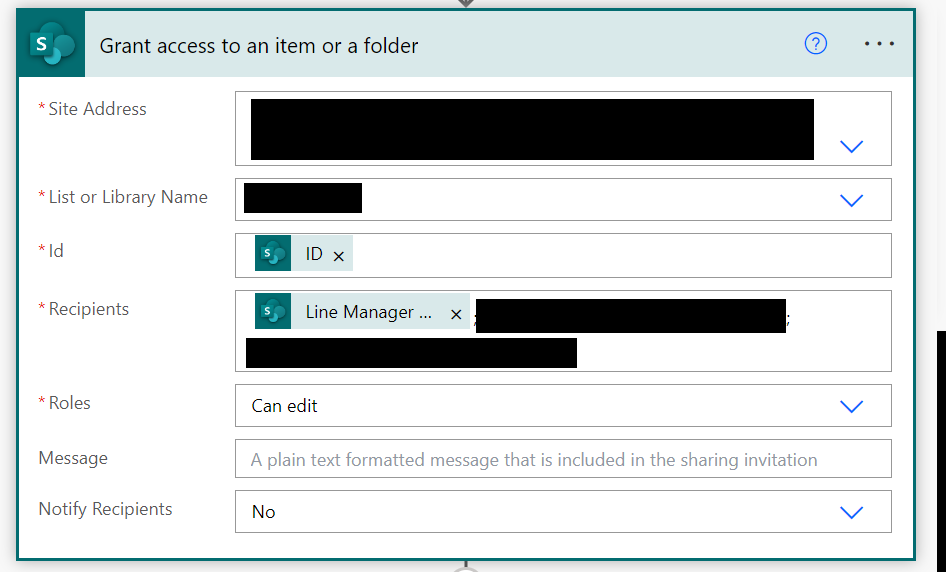
Fill in your site address and list name again, under ID field use the same ID as the last step (from the trigger). Under Recipients choose add dynamic content and look for your field followed by email. (This will be the name of your column)
You can add multiple recipient’s using a semi-colon ; and either adding another dynamic email field or typing the full email address of the users you wish to assign permissions, for example you may wish to add the CEO to each one.
Change the Role to Edit.
Note: you can also add unique roles here using the role id by entering role:<id> into the role field. For example if you wanted them to have contribute permissions you’d add role:1073741827
| Permission level | Role Id |
| Full Control | 1073741829 |
| Design | 1073741828 |
| Edit | 1073741830 |
| Contribute | 1073741827 |
| Read | 1073741826 |
| View Only | 1073741824 |
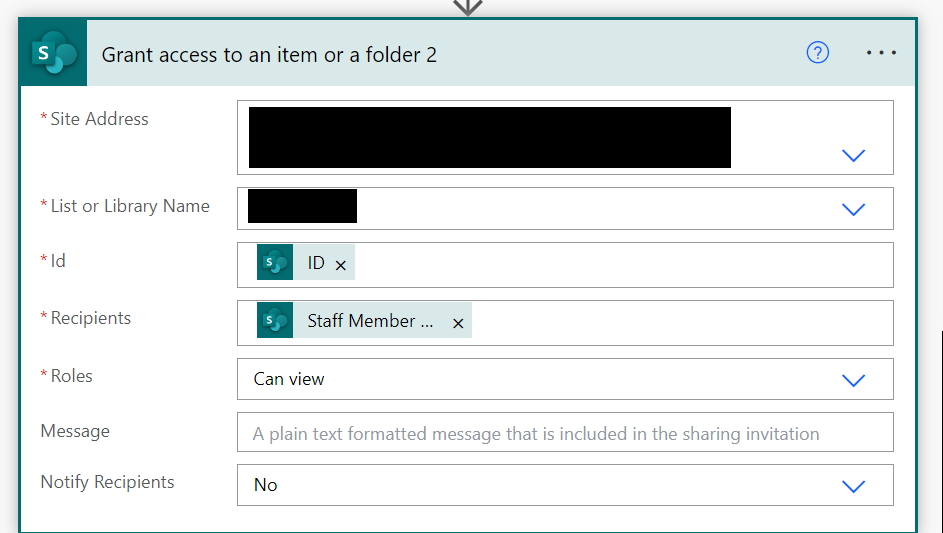
Step 4 – add Read Only permissions
Optional
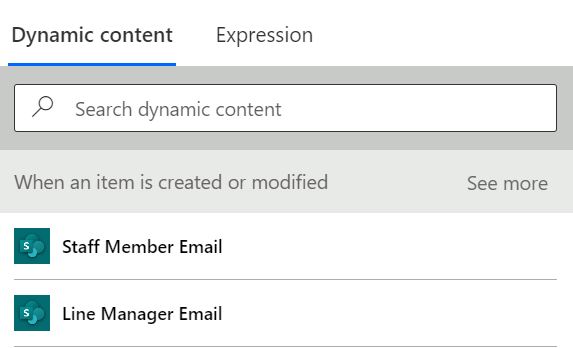
This step is exactly the same as step 3 although instead of adding Edit permissions we are assigning Read only permission to the staff member in my case. Instead of using the ‘Line Manager Email’ I’ll be using the ‘Staff Member Email‘
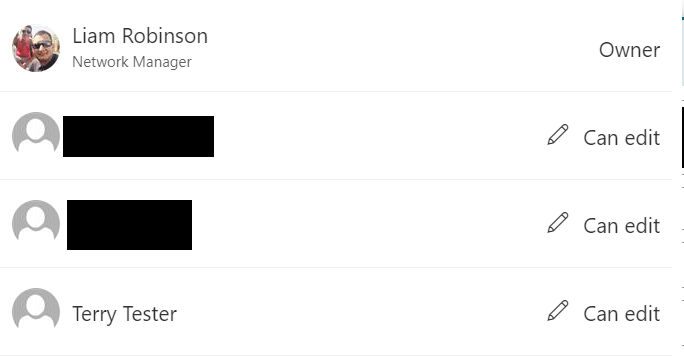
Step 5 – Testing
To test this you need to trigger your flow by editing an item in your list. Try by setting the ‘Line Manager‘ field to a test account.
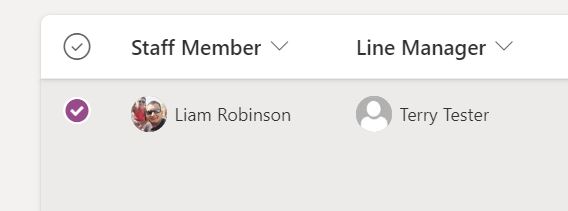
On your list right-click the item and click ‘Manage Access‘ you should now see the users in the list with relevant permissions.

#EdTech Network Manager, experienced in Microsoft 365, Server 2019, Intune, SCCM and anything inbetween.