In this post i will explain the process of deploying Office 2016 Professional Plus unattended with Microsoft System Centre Configuration Manger 2012. This does not cover office 365 professional plus.
Step 1: The first step is to download your Office 2016 installation iso from Volume Licensing Centre and copy the contents to your sources folder for example;
\\SCCMServer\Sources$\Apps\Microsoft Office 2016 Pro Plus
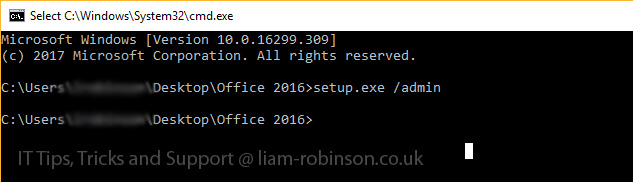
Step 2: Run the office configuration tool (OCT) by running Setup.exe /Admin from your sources folder.
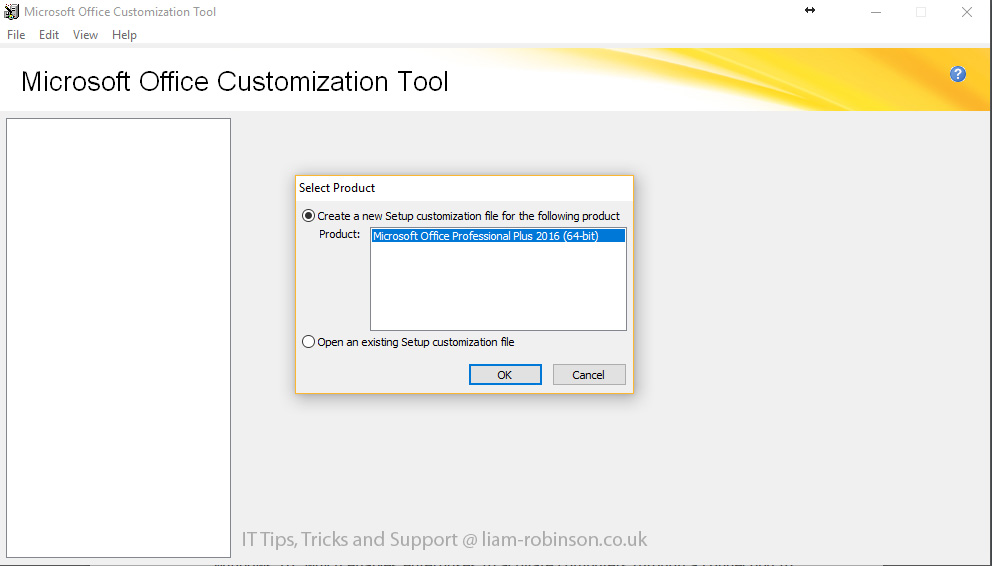
Step 3: Verify you are modifying the correct version of office.
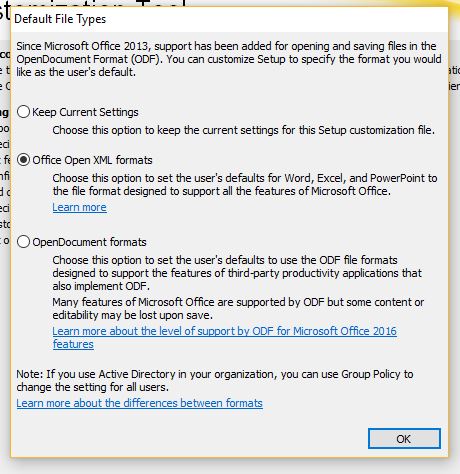
Step 4: Set behaviour for opening OpenDocument format ODF, this is your choice.
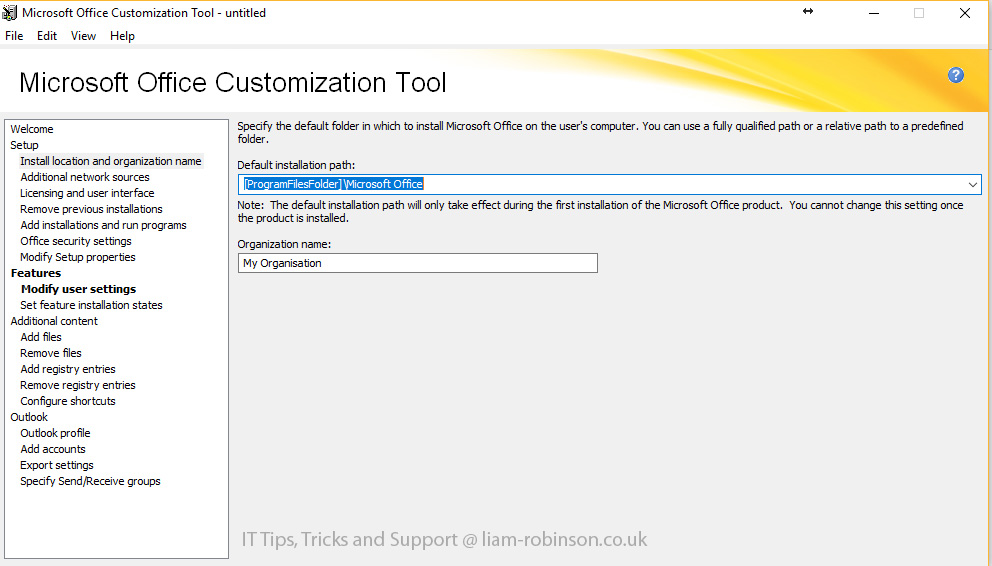
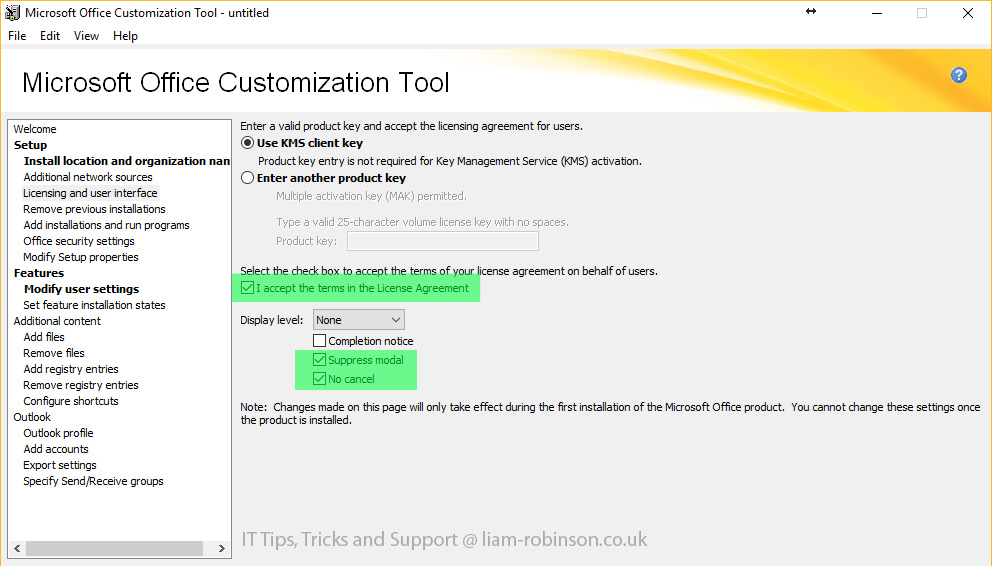
Step 5: Customising Install directory, organisation name and licencing options. In these steps you can configure where Office will be installed to and supply license details for activation. If you plan on using KMS you can view my article here on How to install kms server and activate office 2016. If you do not wish to use KMS here you should specify your MAK Key. You want to accept the terms of the licence agreement and choose Suppress Modal & No Cancel
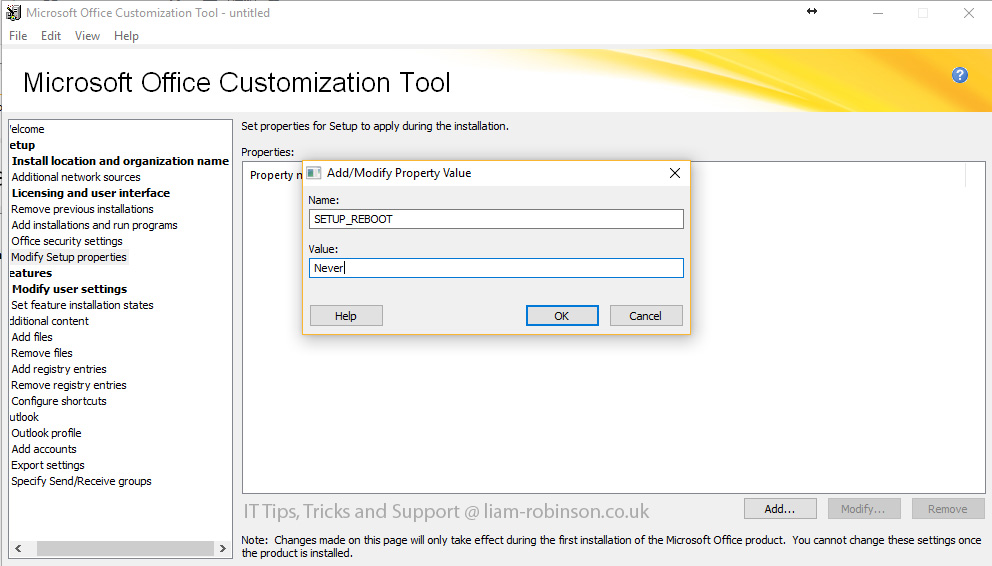
Step 6: You now want to add setup properties and tell the installation never to reboot the PC, to do this click ‘Modify Setup Properties and add… Enter SETUP_REBOOT as the name and Never as the value. The name is case sensitive.
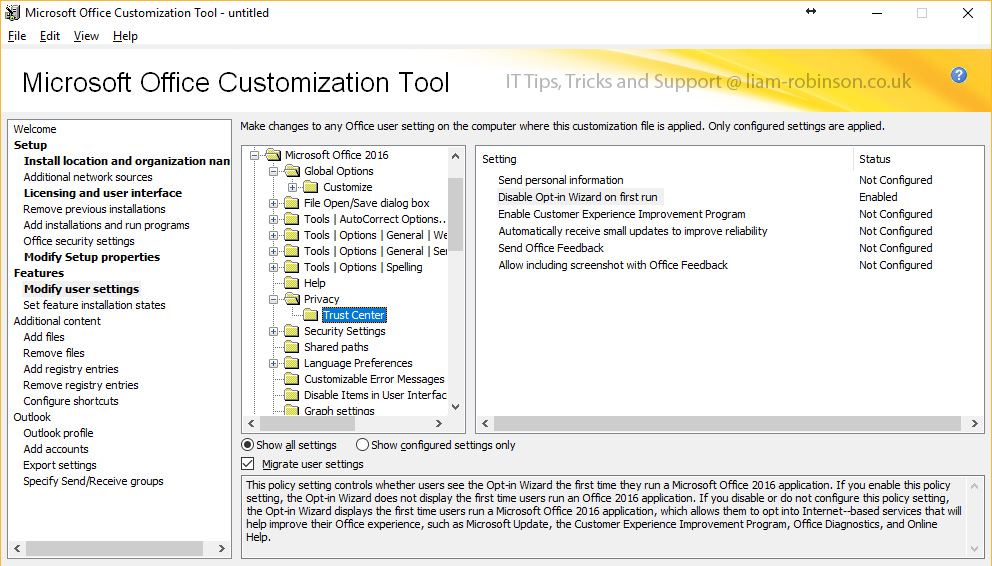
These following steps can be configured with a GPO however they can be configured during the setup. For this example i’ll only customise the Office 2016 welcome screen.
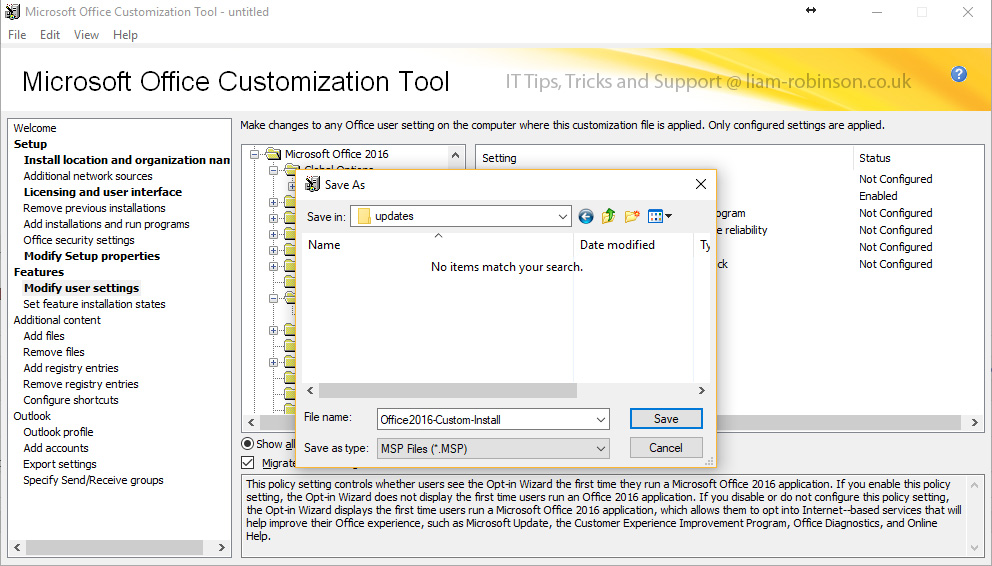
Click file > save as and save the file in the updates folder in your sources folder.
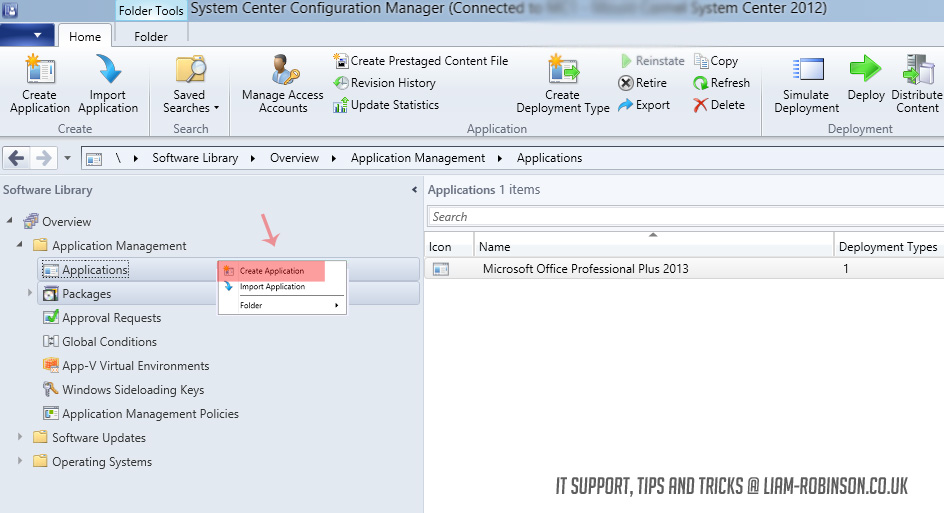
Step 7: Head over to your SCCM server and navigate to Software Library > Application Management > Applications > Right Click > Create Application
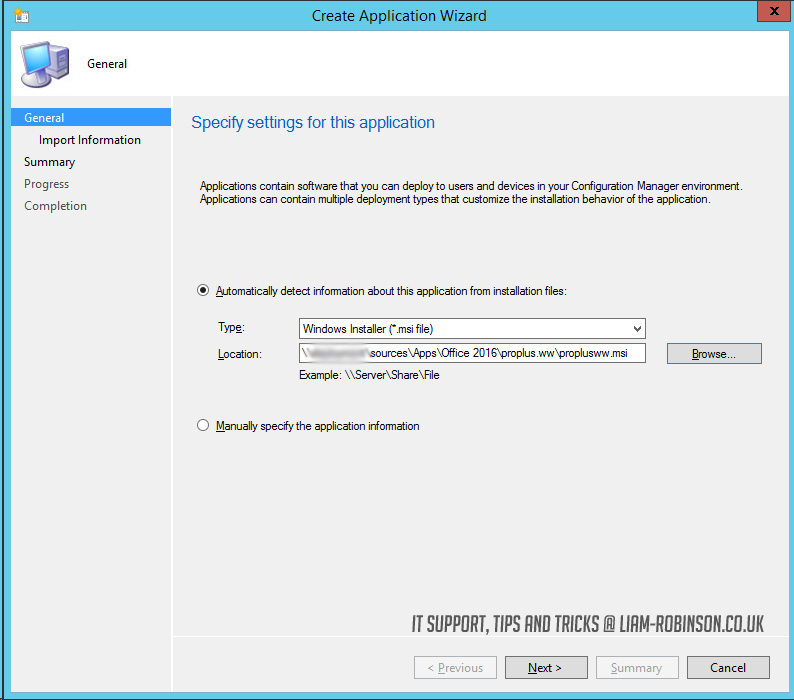
Step 8: Navigate to the .MSI located win the proplus.ww folder in your sources directory. e.g.
\\SCCMServer\sources\Apps\Office 2016\proplus.ww\proplusww.msi
Step 9: You should now edit the ‘import information’ section filling in the details as you’d like to see them in SCCM. Under ‘Installation Program’ you should remove the default value msiexec /i “proplusww.msi” /q and use Setup.exe instead.

#EdTech Network Manager, experienced in Microsoft 365, Server 2019, Intune, SCCM and anything inbetween.