In this tutorial, I will demonstrate how to remove unwanted System apps from Windows 10 to ensure smooth deployment using SCCM (2012). There are numerous ways to achieve the same result however this is the method I have used which has worked for me. This may not be the preferred way for most people however I find it works well for me.
I will assume you have already set up a build and capture Task Sequence to get you base WIM file as this method does not work on the install.wim image provided by Microsoft. You should also have a build/deploy task sequence ready. For this example, I am using SCCM 2012 however this should apply to newer versions of SCCM.
Step 1: You want to start off by downloading this Powershell script by Andre Picker and extracting it to your preferred location.
https://gallery.technet.microsoft.com/Removing-Built-in-apps-65dc387b
Step 2: Run an elevated instance of Windows Powershell
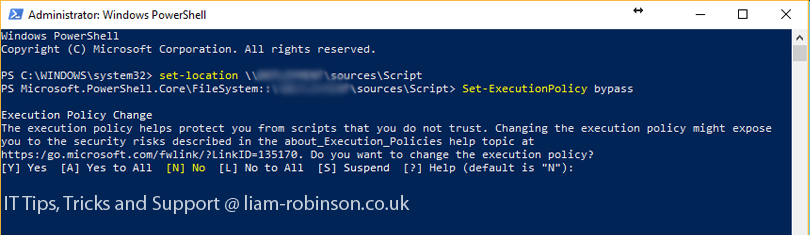
Step 3: Set your directory to where your removeapps.ps1 script is stored. E.g
Set-Location \\yourserver\sources\scripts\
Step 4: Now you need to set the execution policy to bypass to ensure the script runs, you can do this by running the following.
Set-ExecutionPolicy
A message will appear asking you to confirm. Choose Yes.
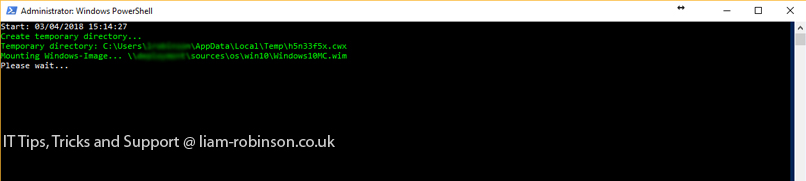
Step 5: Now you want to load the script and specify the location of your .WIM file from your build and capture.
.\removeapps.ps1 -pathtowim \\server\sources\windows10.wim -select $true -index 2
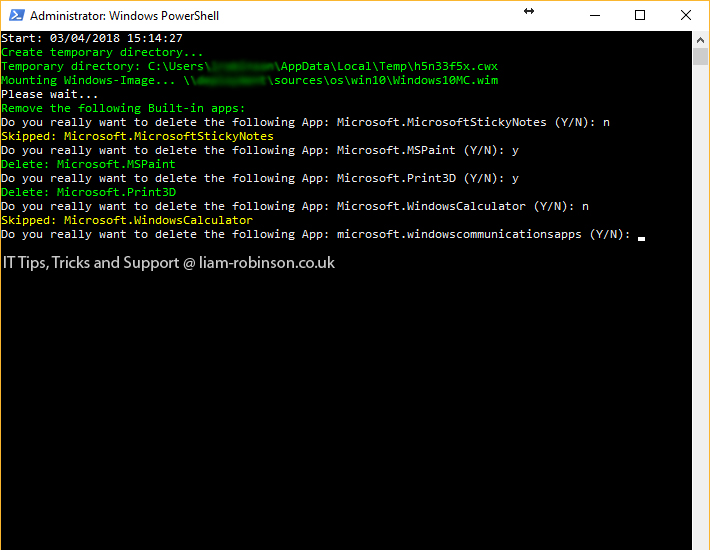
The image will now be mounted and you can chose which apps you wish to keep or delete, for example i want to keep sticky notes in my image as its useful for staff. You can change -index 2 to which index you like however i found this works better on my Windows 10 Education Image.
Continue the process and remove the apps you no longer want in your image.
Once finished Powershell will dismount the image file. This could take a few minutes so please be patient.
Step 6: Update your Build/Deploy SCCM Task Sequence with the modified .WIM file.
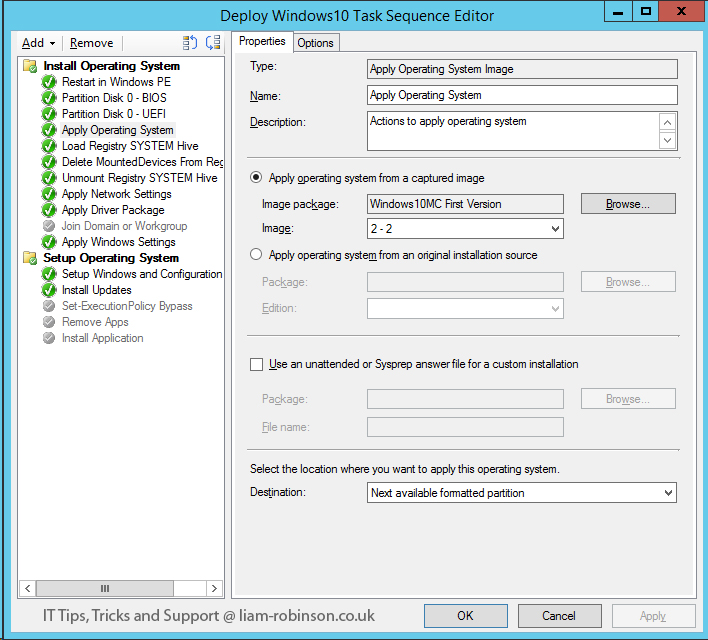
Remember to select the correct image so it corresponds with the index you selected in step 5.
Step 7: Build and test on a machine. If followed correctly you should now have a clutter free Windows 10 Installation.

#EdTech Network Manager, experienced in Microsoft 365, Server 2019, Intune, SCCM and anything inbetween.