In this short tutorial I will demonstrate how to deploy Office 365 or Office 2021 using the Office Deployment Tool (ODT)
Step 1: Customising the deployment
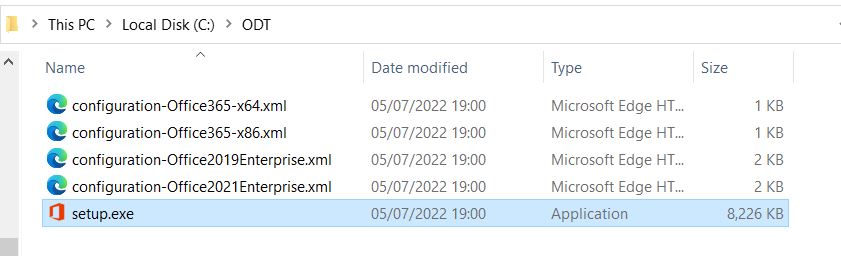
Firstly, head over to the ODT download page from Microsoft Download Office Deployment Tool from Official Microsoft Download Center and extract the files to a suitable location. In this example i’ll choose C:\ODT. You should see an executable called Setup.exe and a number of example XML files.
Next you’ll want to head to the Office Customisation Tool Office Customization Tool – Microsoft 365 Apps admin center This is where we will customise the options to suit our deployment needs. The first section you will choose which version of Office you wish to deploy, the two main options are Office 365 or Office 2021. They are both very similar however Office ’21 is more of an LTSB option, ideal for organisations that don’t require any new features, just need a stable version of office that does not change. For most users Office 365 would be the preferred option as the product is constantly evolving with newer versions and updates being added monthly (or based on your update channel settings).
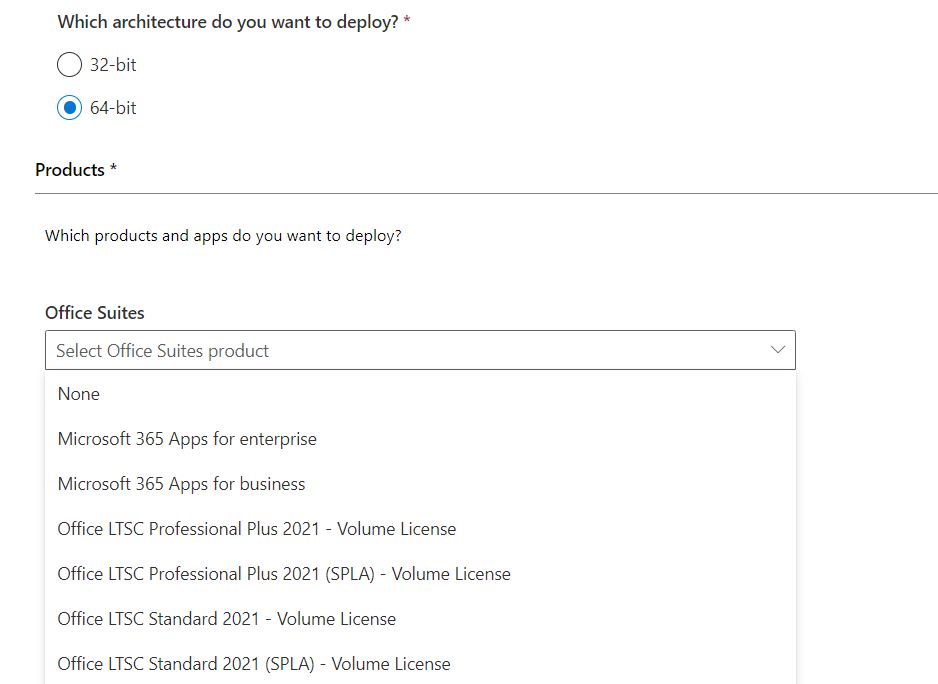
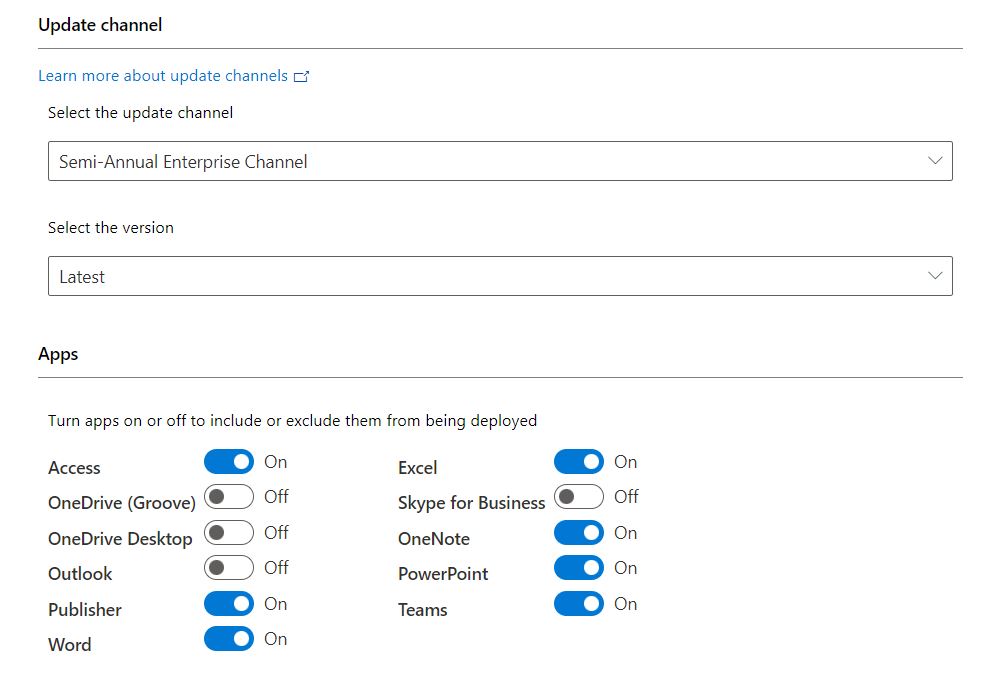
Once you have chosen your version, you can continue to customise how you want Office to deploy using the toggles and dropdowns. You can choose which products you want, and which products you don’t want to install.
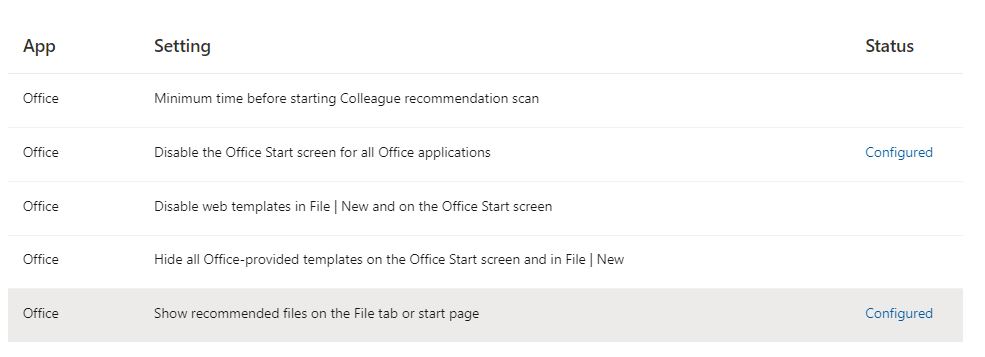
Towards the end of the customisation tool, you can chose to turn on/off Office features, this works in a similar way to GPO’s. You may wish to take some time in deciding what is best for your users, however a big one for me was disabling the start-up screen on all office applications.
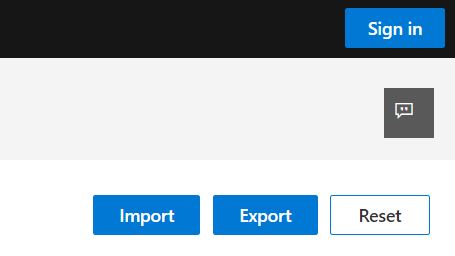
Once you are done customising your installation, click Finish. You can now click ‘Export‘ and download your custom XML file. You can also choose to sign in which will save your customisation to your Microsoft 365 Account.
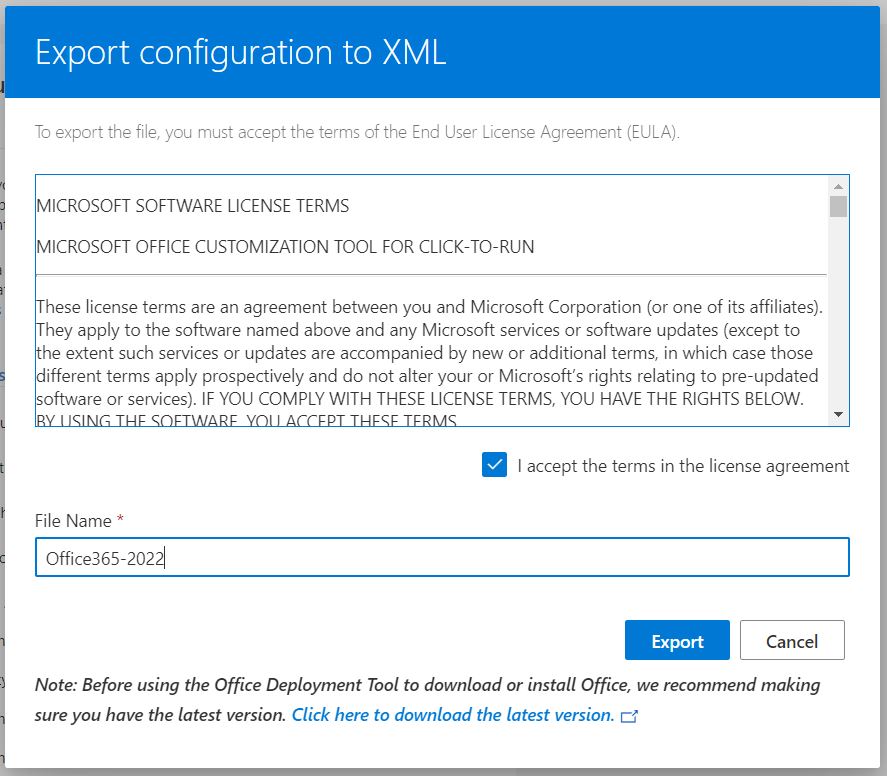
You can now give your profile a meaningful name and accept the licence agreement.
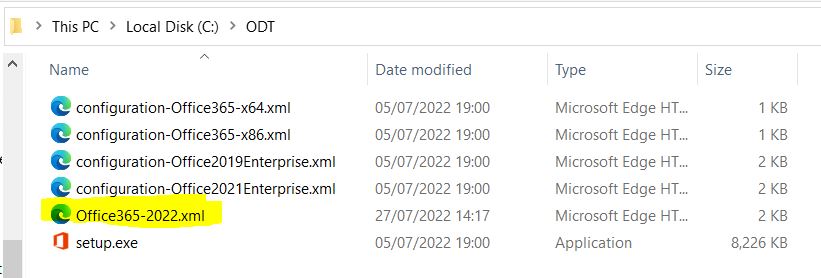
Add your downloaded XML file to our ODT folder with the other demo XML files (these can be removed if desired)
Step 2: Downloading Install files
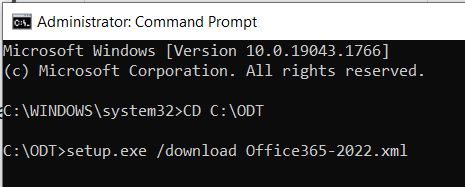
Now we’ve decided how we want office to look, we need to download the install files. Since office 2019 Microsoft have been using the click-to-run method, removing the old .MSI way of installing Office. To download the files we should first open up an elevated command prompt (Run as admin) and change the directory to our ODT folder
CD C:\ODTThen you can use the following command to initiate the download.
setup.exe /download Office365-2022.xmlReplacing Office365-2022.xml with the name of your XML file.
The tool will now download the install files in the background, this may take a while depending on your internet connection. You can verify that the download has started by checking your ODT folder, you should now see a folder called ‘Office‘. Return to the CMD window and wait for the command to complete.
When the files have finished downloading, you can now install office using the following command.
setup.exe /configure Office365-2022.xmlReplacing Office365-2022.xml with the name of your XML file.
Office will now be installed. Please remember in order to use Office365 you will need a valid licence/subscription.

#EdTech Network Manager, experienced in Microsoft 365, Server 2019, Intune, SCCM and anything inbetween.