Password management in the enterprise can be a difficult task, thus leading to System Administrators setting a the same local admin password across each device, which is great for simple management, but what happens if a hacker gains access to this password? They now have access to your entire estate, so how can we easily manage local admin passwords, without giving potential hackers lateral movement across your network? Thats there LAPS comes in.
Microsoft Local Account Password Solution
LAPS is Microsoft’s own password manager that integrates into Active Directory, giving admins the options to set unique local admin passwords for each device, which can be easily retrieved from AD and rotated on a schedule.
We will be using Powershell and Group Policy to setup Microsoft LAPS on our domain.
Before we begin, ensure you have a backup of your Domain Controllers. Nothing in this setup should cause any issues with your domain however its always best practice to backup before making changes to your Domain.
Firstly, download LAPS from Microsoft and install on a Domain Controller or management machine.
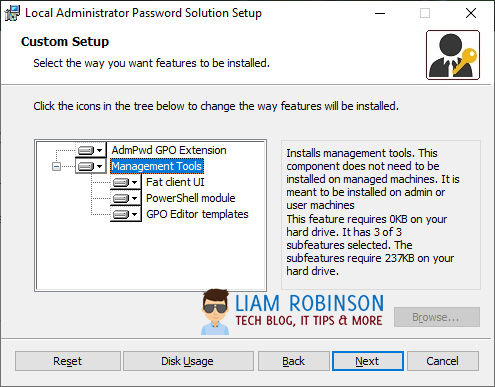
Install all the management tools.
Extending Active Directory Schema
The next step is to extend your AD Schema to support LAPS by adding ms-Mcs-AdmPwd and ms-Mcs-AdmPwdExpirationTime to computer attributes. To do this open a powershell window (as admin) and import the AdmPwd.ps module.
Import-Module AdmPwd.ps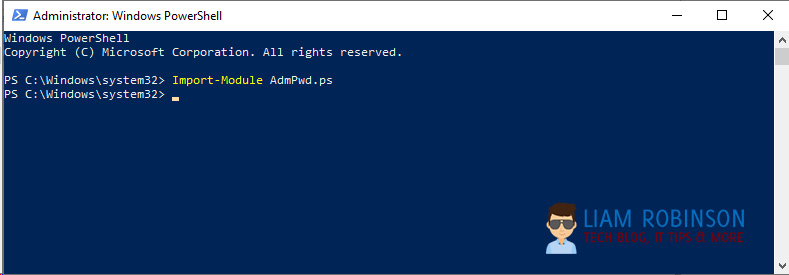
Now run the following command to add the schema (note: you must be part of Schema admins to run this command, you ca add yourself in ADSI edit and click your forest)
Update-AdmPwdADSchema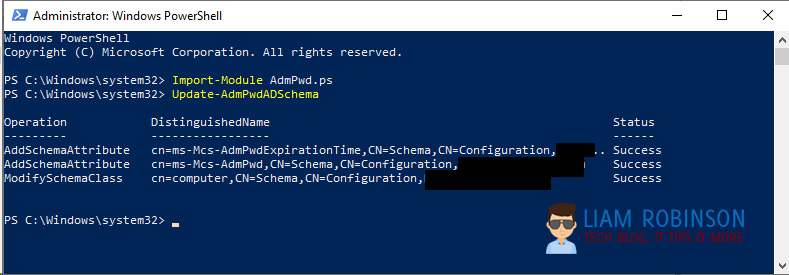
Checking Permissions
Now is a good time to check permissions to ensure only authorised users have access to edit these new properties. To do this run the following command, substituting ‘YourOU’ with the root OU where your PC’s sit in AD, for example ‘Computers’
Find-AdmPwdExtendedRights -Identity YourOU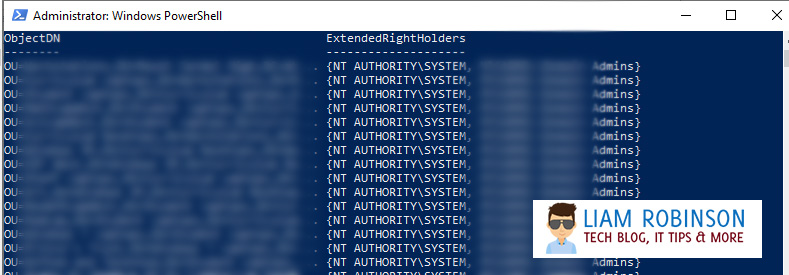
Here you can see SYSTEM and the admin groups have access, if you notice any other groups like ‘Authenticated Users’ you should change this by going to ADSI Edit and changing the properties of the Computers OU.
Allowing PC’s to change their passwords
You now want to run the following command which will allow the PC’s to write the new password and read/write the timestamp.
Set-AdmPwdComputerSelfPermission -OrgUnit YourOU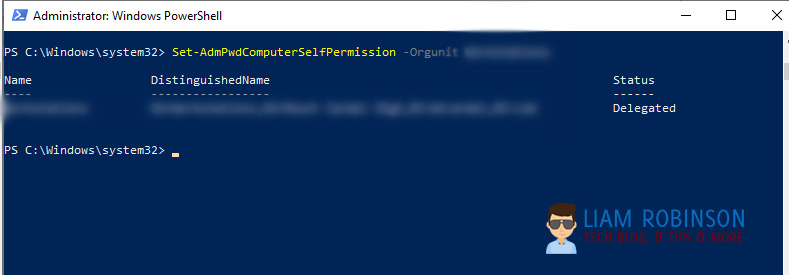
Configuring Password Policy with Group Policy
You will use group policy to determine the password setup & complexity.
Depending on your setup you may need to import the .ADMX and .ADML files into your central store, by default the LAPS setup will place the AdmPwd.ADMX and .ADML files into C:\Windows\PolicyDefinitions, if you use a central store you should copy these into your Sysvol folder (instructions can be found in my previous article here, the steps are the same)
Once you have the ADMX/ADML files, Create a new GPO on your Root Computers OU and navigate to Computer Configuration > Policies > Administrative Templates > LAPS.
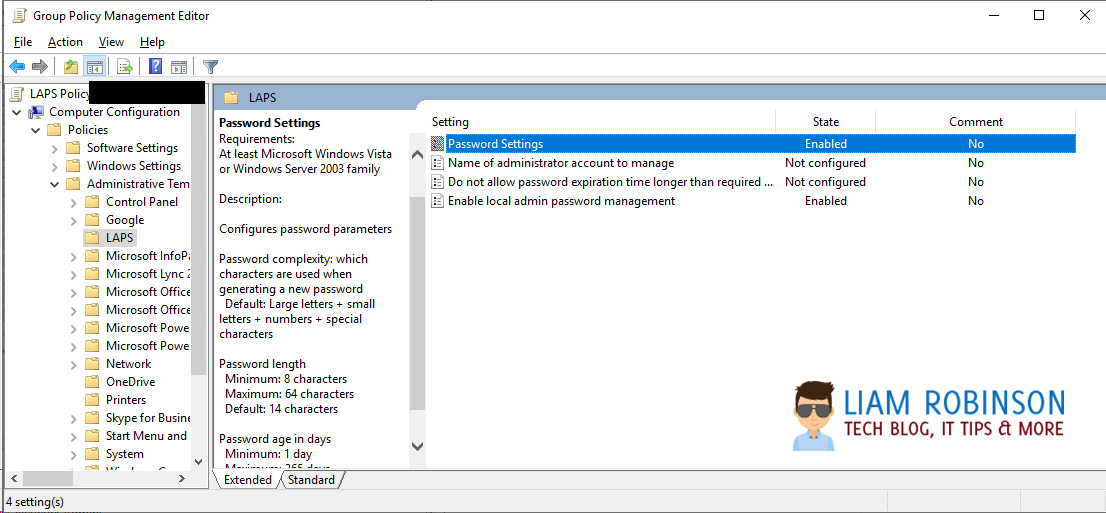
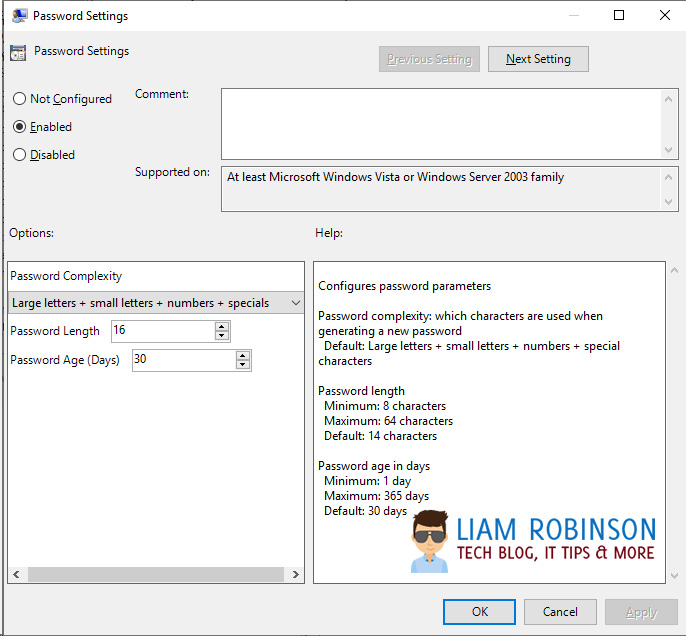
Password Settings
Configure this to set your password requirements, when enabled, by default passwords are 14 characters long mixture of numbers letters and special characters, which expires every 30 days. For most this is enough but you can tweak to your needs.
Enable Local Admin Password Management – This is the on/off master switch to enable or disable LAPS on your domain, set this to enabled.
Do not Allow Password Expiration Time Longer than Required Policy – You should set this to enabled, if your current Admin password is set to never expire it wont automatically update without this enabled.
Pushing out the LAPS client
In order for LAPS to work your endpoints need the Client to be installed, there are a number of ways you can install the client but the easiest way is to deploy the MSI via MECM/SCCM with the quiet Switch
LAPS.x64.msi /quietBy default this will only deploy the LAPS AdmPwd.Dll file (Client Side Extension) so endpoints can be managed via LAPS.
Managing Passwords
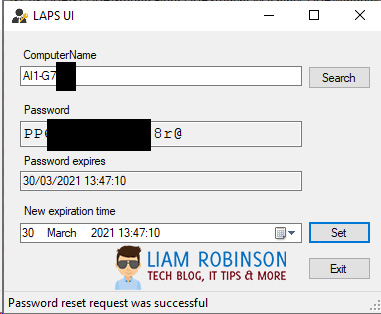
Once your clients have the LAPS CSE installed and have updated group policy, the easiest way to manage the passwords is via the LAPS UI application
Simply Load up the LAPS UI with elevated privileges, search for the computer you require. If the CSE is installed and Group Policy settings applied, you should be able to see the password and expiration time. Note: the UI must be run as administrator to see the password.

#EdTech Network Manager, experienced in Microsoft 365, Server 2019, Intune, SCCM and anything inbetween.
Curious if this is the same Liam Robinson who publishes psychology books? If so, why I ain’t seen you on a New York Times bestseller list since you claim to be so persuasive? I eagerly await your reply.
Truly,
Justin L.
Hi Justin, think you may have me confused, i’m also not the same Liam Robinson that used to play for Burnley F
C, if that clears things up 🙂