Around January 29th 2019 a wide range of phishing emails were sent to schools across the country and continue to spread like wildfire. The scam works a little like this;
- User receives phishing email asking to ‘Click here to display message”
- User is redirected to a fake login page telling them their session has expired (or variation of)
- User logs in with email and password
- The ‘Hacker’ now has these credentials
- The compromised email account is used to send emails to as many people on the contact list as possible, often replying to past emails with the same subject line, making the victim believe it is a legitimate email.
- The process is repeated & due to the nature of schools, most users will collaborate with other schools, hence why 100’s of schools are receiving these messages.
Protecting User Accounts
You’d think a common phishing scam would be easily flagged up by your email provider, according to Microsoft “We’ve built multiple spam filters into your Office 365 or Exchange Online Protection (EOP) service, so your email is protected from the moment you receive your first message.” – Apparently not.
Two/Multi-Factor Authentication (MFA)
One of the greatest things you could do to protect your email accounts is to enable Multi-Factor Authentication, okay it can be a pain in the backside having to open your phone app everytime you want to log in on a new device, but it will protect you from other people logging into your account.
To enable MFA head to your Office365 Admin > Users
Under ‘More’ you will find setup Azure MFA
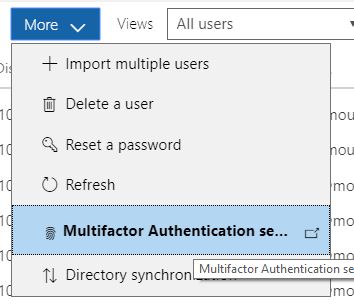
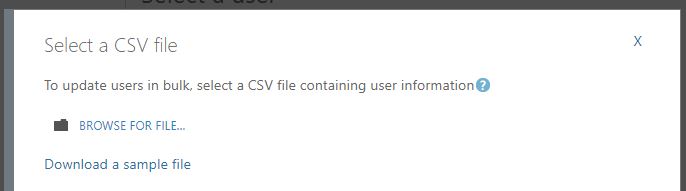
Here you can select which users you would like to enable MFA for, if you want to enable it for all staff you can use the Update in Bulk tool
Blocking emails based on regular expressions
Another way to protect your users is to add a quarantine filter based on regular expressions in order to catch known spam.
In this current attack the emails have contained the school name, time and a date in long format like this:
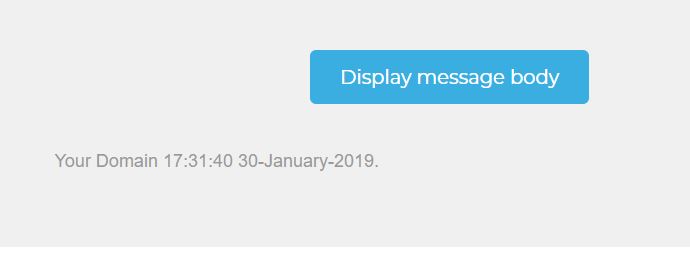
Your domain would be substituted with the first part of your domain name, stripping the TLD for example Yourschool.lancs.sch.uk would just be Yourschool.
Because the date and time will change each time, Edugeek user Katy has provided the following regex codes to block emails based on the regular expression.
(DomainNamesHere) \d{2} \d{2}-([a-zA-Z]{3,9})-\d{4}.
\d{2}:\d{2}:\d{2} \d{2}-([a-zA-Z]{3,9})-\d{4} \((DomainNamesHere)\)
[13][a-km-zA-HJ-NP-Z1-9]{25,34}\s
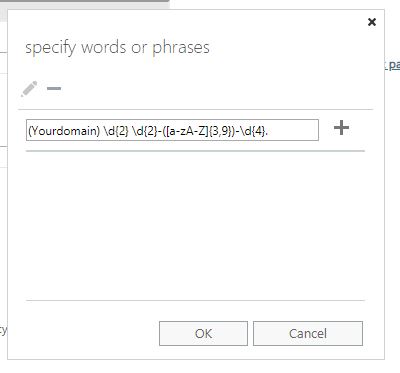
(Yourdomain) \d{2}:\d{2}:\d{2} \d{2}-([a-zA-Z]{3,9})-\d{4}
Now you may be wondering what this means (like i was), the \d{2} means any digit between 0-9 and that there must be 2 of them {2} – This equates to the time so \d{2}:\d{2}:\d{2} could be any time between 00:00:00 & 99:99:99. ([a-zA-Z]{3,9}) is the month section, so any letters between 3 and 9 characters long, the \d{4} is the year, so any digits 0-9 and there must be 4 of them.
I know that probably will not make much sense but have a play on Regexr.com and you should understand pretty quickly.
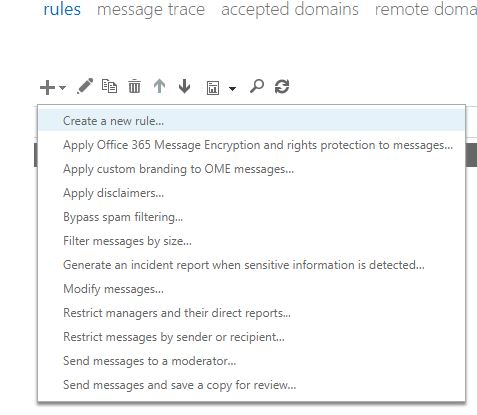
To add these head to EAC (Exchange Admin Centre) and click ‘Mailflow’
Click create new rule
On the pop-ip, give the rule a name and click more options
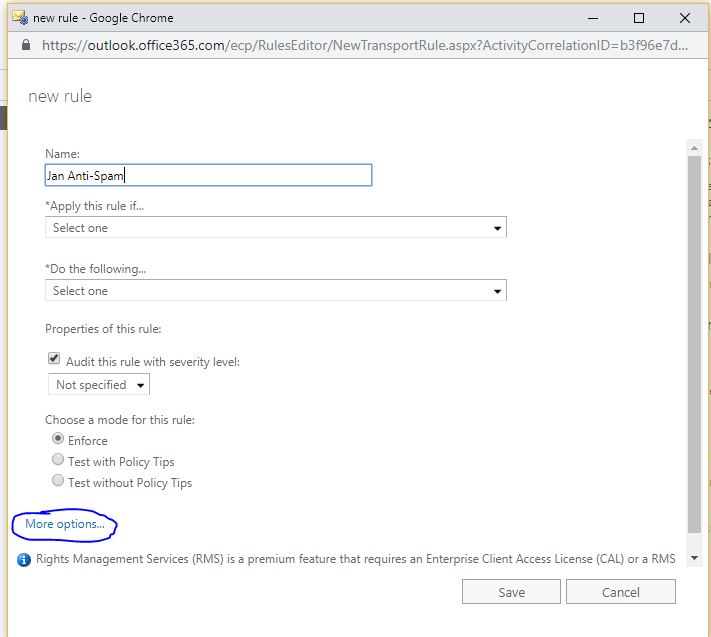
Apply rule if: The subject or body matches: these text patterns
(this is where you enter the regex patterns, one at a time)
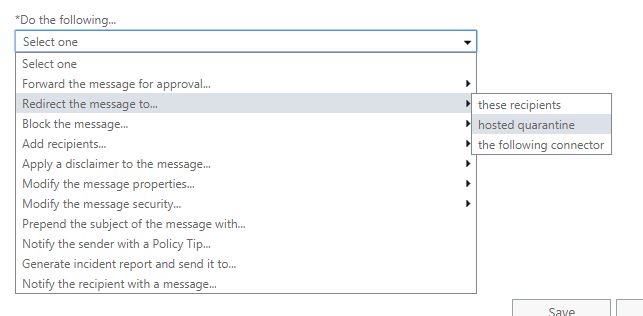
Do the following, redirect the message to hosted quarantine
This should catch most of the current wave of spam emails. To check your quarantine go here > https://protection.office.com/#/quarantine
WARNING: This could also catch legitimate emails, i would monitor the quarantine closely and allow any that may be false positives.
Configuring Outbound Spam Policy
This for me is one of the more ‘Useless’ settings but worth configuring none the less. As stated earlier, Office365 has built in spam protection (allegedly), there is a ‘Default outbound spam policy’ but unfortunately its not as configurable as you’d expect.
Enter the Exchange admin center (EAC), navigate to Protection > Outbound spam, and then double-click the default policy.
Here you can enable the two options and have any emails marked as spam sent to your inbox

Send a copy of all suspicious outbound email messages to the following email address or addresses.
This will not block the messages but will give you an indication of which accounts are sending spam.
Removing spam that has already made it to users mailboxes
Unfortunately our school was hit, one of the compromised accounts send the email to ‘All staff’ as well as certain staff individually. To avoid further damage i deleted the offending emails from all users mailboxes in the hope that i could remove it before they had chance to click the link.
To do this in Exchange Online (o365) follow these steps..
- Head over to Exchange Admin Center > Permissions > Admin Roles.
You will need to add your admin account to the following four admin roles, you can do this by double clicking and choosing ‘members’
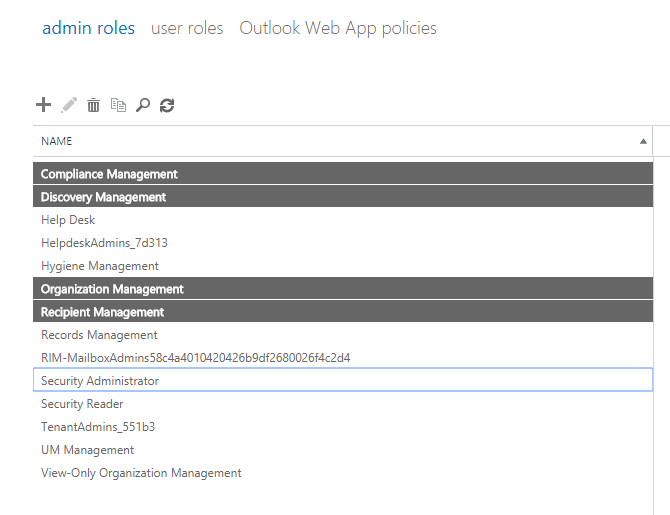
Compliance Management | Discovery Management | Organisation Management | Recipient Management
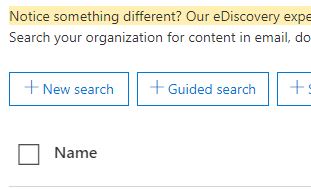
Once you are a member of these groups, head over to Security & Compliance admin centre > Search & Investigation > Content Search
Hit New Search
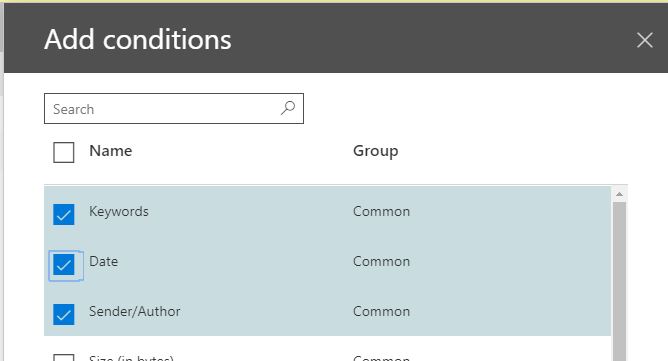
You can tweak the search criteria based on the email you are trying to remove, if you know who has sent it, and what date, enter their email as the sender and the date they sent it
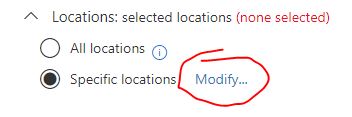
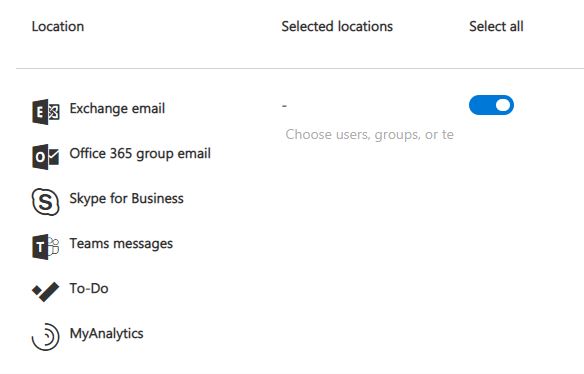
Once you’ve added the criteria based on the email you’re trying to remove, click Specific Locations (modify) and select the one which contains Exchange/Onedrive/Sharepoint
Save and Run.
After the search has finished you should have a preview of the messages it’s found. If you’ve recently added your permissions it could take up-to 4 hours before you can use the preview feature.
If you are happy the emails you want to delete have been found then continue, if not tweak your search til you find them.
Over to Powershell..
For the next part you will need to use Powershell. Open and elevated powershell window and type the following
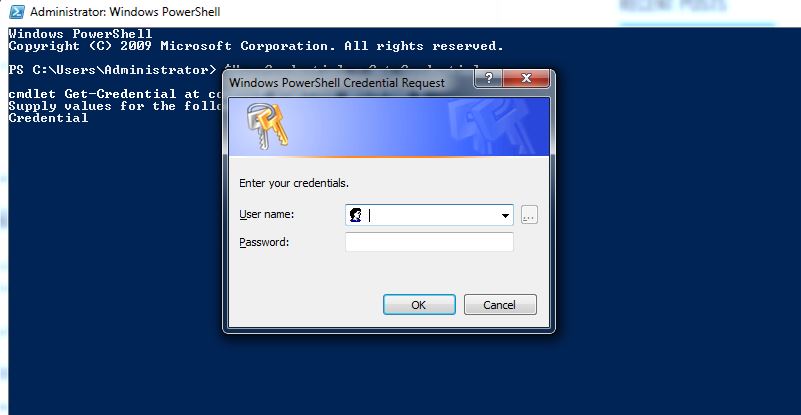
$UserCredential = Get-Credential
You will receive a prompt, enter your O365 admin credentials.
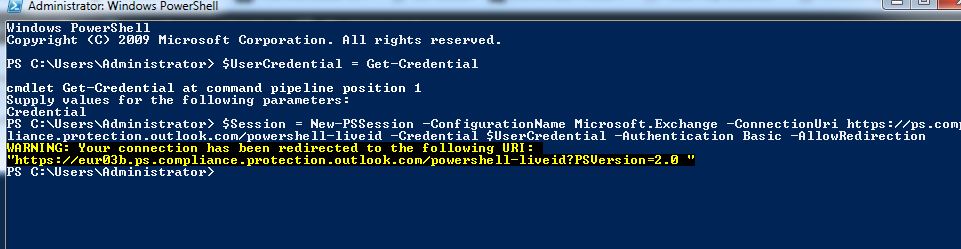
Next you should enter the following command
$Session = New-PSSession -ConfigurationName Microsoft.Exchange -ConnectionUri https://ps.compliance.protection.outlook.com/powershell-liveid -Credential $UserCredential -Authentication Basic -AllowRedirection
You now need to set the execution policy to bypass, you can do this with
Set-executionpolicy Bypass
Choose Yes

Run the next 2 commands
Import-PSSession $Session -AllowClobber -DisableNameChecking
$Host.UI.RawUI.WindowTitle = $UserCredential.UserName + ” (Office 365 Security & Compliance Center)”
Now you are ready to delete the contents of the search, to do this use the following command, replace ‘Your Search’ with the name of your content search
New-ComplianceSearchAction -SearchName “Your search” -Purge -PurgeType SoftDelete
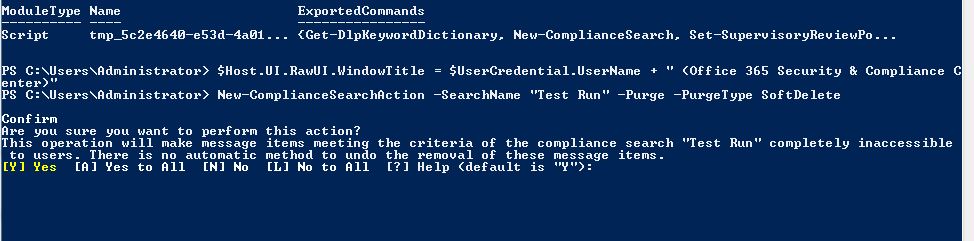
Choose Yes.
![]()
The emails that were found in your content search will now be removed from all users mailboxes.

#EdTech Network Manager, experienced in Microsoft 365, Server 2019, Intune, SCCM and anything inbetween.