In this Tutorial i will explain how i have deployed Windows 11 (Insider Preview) to a test machine via MECM (SCCM) in order to test its full features outside of a VM and gauge its performance on our current hardware.
To begin you will need the following;
- A VM or Physical Machine running the latest version of Windows 10
- A valid Windows 10 Licence
- A Microsoft account (to sign up for insider preview)
Step 1: Joining the insider program
Go to Windows Insider and register using your Microsoft account.
On your updated Windows 10 PC or VM, Go to Settings and then Update & Security. Click the setting for Windows Insider Program. Click the Get Started button. Link your Microsoft account. Next, choose the channel you want to use. For the Windows 11 preview, select the Dev channel. Check for updates and the new Windows 11 Insider program will appear and start to install, this could take a while.
Step 2: Getting WinPE ready
We will be using DISM (Deployment Image Servicing and Management) to create a .WIM file of our Windows 11 setup, to do this you’ll need to install the Windows 10 ADK Toolkit and WINPE ADK addon. It is recommended to do this on your main workstation, separate to your Win11 testing environment. You can install and download them here Download WinPE (Windows PE) | Microsoft Docs
Launch the Deployment and Imaging Tools Environment as an administrator.
Type copype amd64 C:\WinPE_amd64 and hit Enter.
Create an ISO file by using the following command
MakeWinPEMedia /ISO C:\WinPE_amd64 C:\WinPE_amd64\WinPE_amd64.iso
Once you have the ISO, you can save this to mount to your VM or create a bootable media USB for physical machines.
Step 3: Preparing the widows image for deployment
Once your VM or Physical Machine has installed windows 11, you are ready to SYSPREP the machine to get it ready for deployment.
Once done head to C:\windows\system32\sysprep\ and run sysprep.exe (Warning this will wipe your machine, only do this on your test machine)
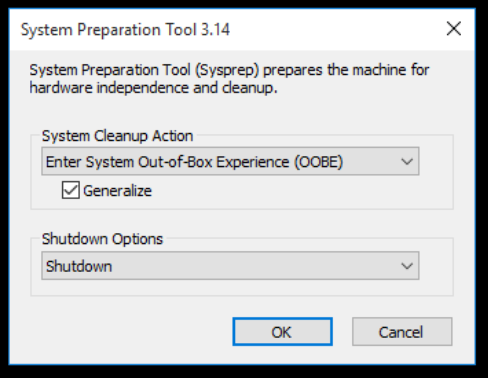
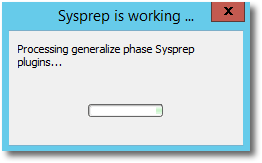
Select Enter System OOBE and tick Generalise, you can choose to shutdown or restart your VM/PC. Windows will now prepare the system image and shutdown/reboot.
When your PC/VM reboots, you’ll be presented with the new, ‘sleek’ OOBE (basically a nice rebrand, the inner workings are the same however i noticed it wouldn’t allow me to use ‘Admin’ or ‘Administrator’ as a local user name.)

Complete the OOBE, You can now configure your OS to your liking before capturing the image.
Step 4: Capturing the widows image
Now we are going to capture the the .WIM file. To do this, you should boot into the WinPE ISO you created in step 2.
You will be presented with a Command Prompt window.
Connecting to Network location
In order to access the image, I will be storing my .WIM file on a network drive. To do this use the following command to create a connection to your network location.
Net use \\10.68.25.50 (Swap with the IP of your fileserver/network location)
Enter the username to connect in the following format youruser@domain.com (this account will need access rights to the location)
Enter your password.

Getting drive letter
You will now need to know what drive letter WinPE has assigned your main boot drive, to do this enter ‘Diskpart‘
When in Diskpart Enter ‘List volume‘ – This will show all volumes and their drive letters.
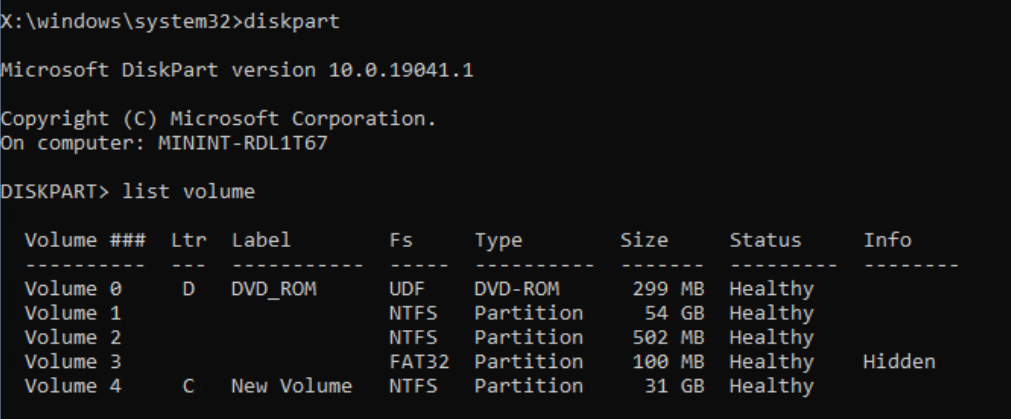
Volume 1 is my OS drive, however WinPE has not assigned it a drive letter, if this is the case for you, you can use the following command in Diskpart
Select Volume 1
Assign letter=Z

My OS Drive now has the letter Z assigned.
Creating WIM file
Now its time to create our WIM file, to do this use the following command.
dism /capture-image /compress:max /imagefile:\\10.68.25.50\c$\windows11edu.wim /capturedir:Z:\ /name:Windows11EduReplacing \\10.68.25.50\C$\windows11edu.wim with your IP and prefered save path and change the drive letter to the one of your OS drive.
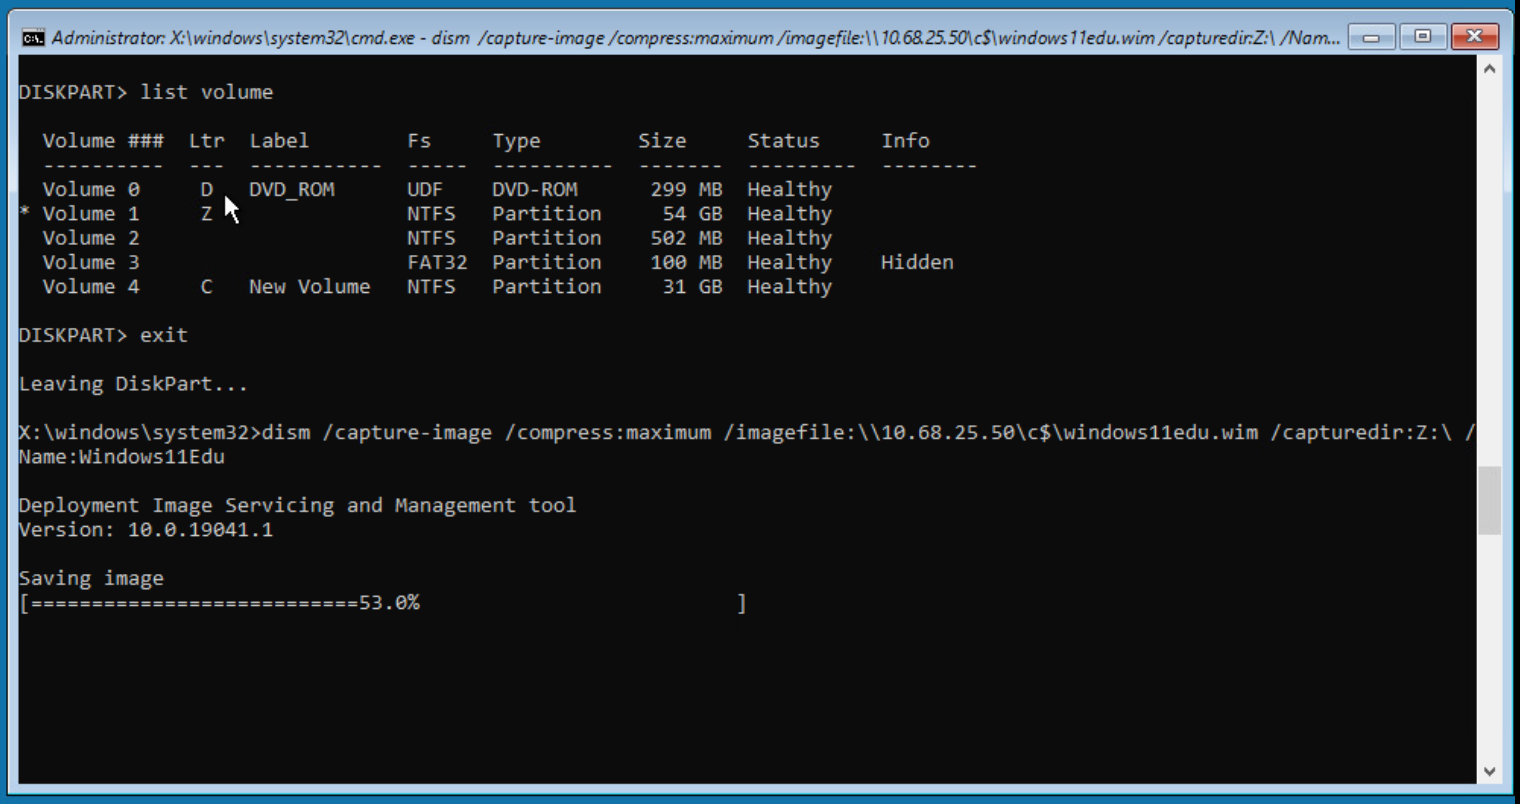
DISM will now begin to create the WIM file onto your network share, please note this could take a while and the size can vary between 10gb-16gb depending on your settings.

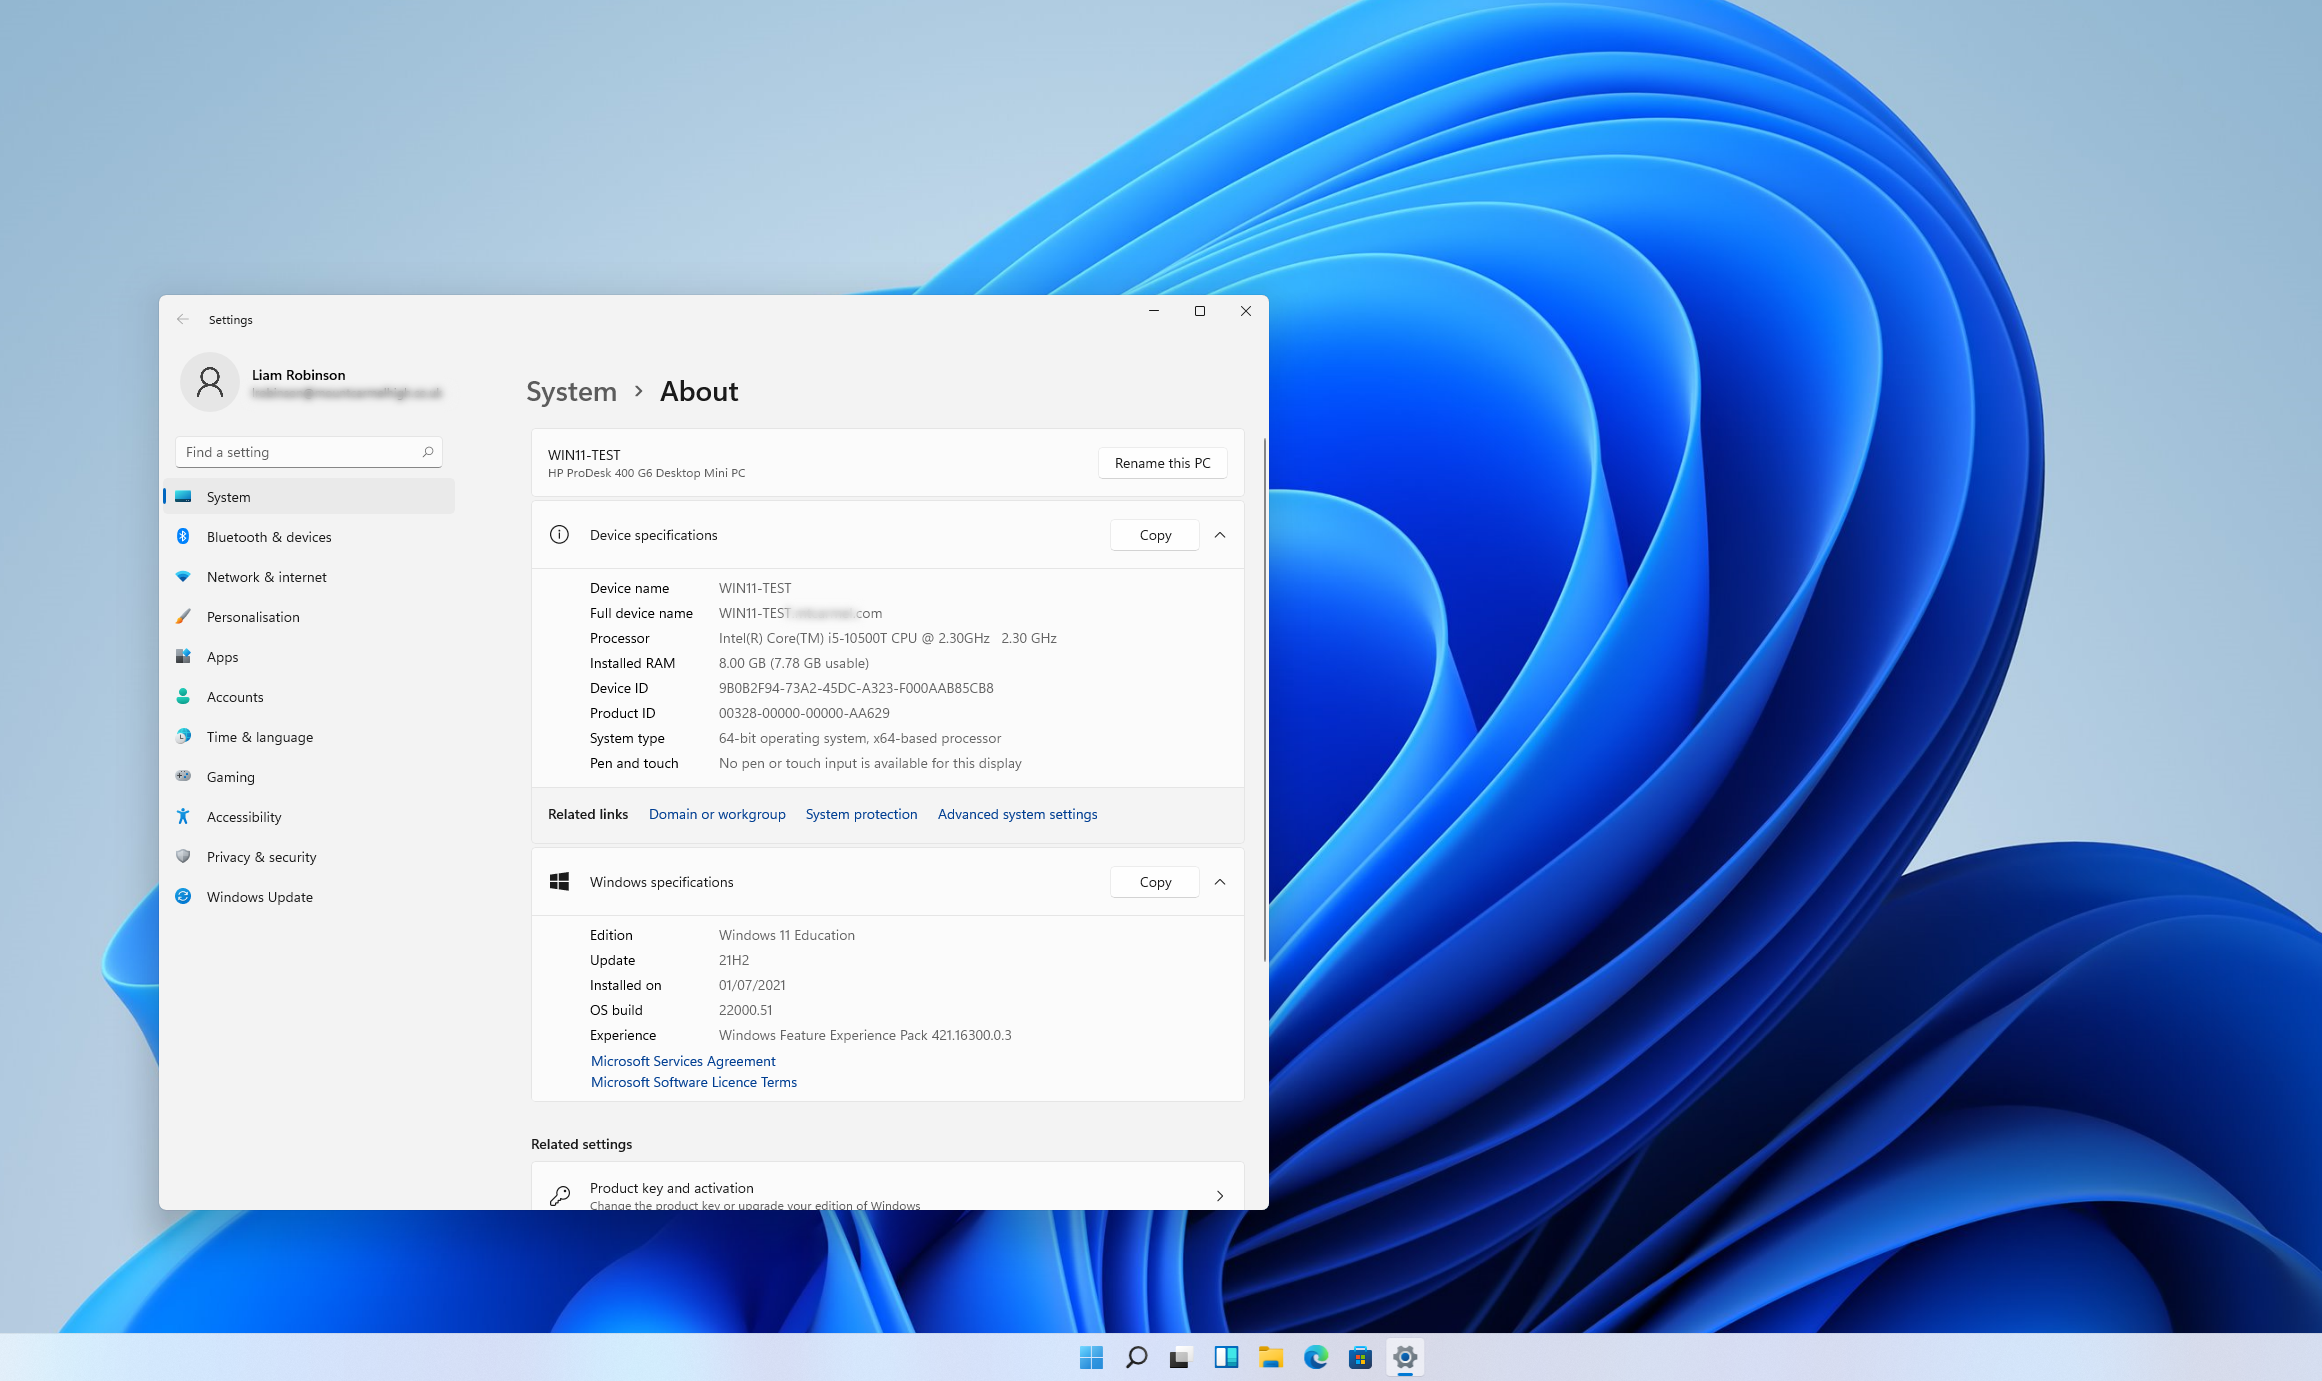
Once complete you will now have a Windows 11 WIM file which you can deploy via Microsoft Endpoint Configuration Manager (SCCM) or MDT.

#EdTech Network Manager, experienced in Microsoft 365, Server 2019, Intune, SCCM and anything inbetween.
awesome