Update April 2023: Out of preview mode
Although the process is pretty much still the same as when the preview was released, the install command has changed slightly and has been updated to the correct command.
In this tutorial i will explain how to setup and deploy Microsoft’s long anticipated ‘Remote Help’ tool which was announced at Ignite last month.
The Software is currently in preview mode and this article will explain how to get started with Remote Help in your organisation.
Enabling Remote Help
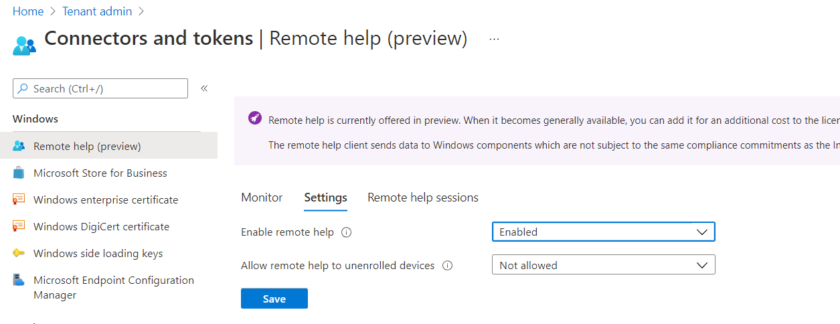
The first step is to head over to Endpoint Manager https://endpoint.microsoft.com/ and head to Tennant Administration > Connectors and Tokens > Remote Help (preview)
Head to settings and change the first setting to Enabled
Configuring Permissions
In order to use remote help, you’ll need to correctly assign permissions to users, depending on how much access you would like them to have. You can edit built in existing roles but for this, I’ll create a new Role.
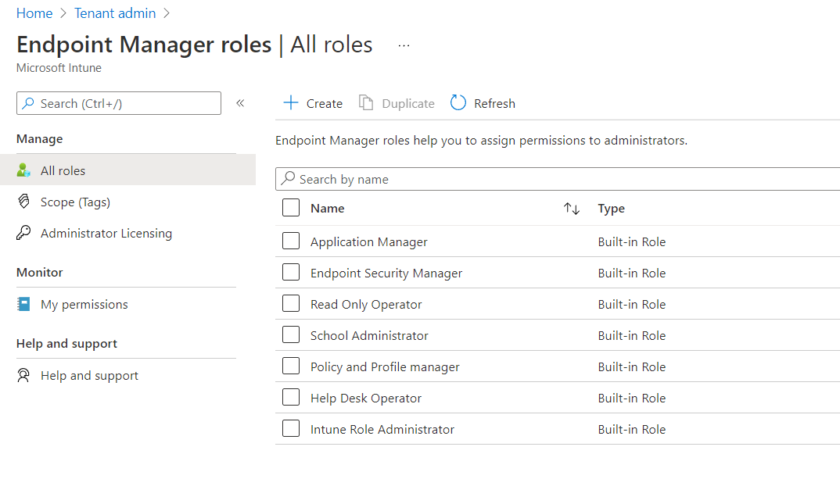
To Begin, head to Tennant Administration > Roles > Add New Role
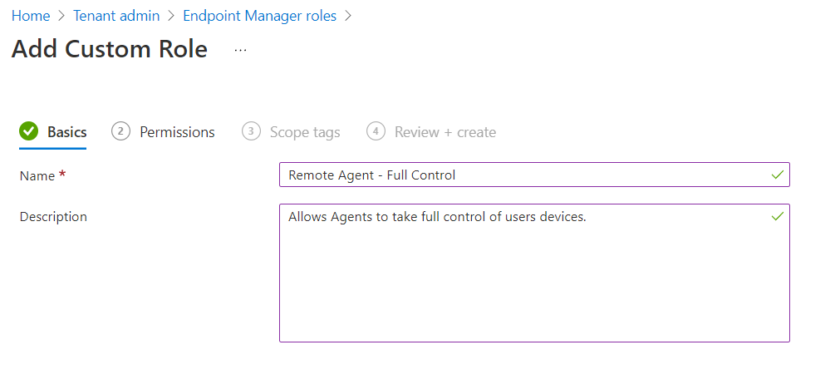
Create your Role with a useful name, in this example i’ll use ‘Remote Agent – Full Control‘
Scroll down to ‘Remote Help App‘ and toggle the settings on.
Save the role and assign any scopes you may need.
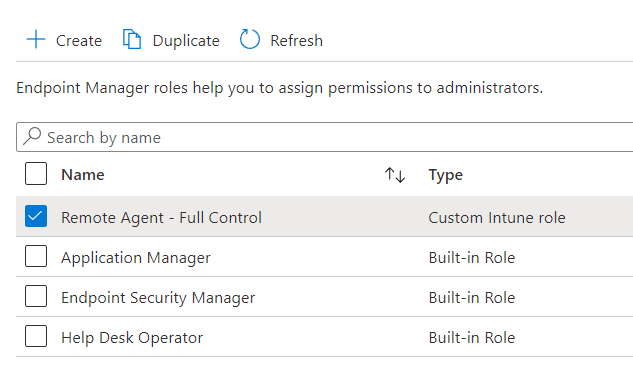
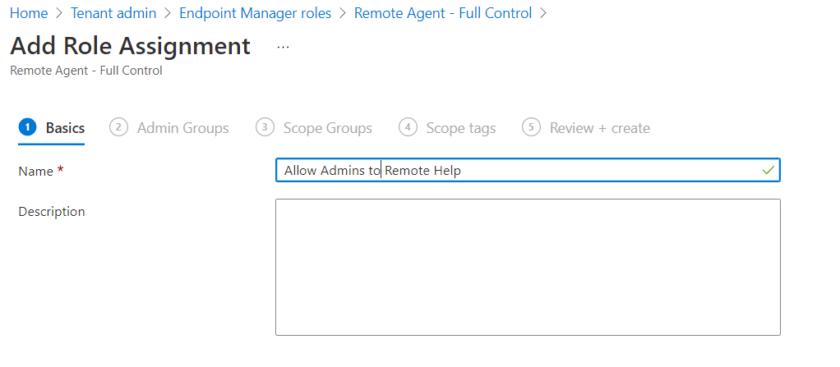
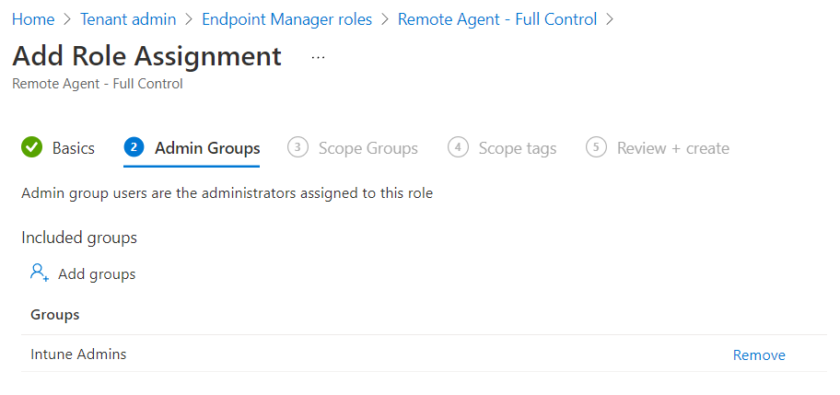
Your new role will now appear in the list. Click the role and assign this role to your required support admins.
Add a group containing the users you’d like to give access.
Deploying Remote Help Software
In order for you to utilise Remote Help, both your clients and admins need to have the Remote Help app installed. This can be downloaded from https://aka.ms/downloadremotehelp However please note: at the time of writing, manually running the installer is a bit buggy, half way through i was asked if i was sure i wanted to cancel the install, i had to click ‘No’ for the install to complete, I’m sure MS will fix this in due course.
As the software is in preview, there’s no ‘instant’ way to deploy remote help from the Endpoint Manager Apps blade, however as the technology progresses, I imagine it will be a simple one click install, for now we will be using the ‘Microsoft Win32 Content Prep Tool‘
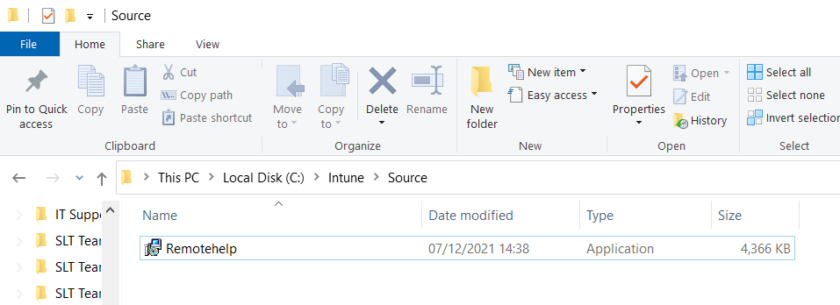
Download the .EXE installer from Microsoft above and place it into your source folder.
Run the Prep tool and use ‘Remotehelp.exe’ as your installer file and specify your output folder
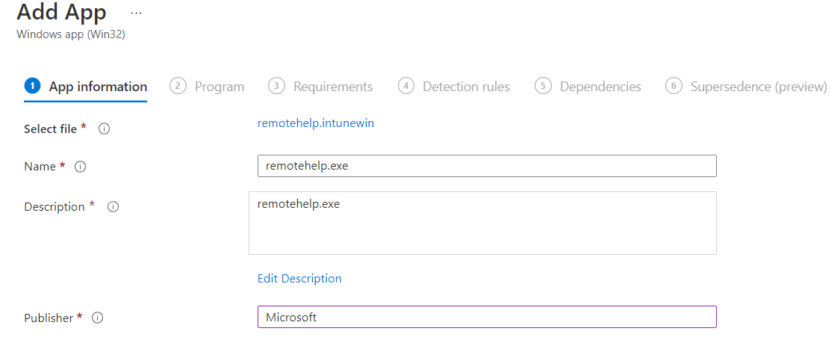
Create a new ‘App’ in the apps blade and choose Win32 app, selecting the .intunewin file you’ve just created
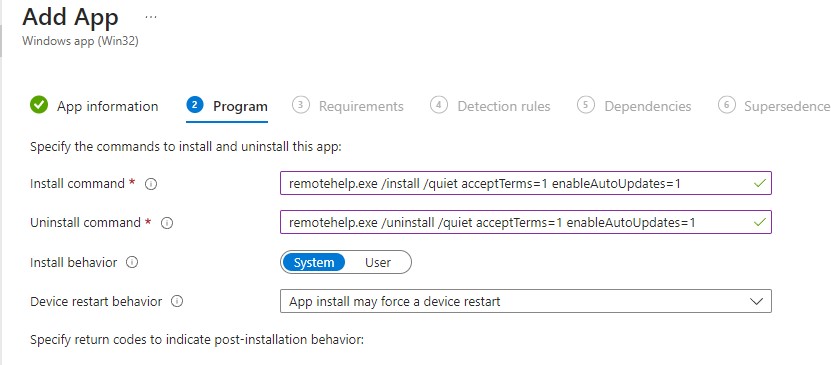
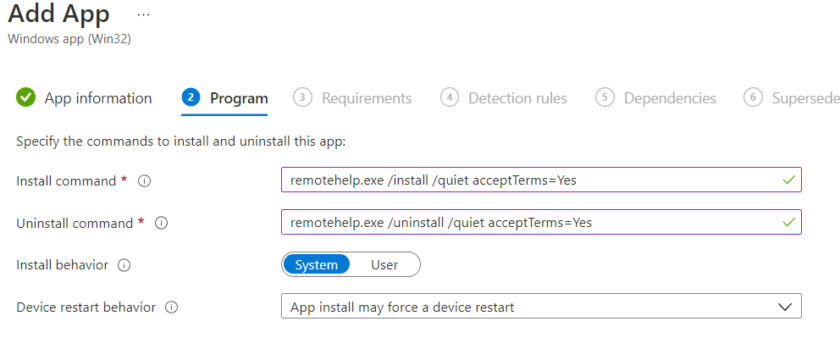
Add the following install commands
April 2023 onwards
remotehelp.exe /install /quiet acceptTerms=1 enableAutoUpdates=1remotehelp.exe /uninstall /quiet acceptTerms=1 enableAutoUpdates=1Original (no longer needed)
remotehelp.exe /install /quiet acceptTerms=Yes
remotehelp.exe /uninstall /quiet acceptTerms=Yes
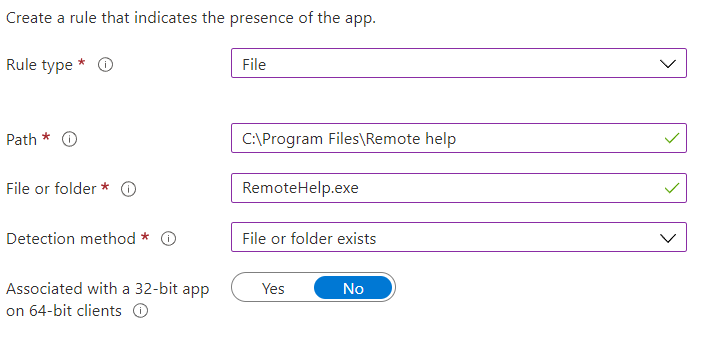
Create a new detection rule
Rule Type – File
Path – C:\Program Files\Remote help
Value Name: RemoteHelp.exe
Method – Value Exists
You can now deploy this app to your chosen devices. Since the software is in Preview, I wouldn’t rush to install it just yet, Microsoft will probably have a new installer soon to simplify the process, however if you do want to test it, read on to see how it works.
Using Remote Help App
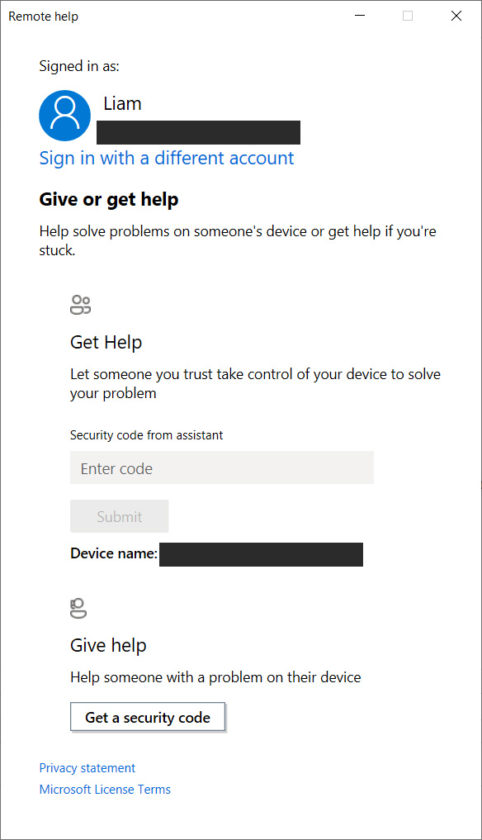
To use remote help app as an admin, launch the Remote Help app and click ‘Get a Security Code‘ under ‘Give Help‘.
This will now connect to MS and generate a code.
On your Client device, enter this code.
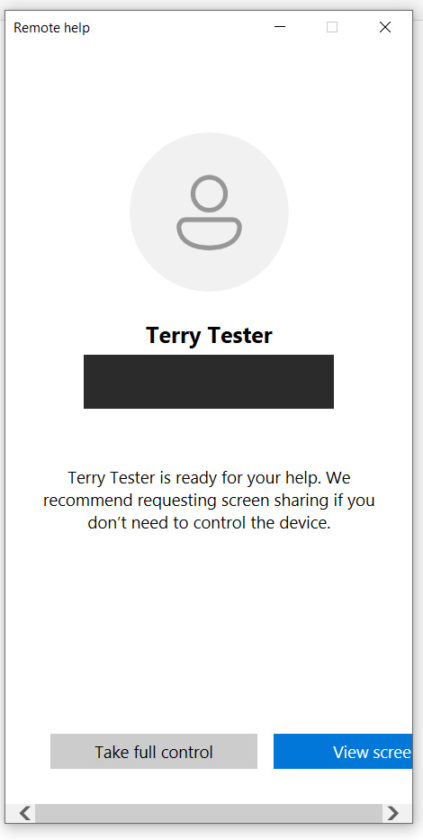
You’ll be prompted to start the session, either by taking control, or viewing the screen (as you can see its a bit buggy still with the app not being wide enough, but that could be my screen size)
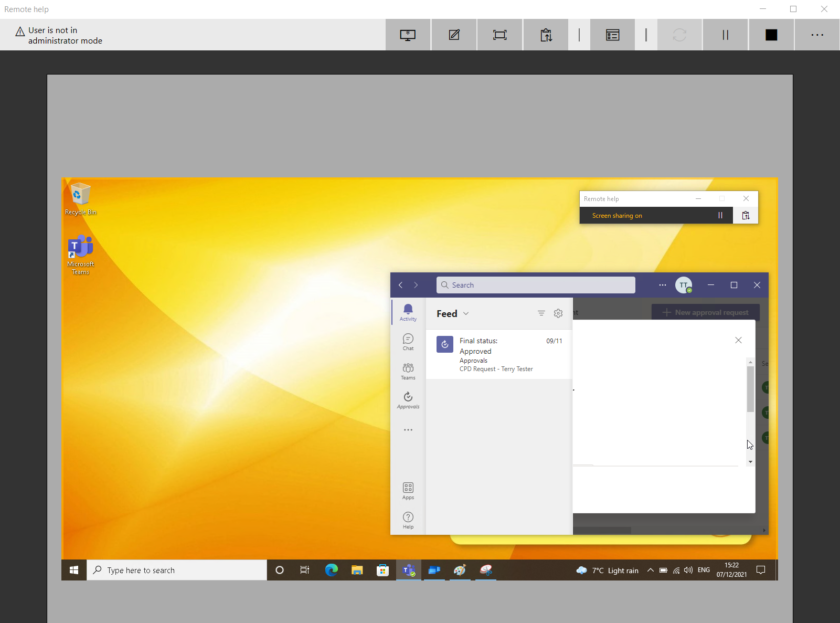
You can now remotely control the users PC using Remote Help App.

#EdTech Network Manager, experienced in Microsoft 365, Server 2019, Intune, SCCM and anything inbetween.

