
If you use Microsoft Intune to manage Windows devices, you may have come across Deployment Plans and Deployments (that are currently in public preview) and wondered exactly what they are.
In this post, I’ll take a look at what Deployment Plans and Deployments are, how they work, and where they might be useful when managing devices with Intune.
At the time of writing, Deployments/Deployment Plans are currently in Public Preview and are subject to changes.
This article is also available as a Youtube Video
What are Deployments & Deployment Plans?
In a nutshell, this is a new feature that takes the core foundations of Windows Update Rings and brings them to Apps and Policies. With Deployments and Deployment Plans, IT admins are able to deploy key apps and configuration policies to a range of devices in stages, for example Staff Devices First, then Student Devices 2 weeks later.
The time between each ring can be configured to suit your rollout, with a minimum delay of 1 hour and a maximum of 30 days.
What is a Deployment Plan?
A Deployment Plan is essentially a reusable template for rolling out something to devices in controlled stages, or rings. Instead of deploying a change to every device at once, you can define groups, exclusions and a delay between each ring.
A plan can be configured for a specific device platform, or for all platforms, and each ring can have its own group assignments and filters. You can also set deferral periods between rings, giving you time to check that everything is working before moving on to the next group.
Deployment Plans don’t contain the actual application, policy or other payload being deployed. Instead, they define how that payload should be rolled out. The same plan can therefore be reused for different deployments.
How Deployments work
Once you create a Deployment, Intune uses the rings you’ve defined to gradually roll out the selected payload. The payload itself isn’t locked, so you can still make changes to it directly. If you change the payload before the next ring starts, those changes will be picked up by devices during their next check-in, including devices in the upcoming ring.
As each ring becomes active, its group assignments are added to the deployment, meaning the deployment gradually expands to more devices. Any excluded groups remain excluded from all rings.
One thing to be aware of is assignment conflicts. Intune checks for situations where the same group has been assigned directly to the payload and is also included in a deployment ring. If this happens when the deployment is created, you’ll need to fix the assignment before continuing. If the conflict occurs when a ring activates, the deployment will be paused until the conflicting assignment is removed.
There must also be at least one hour between each ring, giving you a window to check the rollout before moving on.
For Win32 apps and Enterprise App Catalog apps, deployments only support the Required install intent. You can’t use a Deployment to make an app Available or to uninstall it.
The All users and All devices virtual groups can also be used, but when one is used in a ring, that ring automatically becomes the final stage of the deployment.
How to create a Deployment Plan Intune
To begin, open up Intune > Devices > Deployments (Preview) Under Manage Devices
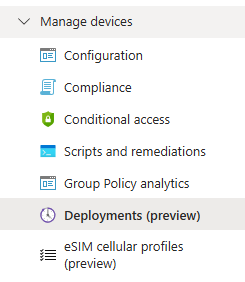
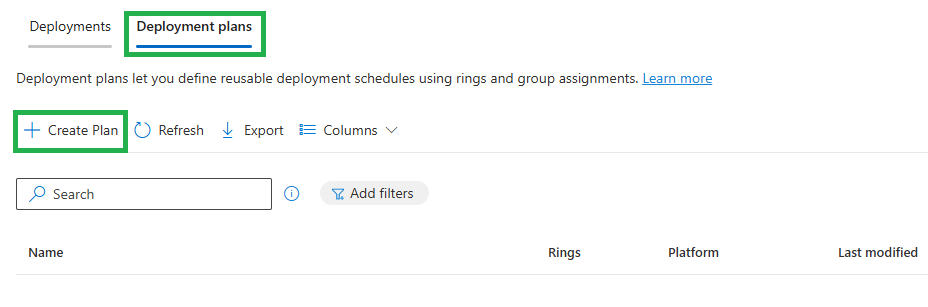
Click on Deployment Plans Tab and Create Plan
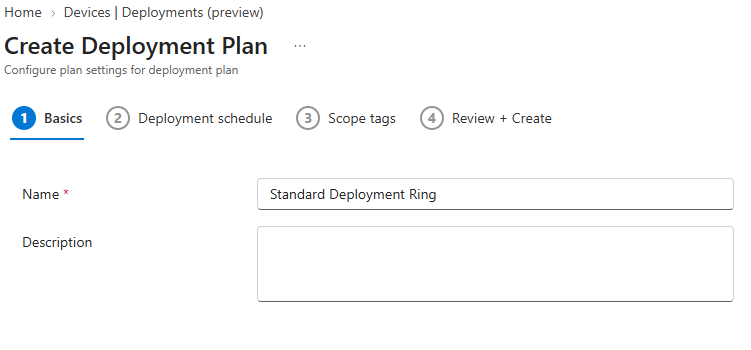
Give your plan a name, as this will be used as a template, something descriptive like Standard Deployment Ring
Click Add Rings and populate your required rings. The time between each ring can be configured with a minimum delay of 1 hour and a maximum of 30 days.
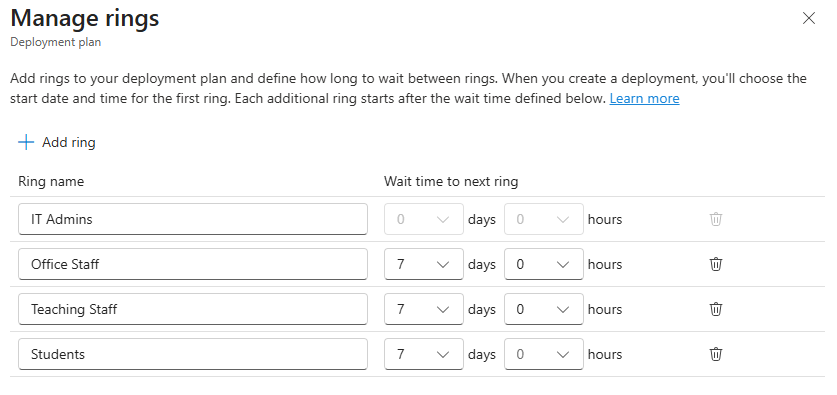
For each ring, add the User or Device Groups you wish to assign to each group.
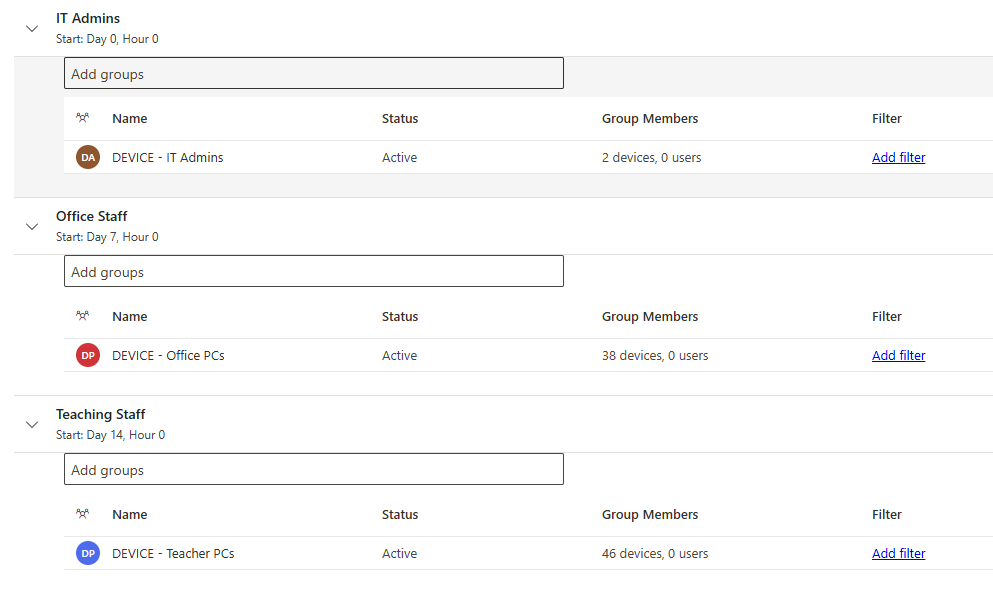
Click Next, add Scope Tags if required.
Review your plan and click Save.
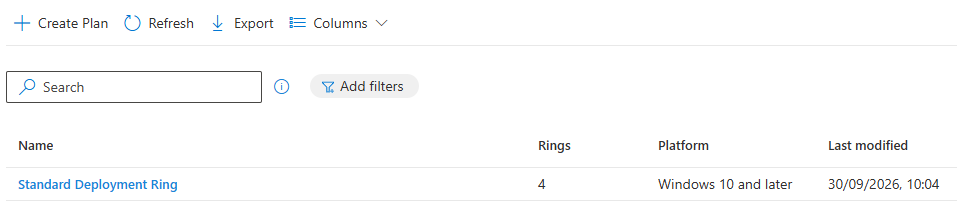
How to create an app/Policy deployment
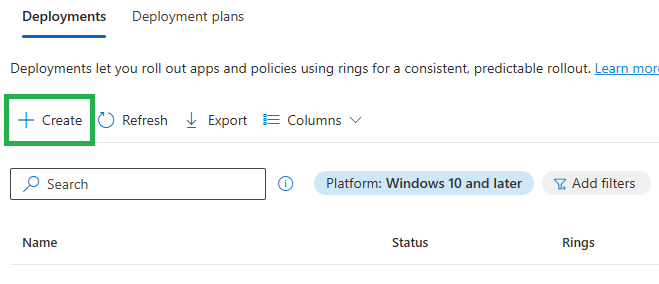
Click back to the Deployments Tab and click Create Deployment
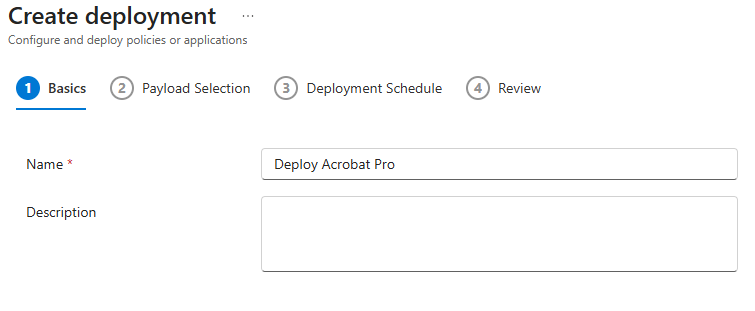
Give your deployment a suitable name, if you are deploying a specific app, name it here, if you are deploying a configuration profile specify this here.
Select Win32 App or Device Configuration
Click Add Payload and select your desired Win32 app

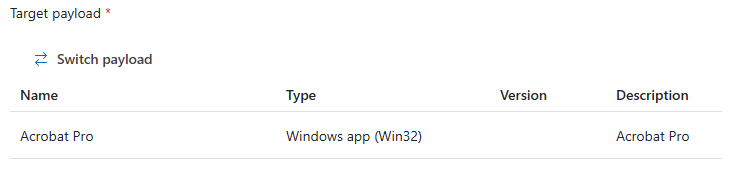
Click Next then click Load Deployment Plans
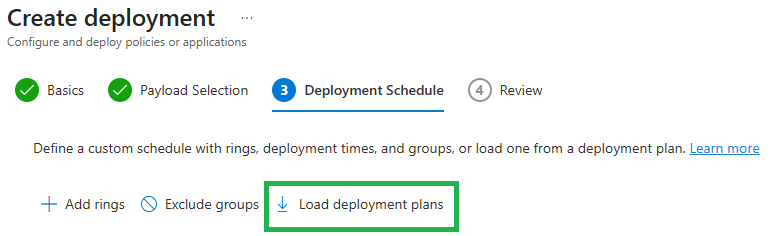
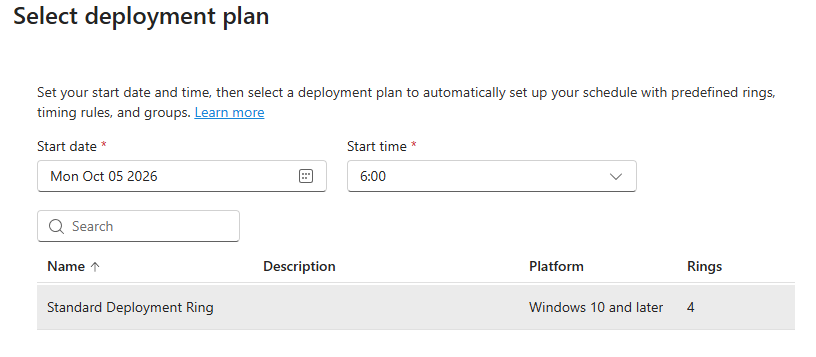
Select your Deployment Plan and choose a Start Time and Date, this is the time your first ring will receive the deployment.
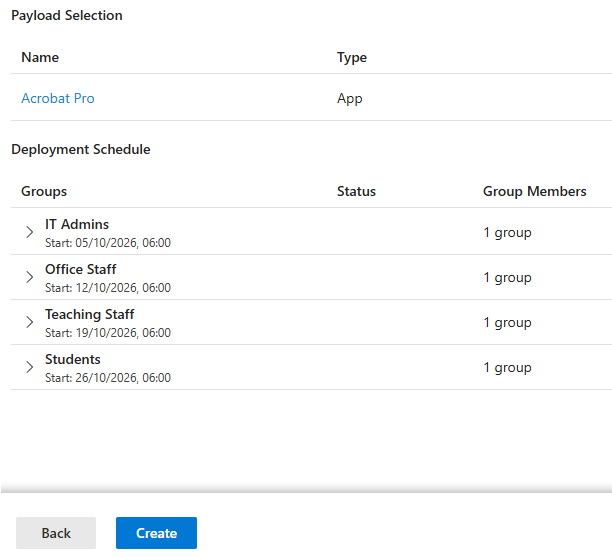
You will now see the deployment schedule for each ring.
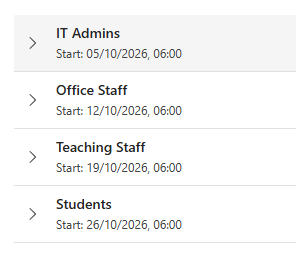
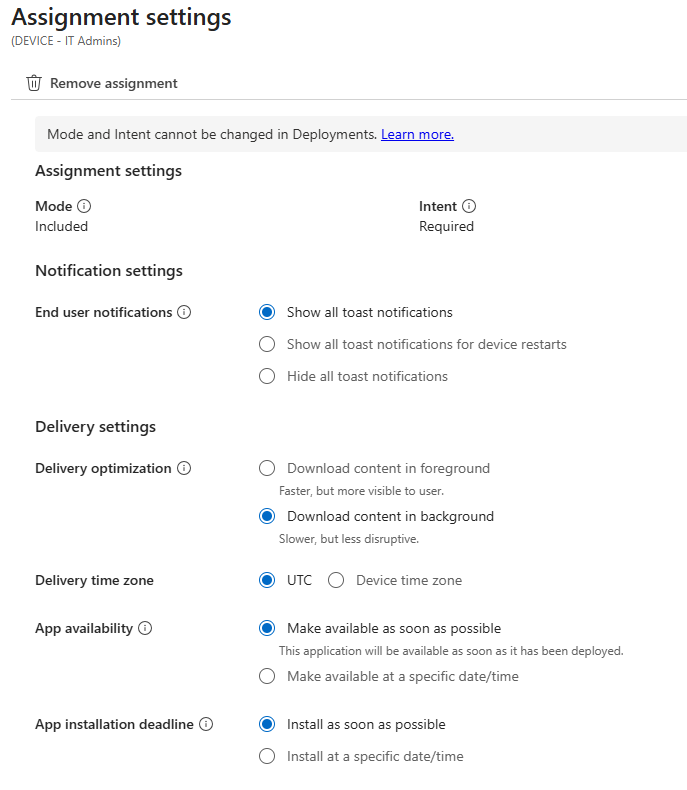
Expand each ring and click Edit App Settings. Here you can add custom settings for each ring.
Review your deployment settings and click Create
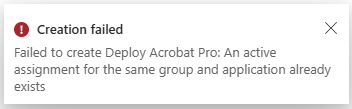
Know Issues: If you already have an app or policy deployed directly to a group, you will need to remove this assignment first.
Failed to create “Deployment Name”: An active assignment for the same group and application already exists
Youtube Tutorial
This article is available as a YouTube tutorial for those who prefer to watch instead.

#EdTech Network Manager, experienced in Microsoft 365, Server 2019, Intune, SCCM and anything inbetween.