I’ve been using Windows Update Client Policies (formerly Windows Update For Business) for a few years now, migrating from traditional SCCM/WSUS based update deployments which often required maintaining a cumbersome server and a lot of manual intervention, often leading to clients falling behind with the latest updates due to a botched sync or WSUS crash.
With Windows Update Client Policies you can tailor your clients Windows Updates process based on their use case and your organisational policies/practices including;
- Controlling the types of Windows Updates are offered to devices in your School/Business
- Controlling when updates are applied to the devices.
- Deploying updates to devices in your School/Business in waves e.g Testing/Staff/Student releases.
This can be configured via Intune or Group Policy but for this example I will be using Intune. If you do not use intune, you can configure the same settings via GPO
Requirements
Before you begin, to manage this in Intune, clients must be Azure/Entra AD Joined or Hybrid Joined and enrolled in Intune MDM, running Windows 11 Pro, Education, or Enterprise editions on a supported build and not managed by an existing update method like WSUS (ensure Specify intranet Microsoft update service location is not set)
Creating Windows Update Rings
Create Pilot Update Ring
If you’re already managing devices with Intune, getting Windows Update Client Policies up and running is fairly straightforward. The key is keeping it clean and having a clear structure of how you want to deploy our updates to the clients. To do this we will split up our estate into separate Rings (think of these like release channels) and assign devices based on their use case. First lets start with a “Pilot” or “Testing” Ring for our IT Staff.
Head to Intune Admin Centre > Devices > Windows > Windows Update > Update rings
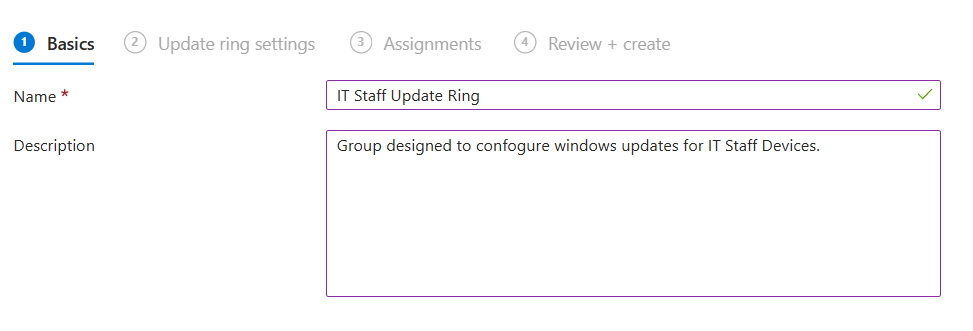
Click Create Profile and call it IT Staff update Ring (or whatever you see fit)
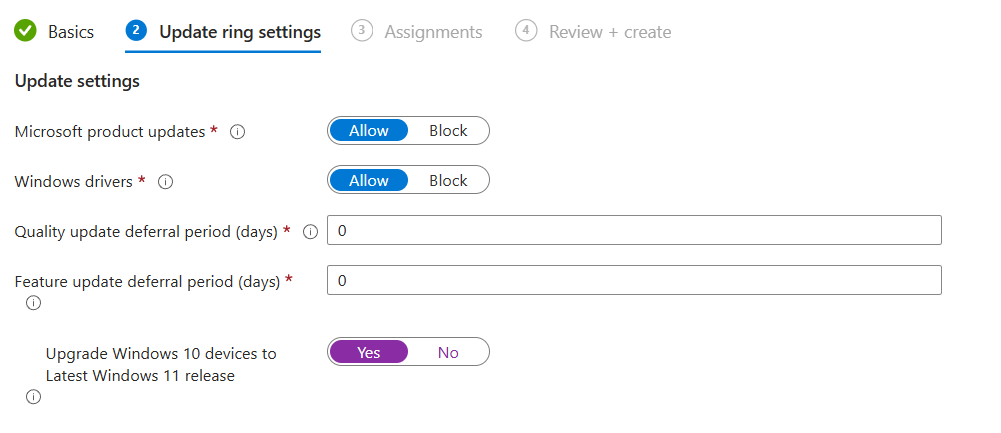
Under Update Ring Settings Configure the following settings (change to suit your requirements).
- Microsoft product updates: Allow
- Windows Driver Updates: Allow
- Quality update deferral period (days): 0
- Feature update deferral period (days): 0
- Upgrade Windows 10 devices to Latest Windows 11 release: Yes
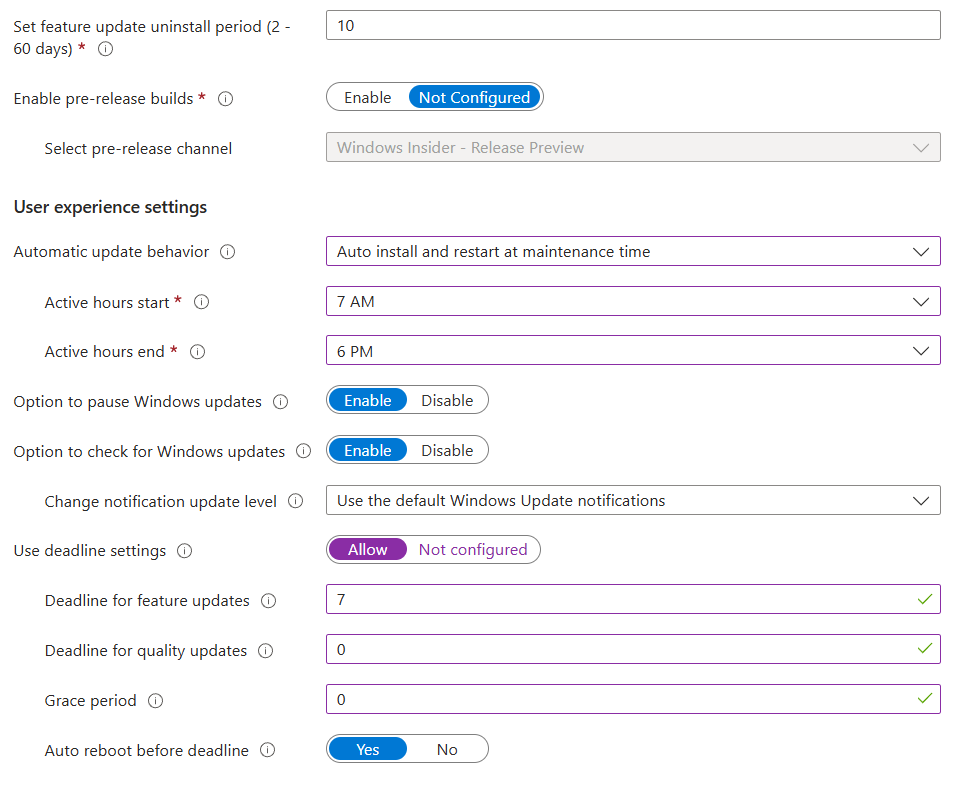
You should configure the remaining settings to best suit your environment, for example if you want your IT Admins to preview test builds, turn this on, if not, leave it off.
I recommend setting your Active Hours and change the Automatic Update Behaviour to Auto Install and Restart at Maintenance Time.
Click Next.
Under Assignments, deploy your update ring to a group containing your IT Admin/Pilot Devices.
Review your settings and click Create.
Create “Other” Update Rings
Now you should create your additional update groups by following the above process, you can adde as many or as little as you like depending on how you want your clients to receive windows updates. I have the following configured, each with different deadlines, deferral periods and restart behaviours.
- IT admin/Pilot
- Office PCs (Admin)
- Teacher/Student PCs
- SLT Laptops
- Staff Laptops

Your devices will now start to receive Windows Updates based on the policies you have set. You can verify these settings have applied by opening a device in one of the update rings/groups you have created and going to
Settings > Windows Update > Advanced Options > Configured Update Policies
Configuring Driver Updates
You can also manage driver updates from within Intune, This section allows more granular control which you may be used to with WSUS and SCCM/MECM.
To begin, head to Devices > Windows > Windows Update > Driver Updates
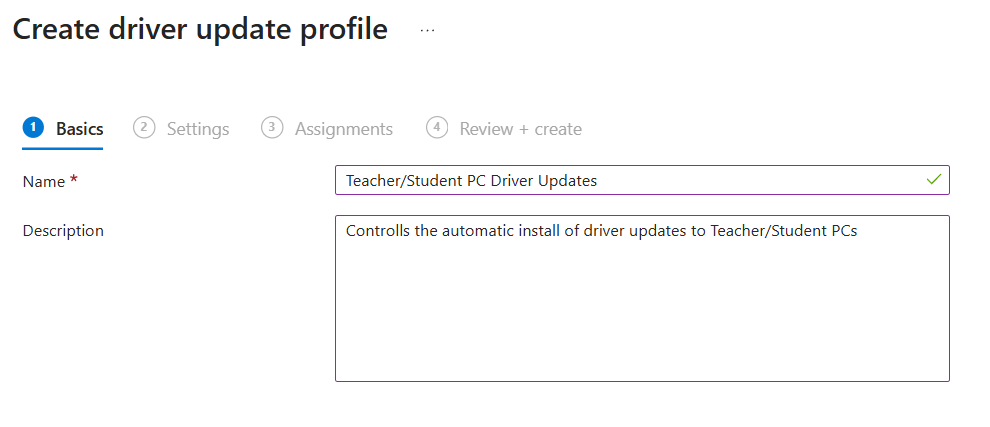
Click Create Policy and give it a suitable name.
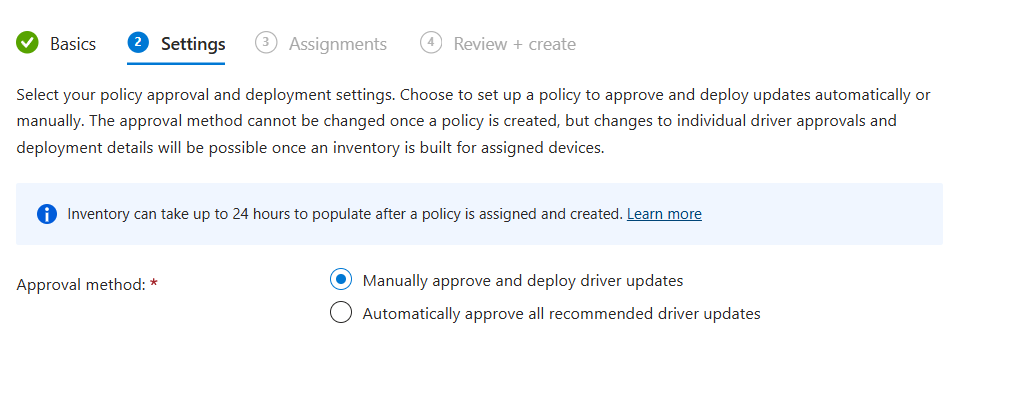
Under Settings, configure whether you wish to manually or automatically approve driver updates. For this i will choose Manual.
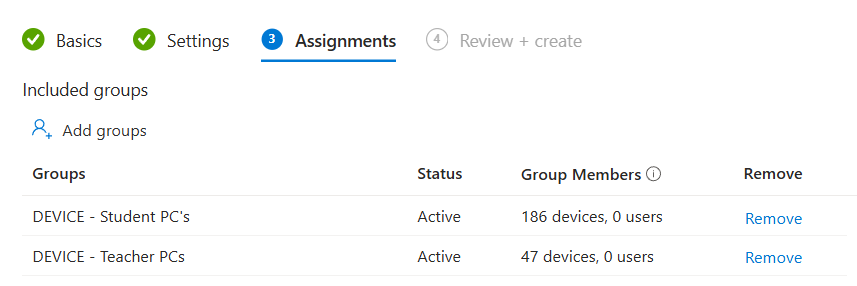
Assign this policy to the device groups containing your target devices.
Review your settings and create.
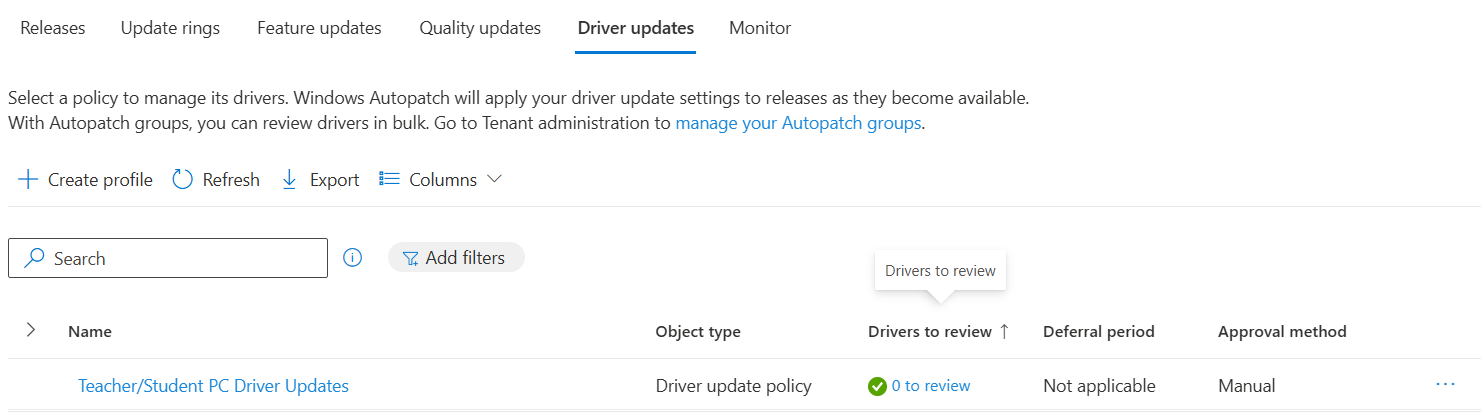
Click Drivers to Review
Click Sync
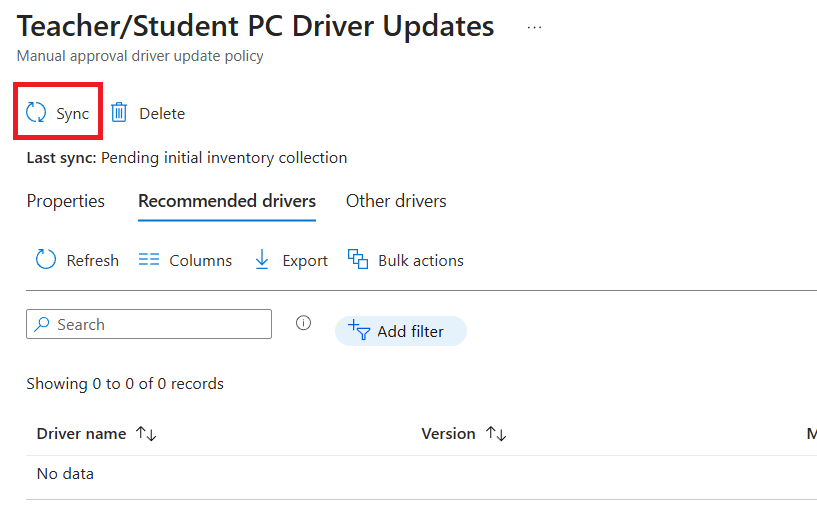
This will now poll the devices and return any available driver/bios updates for you to manually approve or deny. This could take a while.
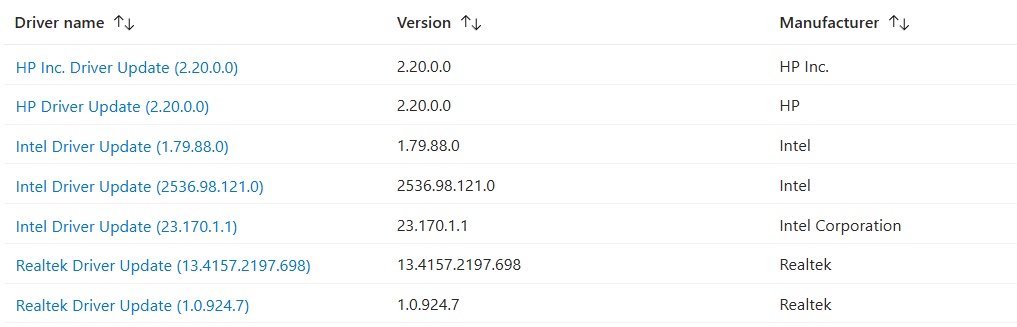
I recommend using a Pilot group first to test the driver updates before releasing to the masses.
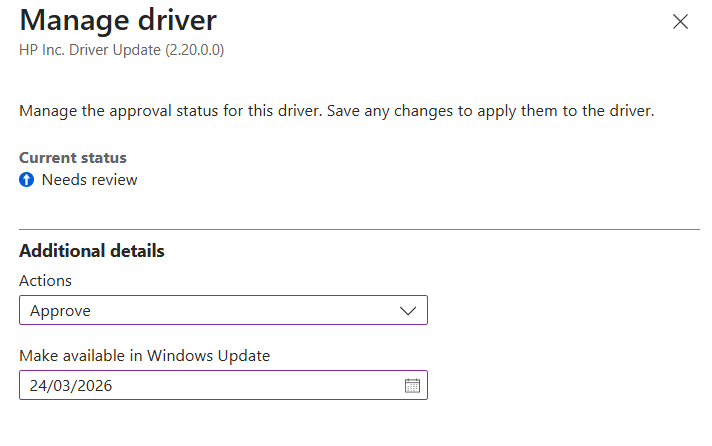
Click the Driver you wish to deploy, and select approve and choose the date you wish to make it available.
Enabling Windows Hotpatch
You can Enable Windows Hotpatch to automatically install certain security updates without needing to reboot devices, helping keep critical devices protected, with minimal downtime.
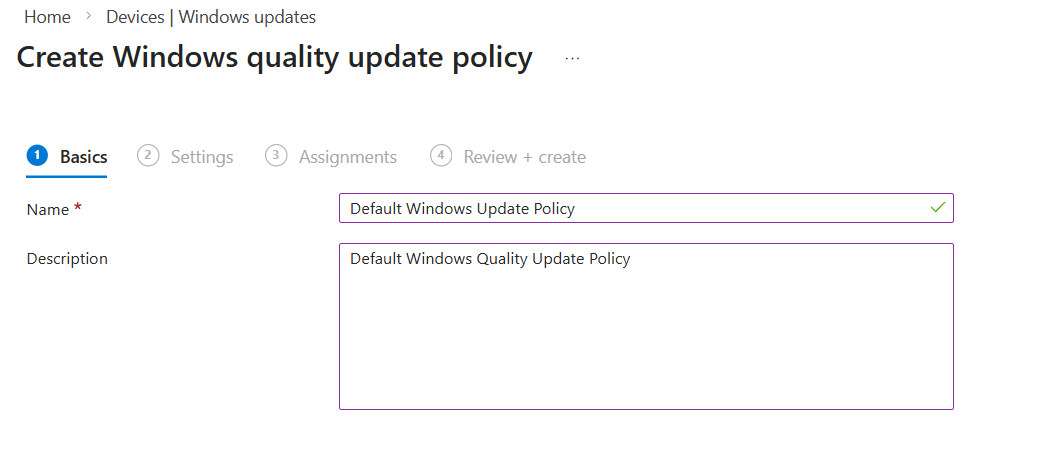
To enable this, head to Devices > Windows > Windows Update > Quality Updates
Click Create Policy and give it a name.
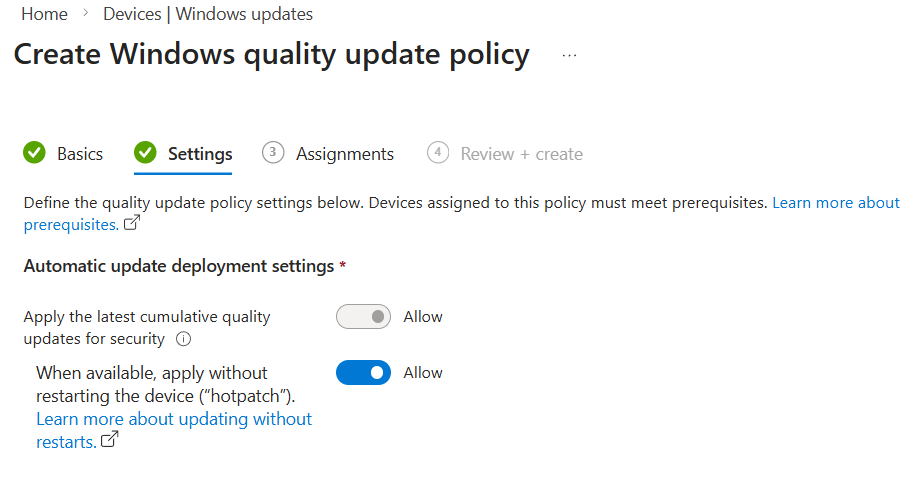
Under Settings, Toggle on When available, apply without restarting the device (“hotpatch)
Assign this policy to your desired Device Groups.

#EdTech Network Manager, experienced in Microsoft 365, Server 2019, Intune, SCCM and anything inbetween.