If you self host your Unifi Network Application (Controller) you may have heard the news of the Critical Security Vulnerability (CVSS 10.0) affecting all existing versions of the Unifi Network Controller, once you have upgraded to the patched version (V10.1.89) you may wish to think about upgrading your site to Unifi OS Server which can be run on Windows, Mac or Linux.
For this example I will using Linux (Ubuntu) as there’s no licensing costs and can be easily spun up in a VM.
Step 1 – Obtain a backup from your current Network Application
Open up your Unifi Network Controller
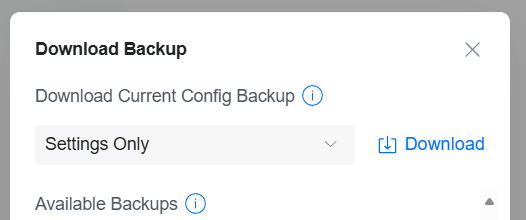
- Go to Settings > Control Plane > Backups.
- Download Backups
- Settings Only > Download
It may be also worth downloading a Site Backup at this stage if you have an older version of the Unifi Network Application.
Go to Network Settings > System > General Or Site Management and click Export Site
Step 2 – Prepare the Unifi Host Server
The first step is to prepare a Server for Unifi OS to run on. This can be physical or virtual as long as it meets the following spec.
- CPU: x86-64 Processor
- RAM: Minimum 2GB (4GB+ Recommended)
- Network: 100Mbps
- Storage: At least 20GB free (50Gb Recommended)

Step 3 – Install Ubuntu
The next step is to install Ubuntu on your host server. Grab the latest LTS version available from the official ubuntu downloads page. you can use Server or Desktop but for this demo I’ll use Desktop as it has a GUI.
If you are using a VM, upload the ISO file and connect it to your VM, if using a Physical Server, insert your USB/CD and start the server.
Follow the installer instructions and configure it to your requirements.
Ensure you set a Static IP.
Step 4 – Install Unifi OS Server
The next step is to install the Unifi Controller.
First we need to ensure the CA Certificate, open up Terminal and run the following
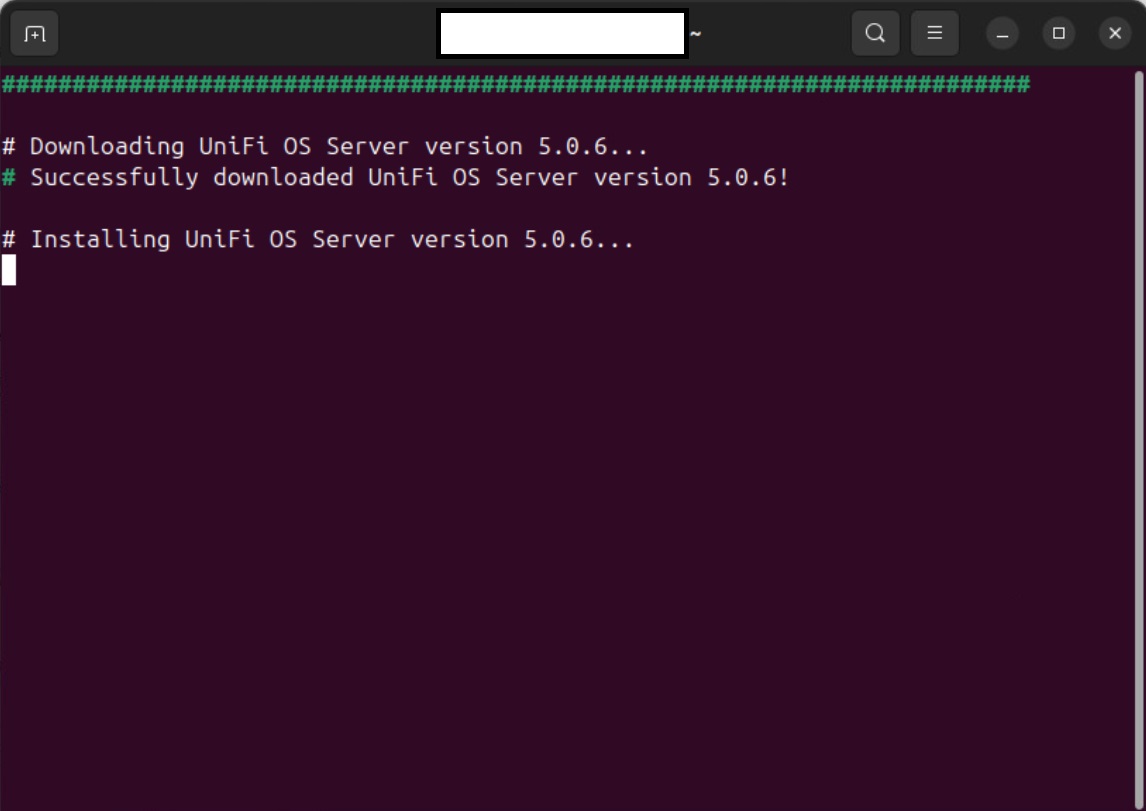
sudo apt-get update; sudo apt-get install ca-certificates curl -yThen we need to launch the Unifi OS Server install script from Glenn R. Run the following command and follow the prompts.
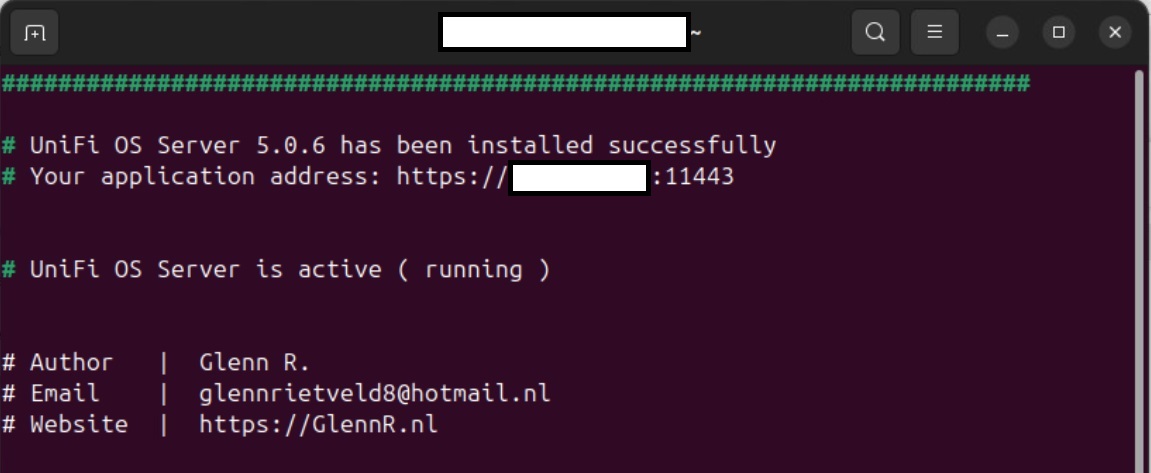
curl -sO https://get.glennr.nl/unifi/install/unifi-os-server-5.0.6.sh && sudo bash unifi-os-server-5.0.6.shThe script will now begin to install the prerequisites and the Unifi Server OS platform.
Once complete your new Unifi OS Server will be accessible at https://your.ip.or.FQDN:11443
Step 5 – Turn Off Existing Unifi Network Application
You must now turn off your existing Unifi Network Application before proceeding, don’t worry, the network will still function as normal.
Step 6 – Configure Unifi OS Server
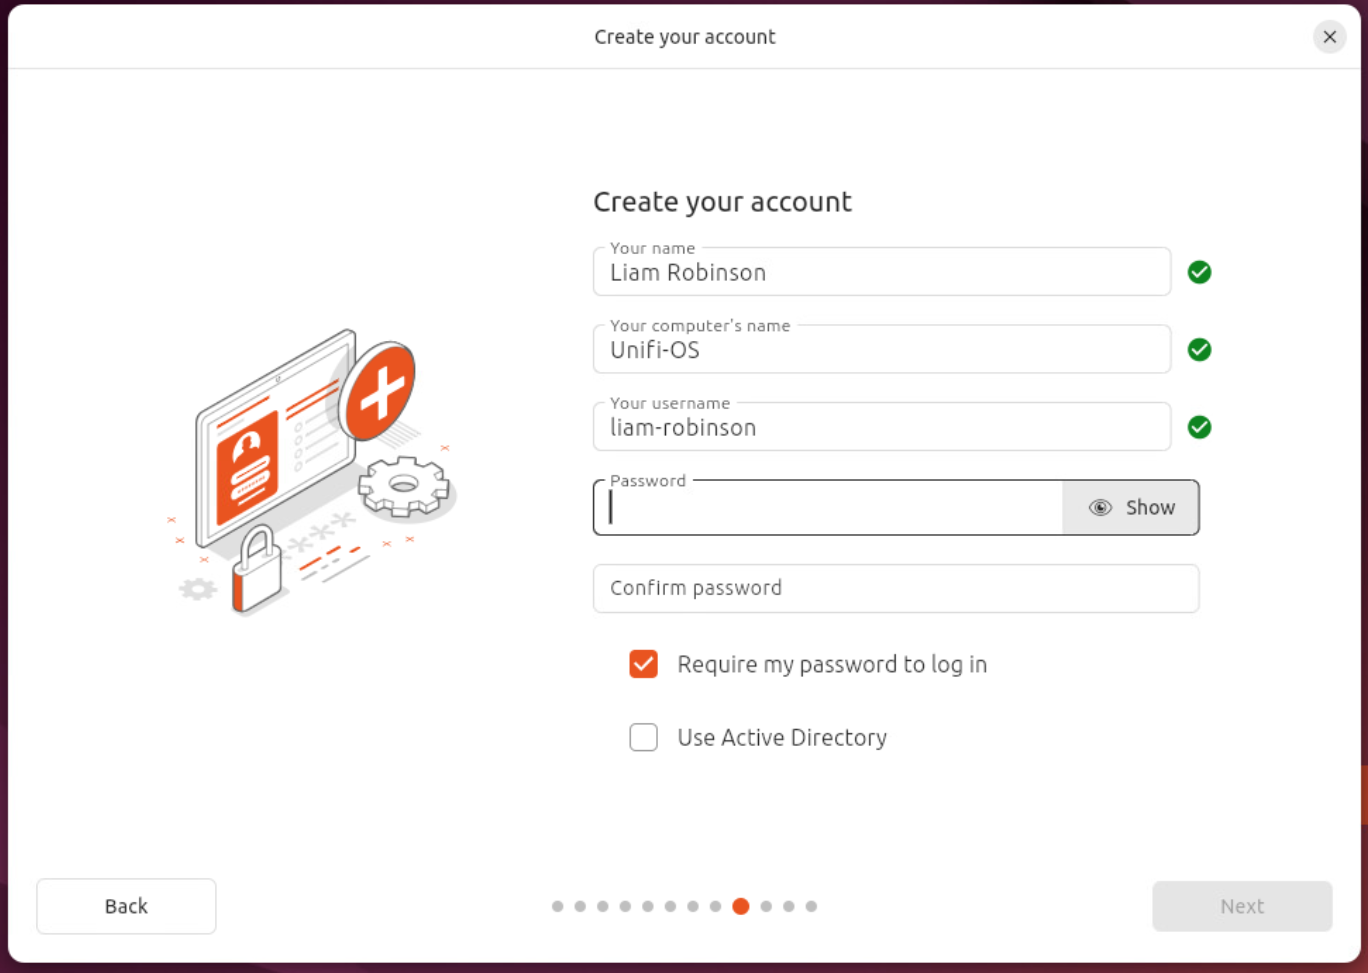
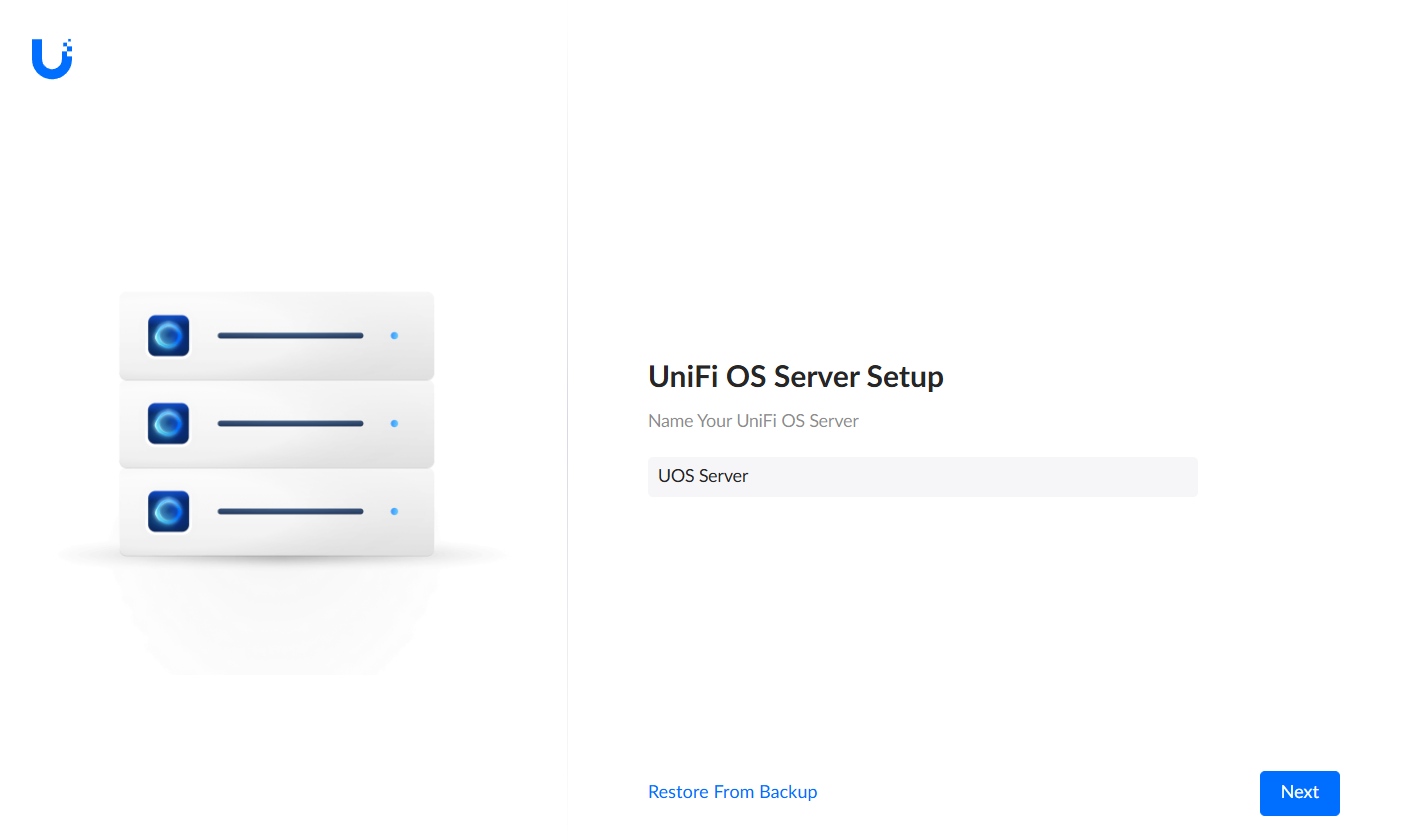
Navigate to your New Server URL and give your OS Server a useful name
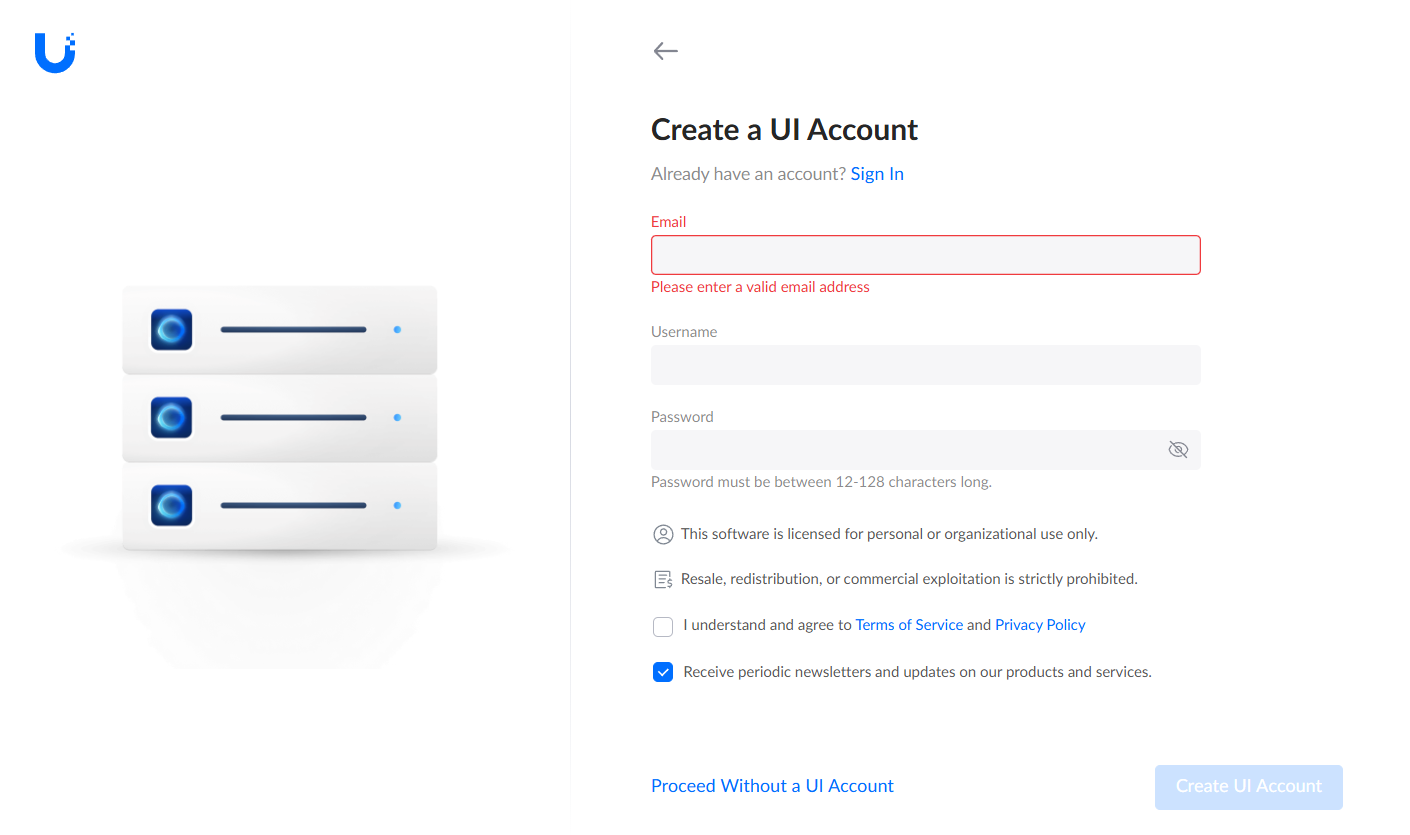
Click Proceed without an account (unless you want to link it to an online account)
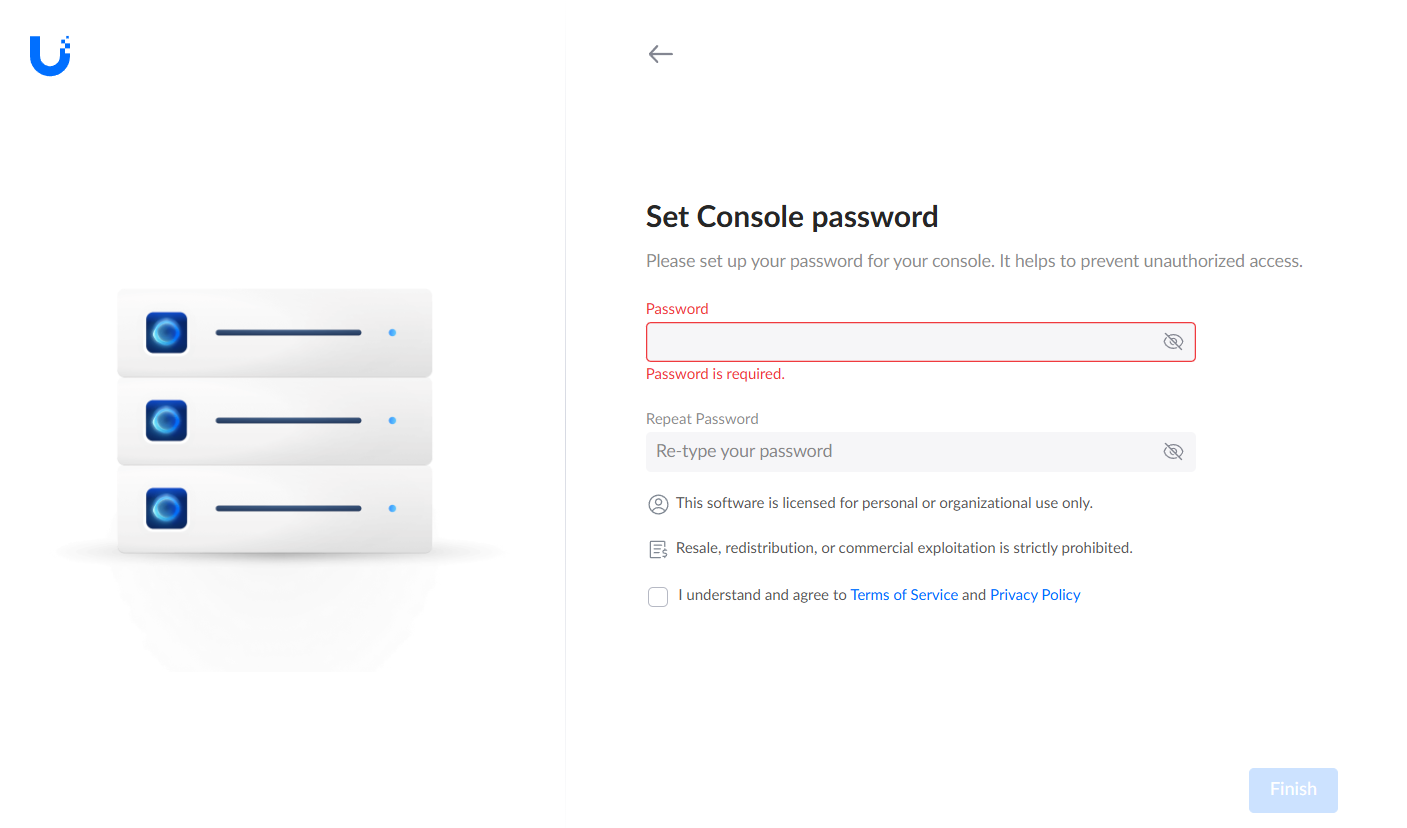
Configure a Console Password
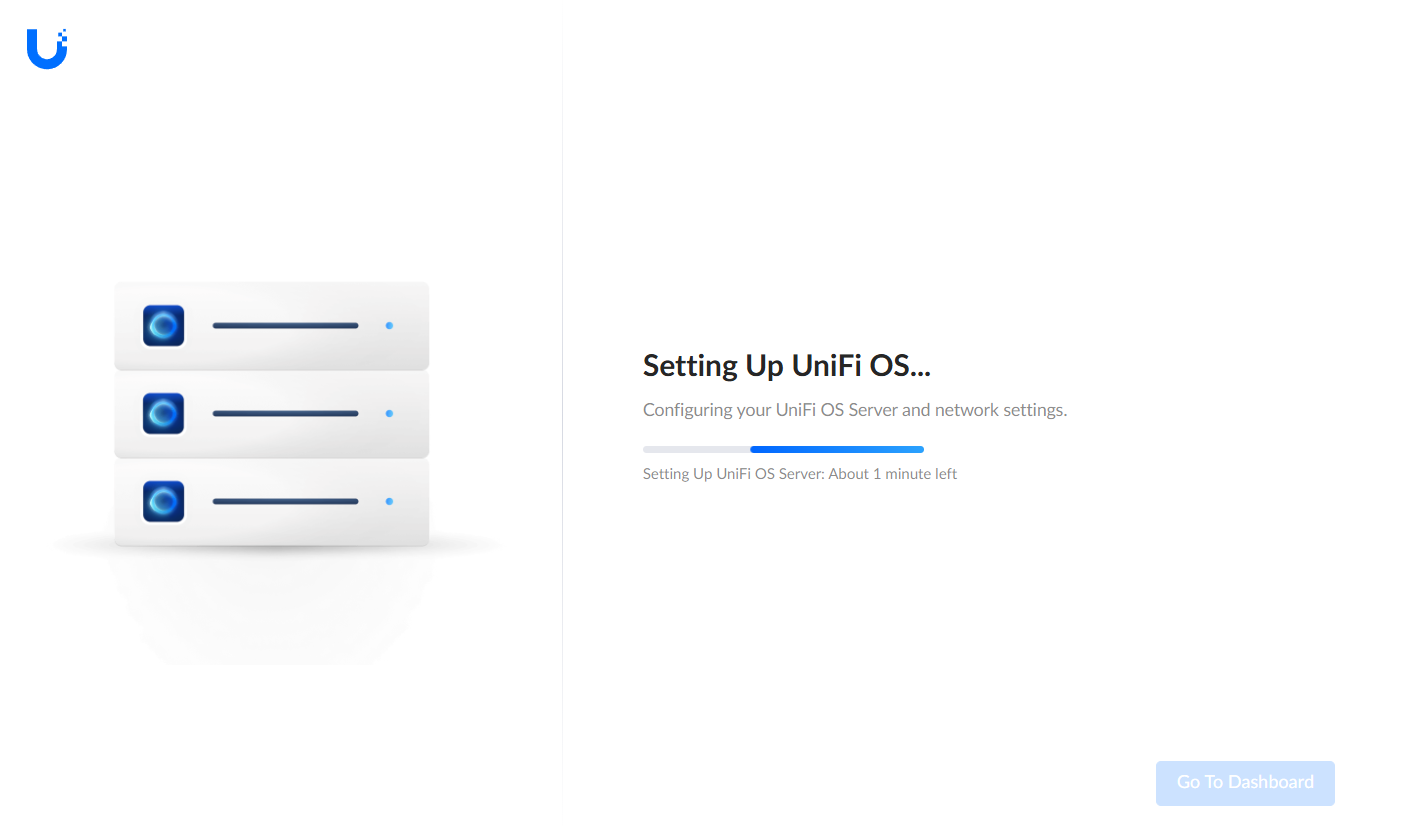
Unifi OS Server will now setup
Step 7 – Restore From Backup
Head to Settings > System > Backups
And select ‘Restore’
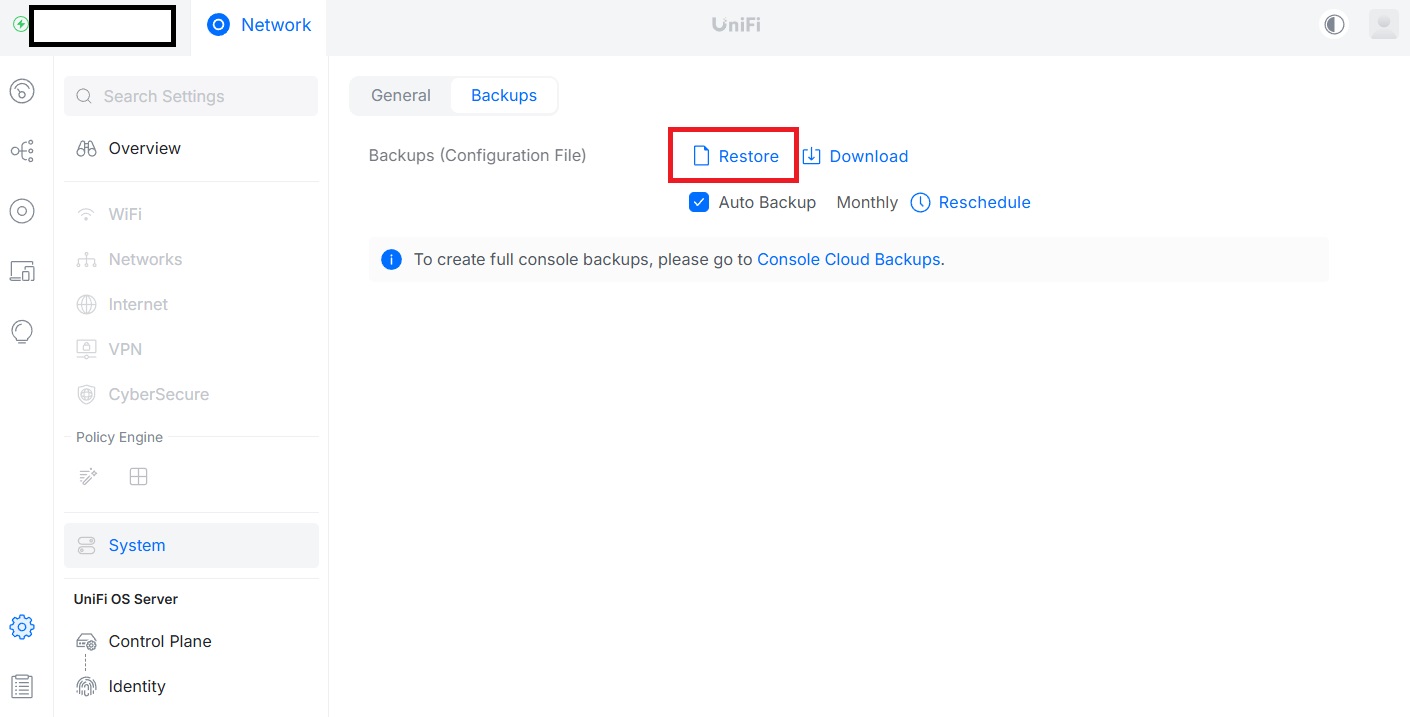
You will be asked to confirm. Click Okay.
Your Unifi OS Server will now start to import all your settings and devices, this can take a few mins and you may briefly lose network connection for a few seconds while devices re-initialise.
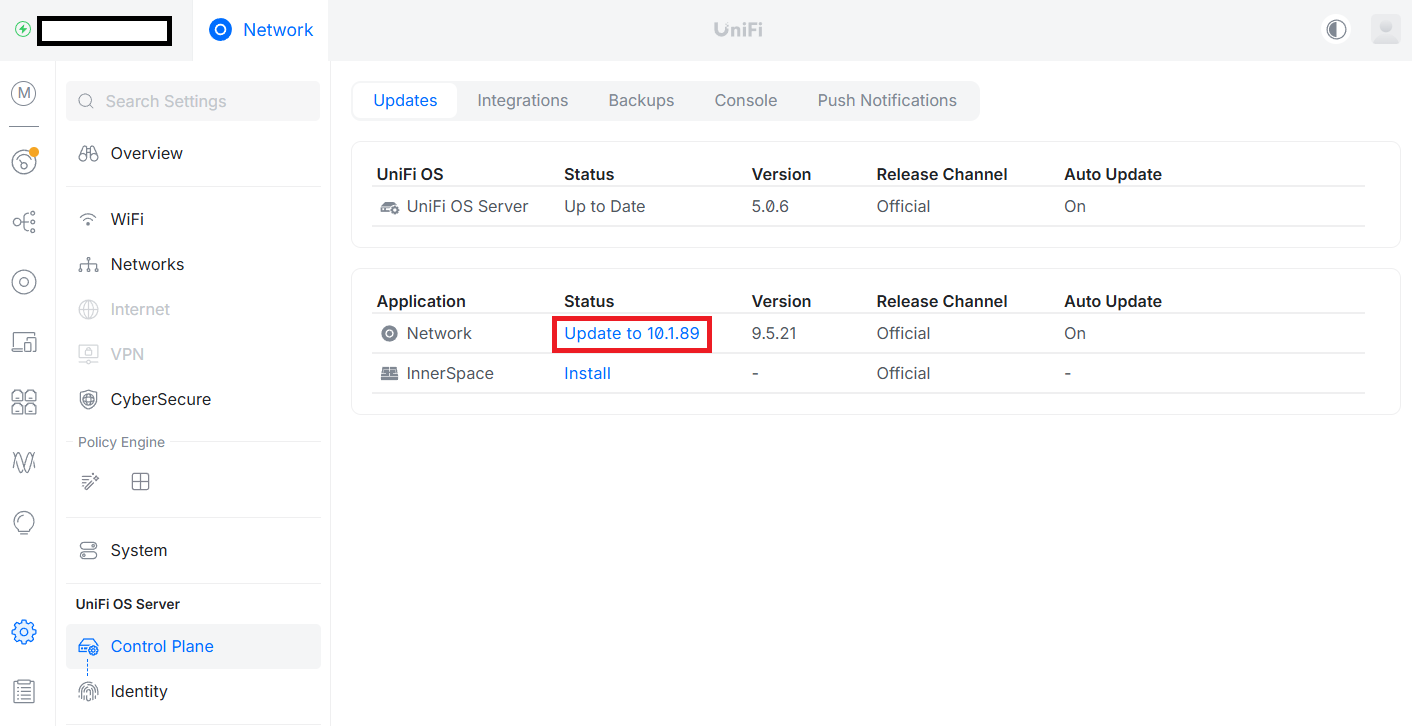
Step 8 – Update Network Application
Under Unifi OS Server > Control Plane > Updates
Ensure you update the network application to the latest version
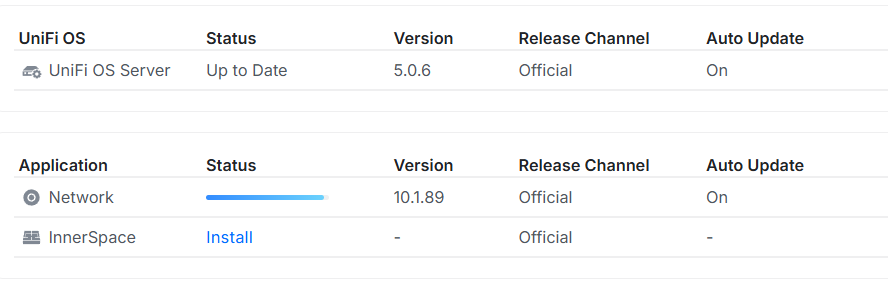
This may take a few minutes and your network may temporarily be inaccessible during this time.
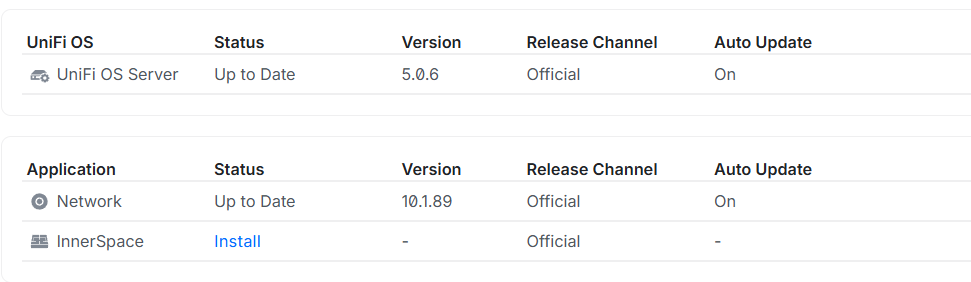
Once this is complete, you will be fully up-to-date with the latest Unifi OS Server installed.

#EdTech Network Manager, experienced in Microsoft 365, Server 2019, Intune, SCCM and anything inbetween.