If you’ve ever had to install Adobe Creative Cloud across multiple devices, you’ll know it’s not as straightforward as it should be. Whether it’s for a school, a design team, or a business, manually installing the Creative Cloud apps one by one just isn’t practical.
That’s where Intune comes in. If you’re already using Microsoft Intune to manage your devices, it makes sense to use it for software deployment too. But deploying Creative Cloud through Intune isn’t quite as simple as uploading an installer and hitting “install” Adobe has its own way of doing things, and getting everything set up properly takes a bit of planning.
In this article, I’m going to walk you through the whole process of deploying Adobe Creative Cloud using Intune. I’ll show you how to prepare your custom Creative Cloud package, how to handle those large installer files, and how to push everything out to your devices smoothly using Intune. Whether you’re doing this for a handful of machines or hundreds, this guide will help you get it done without the headaches.
Creating your Package
In this example I’m going to use a ‘Shared Device’ package as the software is being installed in our IT Suites which are shared resources, however per user licencing follows the same format.
To begin sign into Adobe Admin Console and click Create a Package
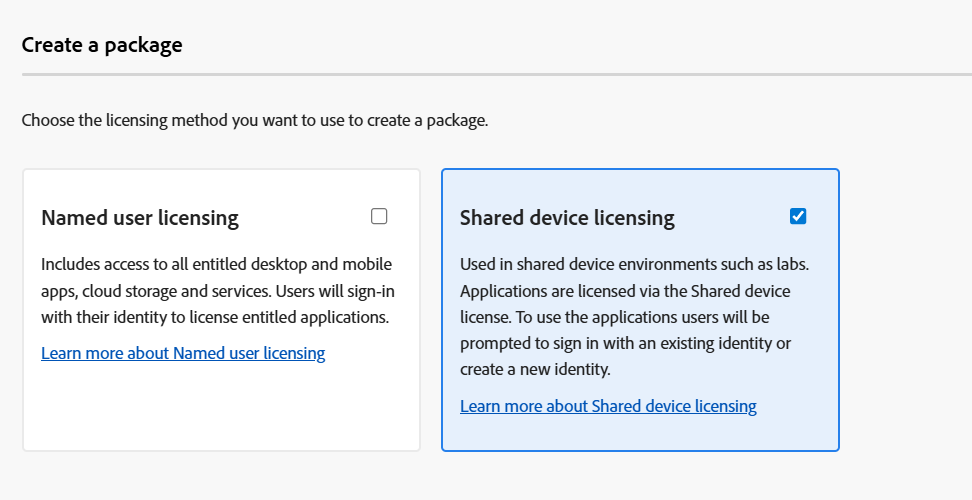
Choose your entitlement (licence) and select the Language and OS details as appropriate.
Choose your required applications and add them to the package.
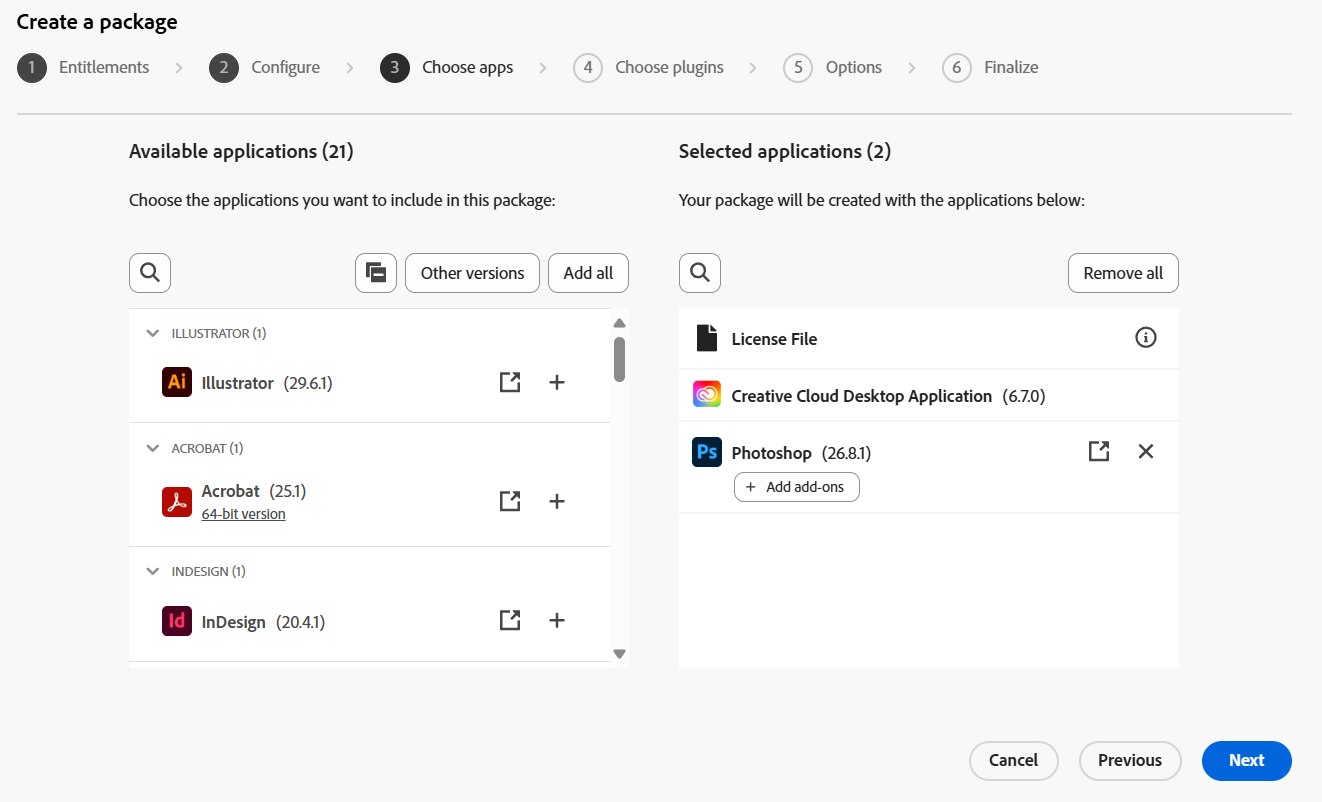
Once you have chosen the apps, click Next
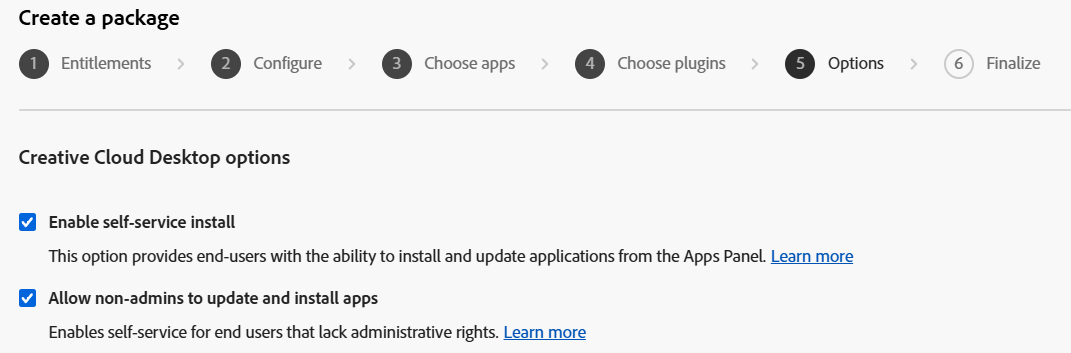
Enable Self Service Install and click Next
Give your package a name and click Create Package.
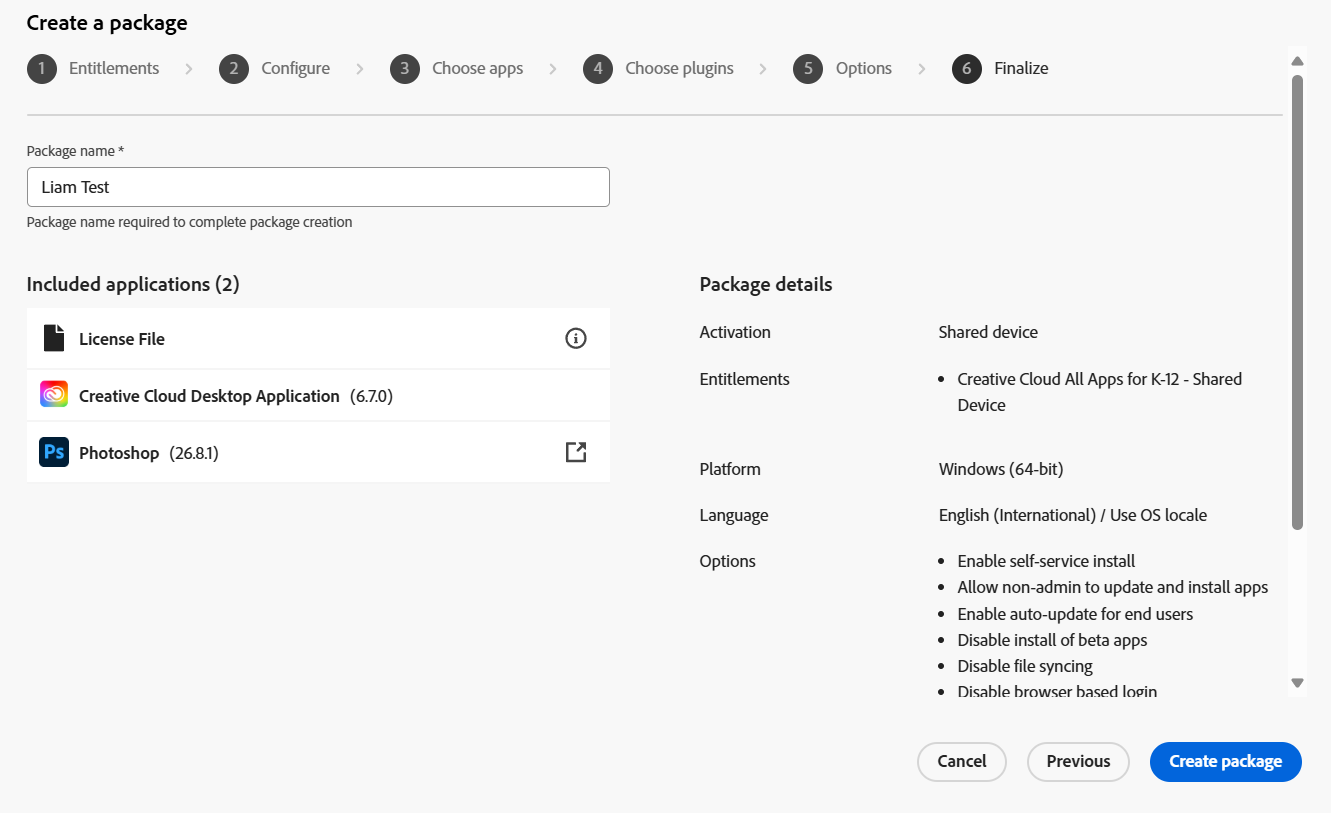
The package will now build and automatically download once ready.
Prepare Package for Intune
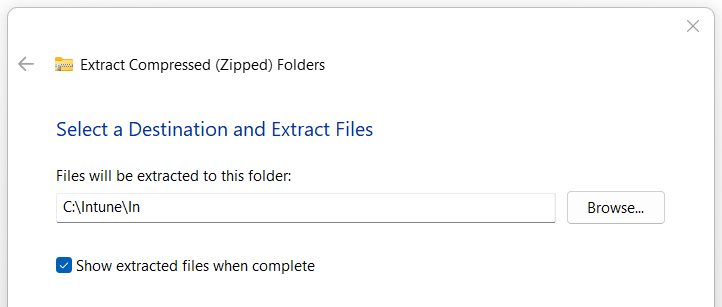
Now you have your install files, we need to prepare these for Intune deployment. Open up the Zip File and extract them to a foldr ready to be used with the Microsoft Win32 Content Prep Tool
I recommend having an In and Out (import/Export) folder somewhere easily accessible (C: Drive). Extract the files to the In folder.
Launch the Content Prep Tool and specify the ‘Build‘ folder as the source and the MSI as the setup file.

Select your Out/Output folder and say No to the catalog folder.
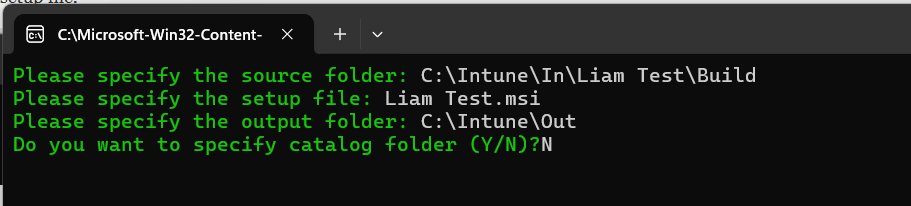
The .intunewin file will now be created in the output folder.

Create Application in Intune
The final step is to create the application in Intune. Head to Intune Admin > Apps > Windows > Create
Select Windows App (Win32) and choose the .intunewin from your output folder.
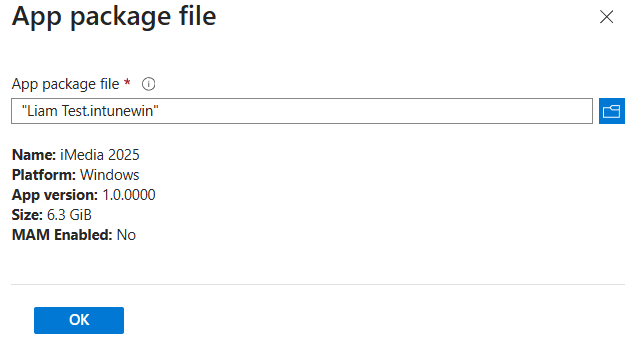
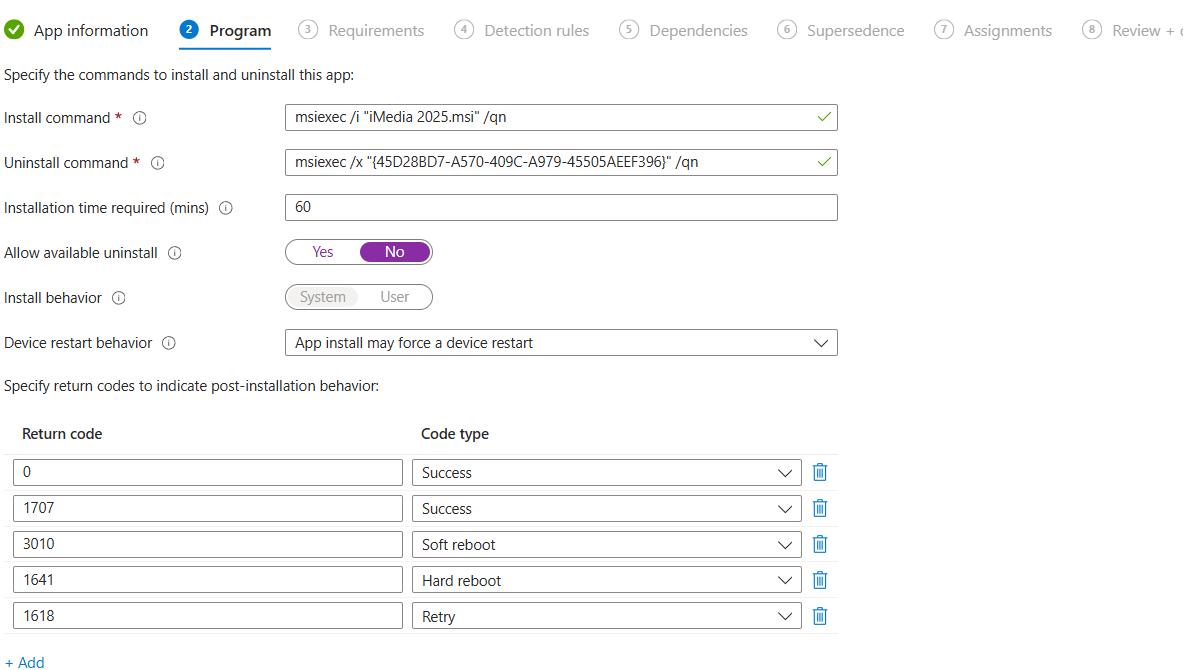
Fill in any details you need like publisher. Click next and leave the program details as is.
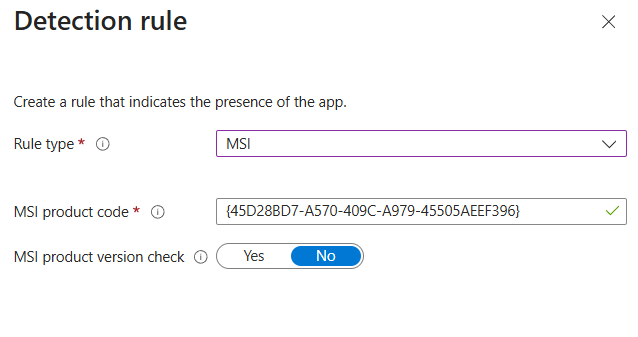
Detection Rules
Under detection rules click Manually Configure
Rule Type = MSI
Leave rest as default/
Assign the package to your required devices.

Your Creative Cloud Apps will now install. This may take a while depending on connectivity speeds as these are large files.

#EdTech Network Manager, experienced in Microsoft 365, Server 2019, Intune, SCCM and anything inbetween.