One of the main challenges for schools moving to fully cloud based devices (Entra Joined) is being able to deploy SIMS.net applications to these devices.
Since the devices are not on the Active Directory Domain, traditional deployment methods will fail to install the SOLUS3 client and SIMS.net applications. In this guide I will demonstrate how to deploy SOLUS3 and SIMS.net to Entra Joined Devices Via Intune.
Package the Installer Files
The first step is to locate the SOLUS3 installation files on your SIMS server.
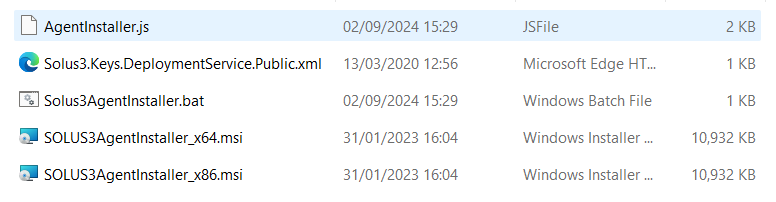
It’s likely the location will be S:\SIMS\SOLUSSETUPS but this could vary depending on your install. The folder should contain the following files.
AgentInstaller.js
Solus3.Keys.DeploymentService.Public.xml
Solus3AgentInstaller.bat
SOLUS3AgentInstaller_x64.msi
SOLUS3AgentInstaller_x86.msi
Copy these files into a folder on your local PC and launch the Intune Content Prep Tool
- Select the folder containing the install files
- Select the Solus3AgentInstaller.bat as the install file
- Select a suitable output folder.

Deploy the Installer
Head to Intune > Apps > Windows > Create. Select Windows App (Win32).
Upload your Solus.intunewin file
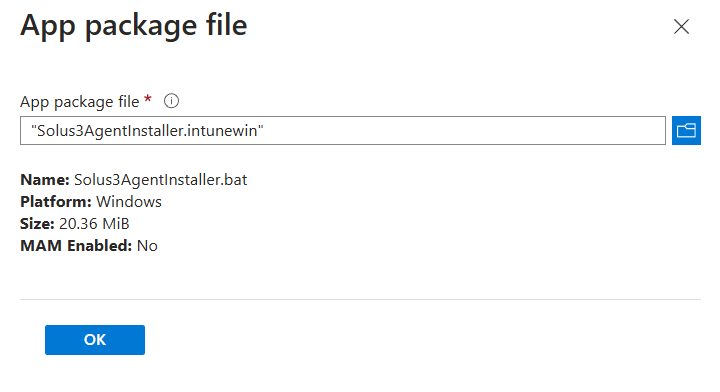
Under Program enter the following details.
Install Command: Solus3AgentInstaller.bat
Uninstall Command: cmd.exe /c exit 0 (fake command that does nothing)
Install Behaviour: System
Continue to the Detection Rules Tab and add a new detection rule
Rule Type: File
Path: C:\Program Files\Solus3\AgentService
File or folder: Sims.Solus3.Agent.AgentService.exe
Detection Method: File or Folder Exists

Continue to the Assignments tab and deploy Solus to the group containing your target devices.
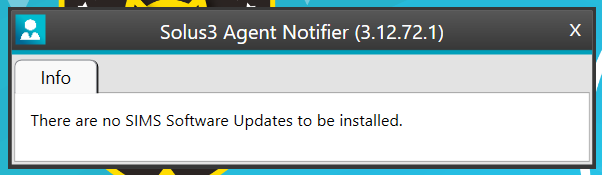
The Solus app should now install on your device.
Setting Up Firewall Exceptions
In order for the Deployment Service to be able to communicate with your devices, we need to setup some firewall exceptions in Intune.
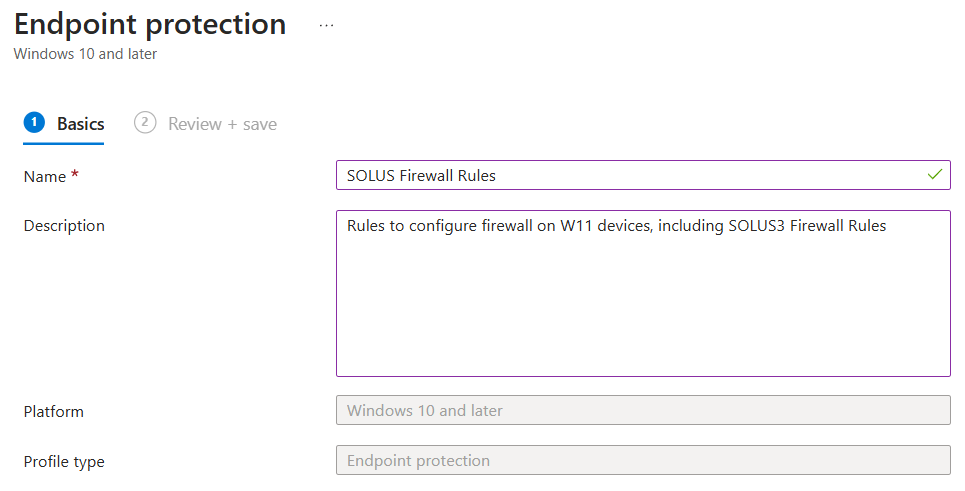
Head to Intune > Devices > Windows > Configuration and add a new Policy with the following settings.
Windows 10 and later
Templates
Endpoint Protection
Give your policy a suitable name.
Under Configuration Settings click Windows Firewall and scroll down to Firewall Rules and click Add.
Now we are going to create the following Rules
Solus 3 DS In
Direction: Inbound
Action: Allow
Network Type: Domain, Private
Protocol: TCP
Ports: 52965
Solus 3 DS Out
Direction: Outbound
Action: Allow
Network Type: Domain, Private
Protocol: TCP
Ports: 52965
Solus 3 Agent In
Direction: Inbound
Action: Allow
Network Type: Domain, Private
Protocol: TCP
Ports: 52966
Solus 3 Agent Out
Direction: Outbound
Action: Allow
Network Type: Domain, Private
Protocol: TCP
Ports: 52966
Solus 3 Agent UI In
Direction: Inbound
Action: Allow
Network Type: Domain, Private
Protocol: TCP
Ports: 8739
Solus 3 Agent UI Out
Direction: Outbound
Action: Allow
Network Type: Domain, Private
Protocol: TCP
Ports: 8739
The ports below are used by SOLUS for browsing the network and should be used with caution.
Solus 3 TCP139 In
Direction: Inbound
Action: Allow
Network Type: Domain, Private
Protocol: TCP
Ports: 139
Solus 3 TCP139 Out
Direction: Outbound
Action: Allow
Network Type: Domain, Private
Protocol: TCP
Ports: 139
Solus 3 UDP137 In
Direction: Inbound
Action: Allow
Network Type: Domain, Private
Protocol: UDP
Ports: 137
Solus 3 UDP137 Out
Direction: Outbound
Action: Allow
Network Type: Domain, Private
Protocol: UDP
Ports: 137
Solus 3 UDP138 In
Direction: Inbound
Action: Allow
Network Type: Domain, Private
Protocol: UDP
Ports: 138
Solus 3 UDP138 Out
Direction: Outbound
Action: Allow
Network Type: Domain, Private
Protocol: UDP
Ports: 138
Deploying SIMS
No head back to the SIMS Server and open up the Deployment Server UI app.
Go to Environment > Targets > Clients and click Add.
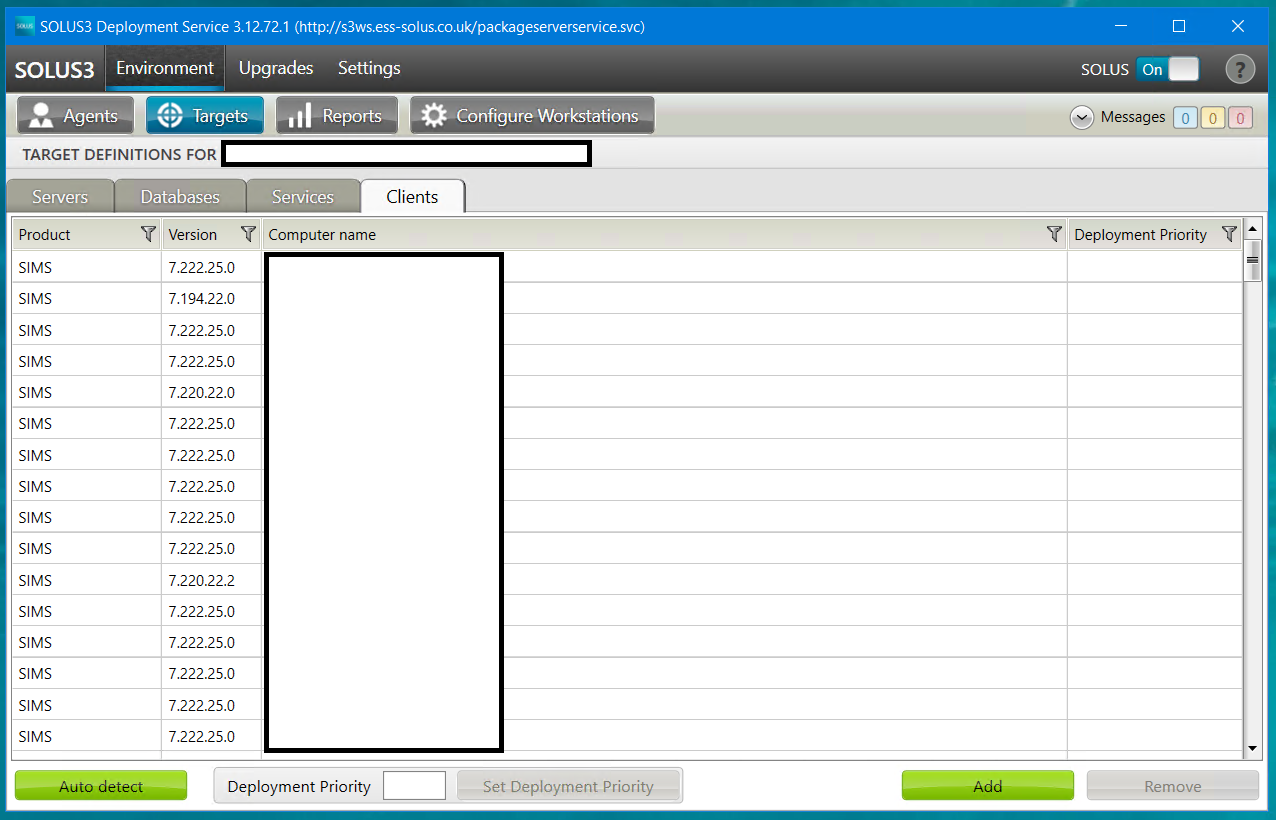
Tick ‘SIMS‘ and Choose Clients

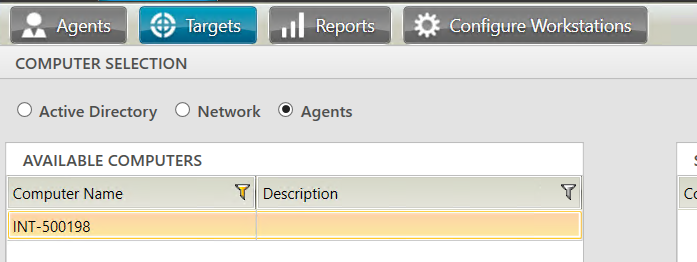
Select ‘Agents‘ and Find the device(s) you wish to deploy SIMS to.
Note: The device must be on the same network as the server at this point.
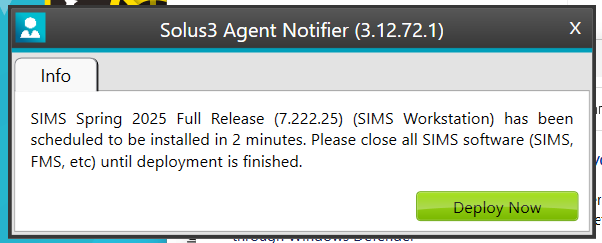
The install will now begin on your selected Device(s)
If you experience Net TCP error from the SOLUS Deployment server when deploying, ensure your network is showing as Private instead of Public.
You can test this this by running the following cmdlet in Powershell
Get-NetConnectionProfileIt should show NetworkCategory as Private. If not you can use this cmdlet to change it manually.
Set-NetConnectionProfile -Name "NetworkName" -NetworkCategory PrivateIf you wish to set this via script you can use the following PowerShell script assigned to your devices via intune.
$targetName = "networkname"
$profile = Get-NetConnectionProfile | Where-Object { $_.Name -eq $targetName }
if ($profile -and $profile.NetworkCategory -ne "Private") {
    Set-NetConnectionProfile -InterfaceIndex $profile.InterfaceIndex -NetworkCategory Private
}
Please note “NetworkName” must match what is outputted in Get-NetConnectionProfile

#EdTech Network Manager, experienced in Microsoft 365, Server 2019, Intune, SCCM and anything inbetween.